Disclaimer: This post may contain affiliate links. As an Amazon Associate, I earn from qualifying purchases.
You may be new to making clothes and are looking at digital sewing patterns. You might wonder how to cut them.
It was quite some time before I dove into using them. They are more involved as you’ll need to print, lay them out, and tape them too.
So, I’ll show you my step-by-step process with photos. That way, you can start using them.
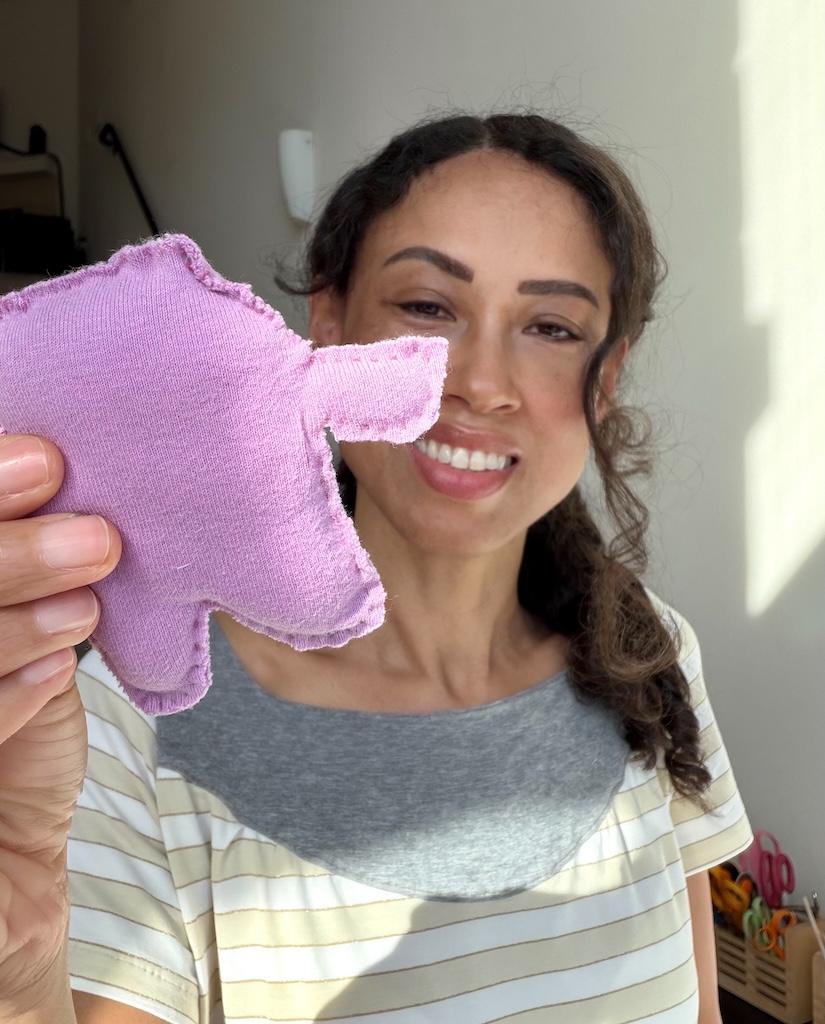
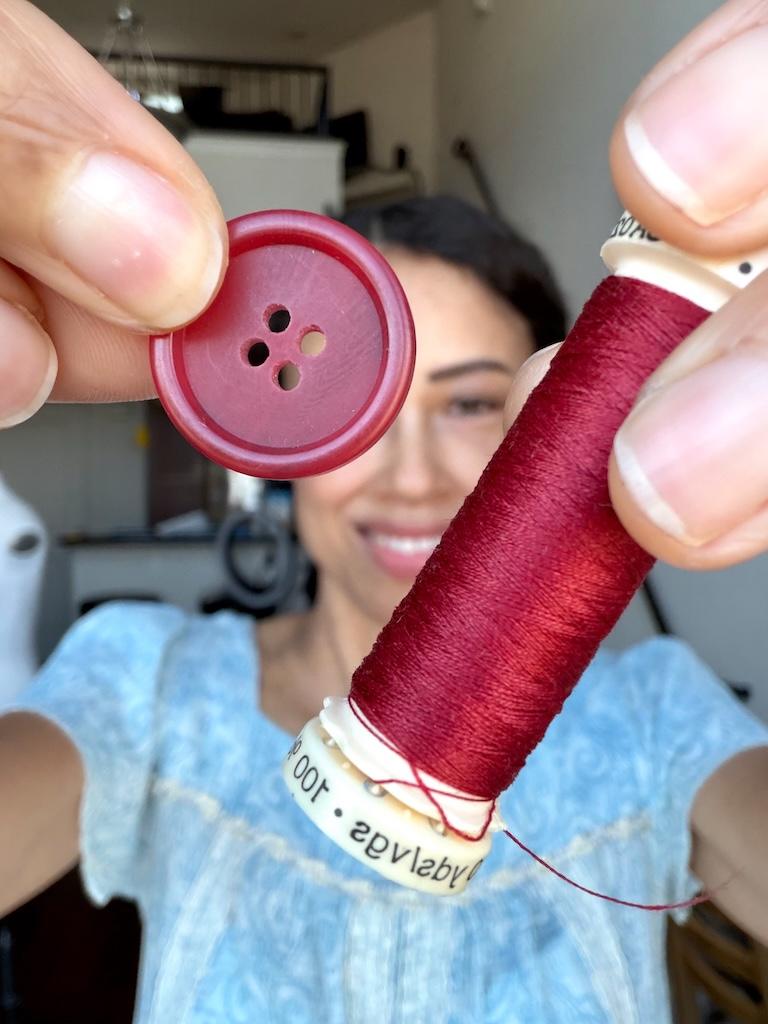
Materials

- PDF pattern (digital file)
- Scissors
- Highlighter
- Clear tape
- Rotary cutter & mat (optional)
- Printer
How to Cut Digital Sewing Patterns
Once you download your pattern and have the PDF file, you’re ready to go. For this project, I’m putting together the Megan Nielson Protea capsule wardrobe pattern.
1. Set up the printer.

First, you should make sure that your printer is set up to scale (100%). Then, print the test page with the calibration square.
The square will typically measure 1” x 1” or 2” x 2”. Measure it with a ruler to make sure your printer is calibrated correctly.
This is very important!
If your measurements do not match the square, adjust your printer settings. Do this before printing out the rest of the pages.
You don’t want to print out all the pages and find out they were printed to the wrong scale. Then your sizing will be off, and you’ll waste paper.
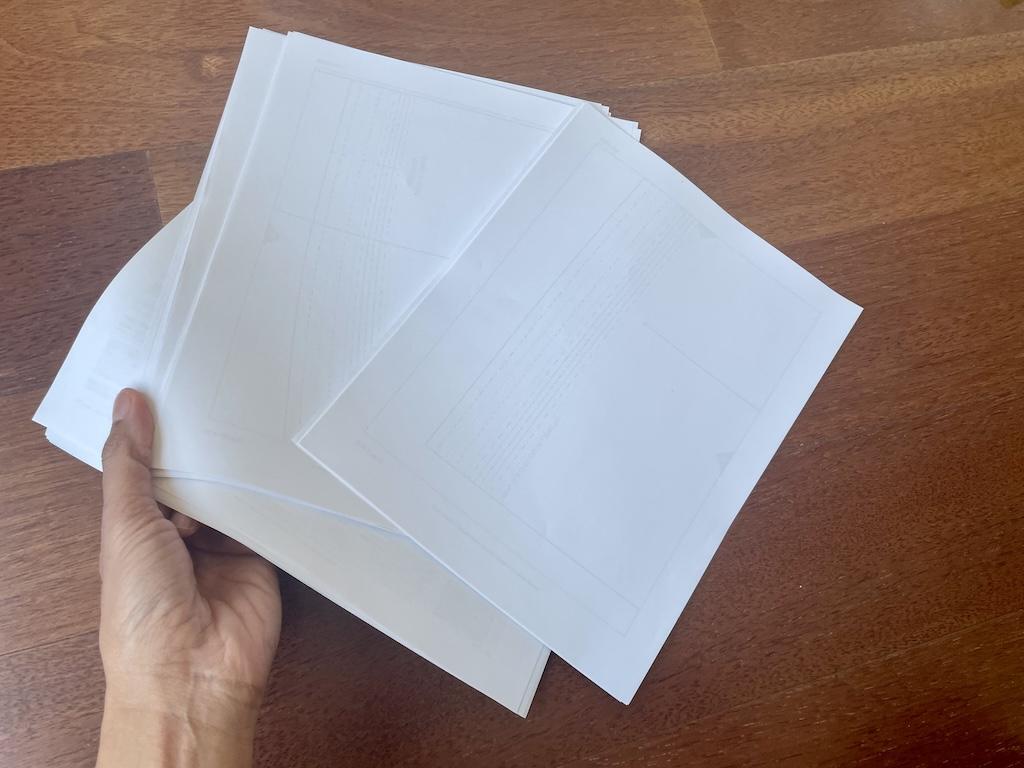
2. Print the pattern and directions.

After checking the printer settings, you can print the sewing pattern and the directions. You do not have to print the directions, but I find it easier to follow them when printed.
Make sure you have the correct pattern, printer settings, and paper size. I printed my patterns on US letter paper, and there were other paper sizes to choose from.
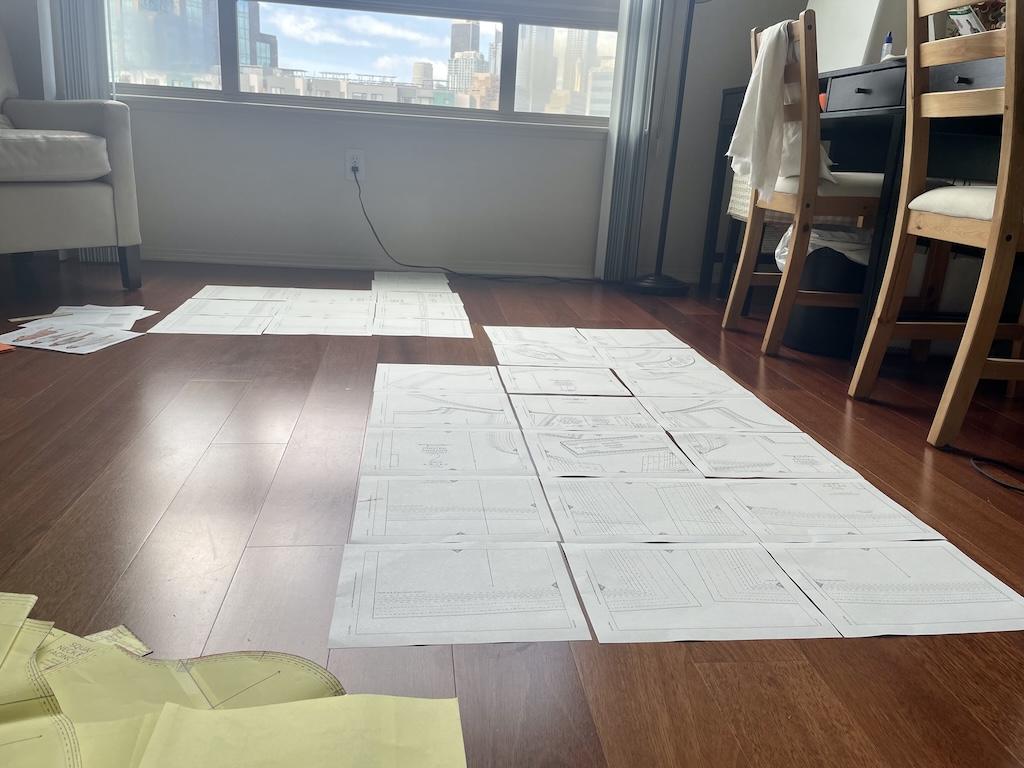
3. Lay out the pattern pieces.
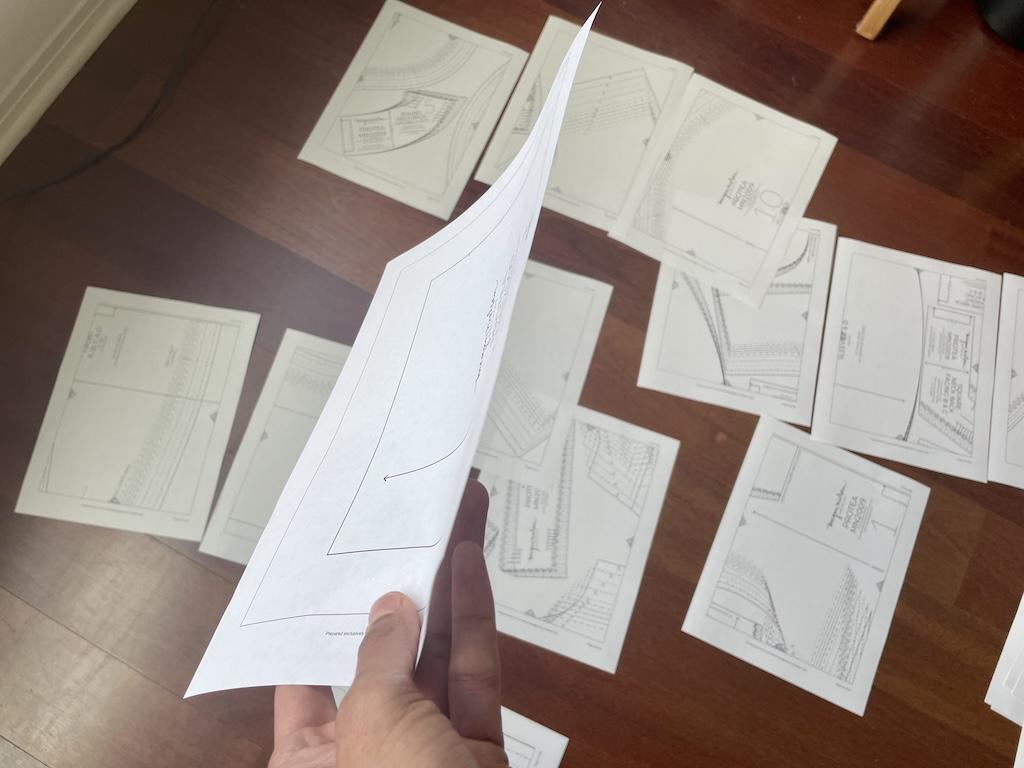
This is where you’ll need all the space. If you’re like me, you’ll want to lay out all your pieces to see the big picture.
You should see markings on each side of the pattern pieces. These markings, usually a combination of letters and/or numbers, will help you connect the pieces.
For smaller patterns, you might see symbols or letters. Whatever they used, you’ll match them up.
For example, if there is a 3D on the right side of a page, it would match the 3D on the left side of another page.
4. Cut off the margin.

Some sewing patterns will have a margin, or white space around each page on each page. It’s typically an inch or so wide.
I used scissors to cut along the border, the line separating the white space. Be careful only to cut the margin off, not parts of the pattern pieces.
5. Tape the pieces together.

Now, you can tape the pattern pieces together. This may take a while, so turn on your favorite tunes!
I always use clear tape so I can see through all the lines and markings. Again, make sure everything matches up, as your lines may shift as you tape.
I found it’s easier to work with short pieces of tape. After taping the ends, I move towards the middle.
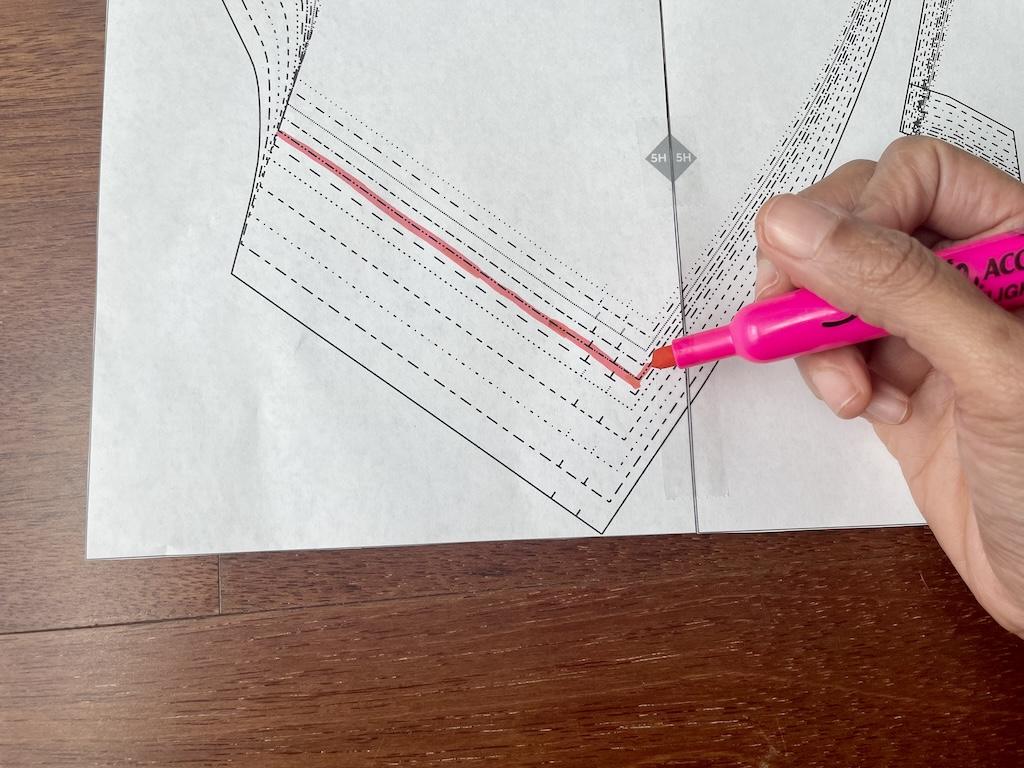
6. Highlight your size.
If you haven’t done so, you’ll have to determine your size. Measure yourself and use the instructions and size chart to select the closest size.
At this point, I like to highlight my size using a marker or a highlighter. That way, it’s easier to see the line I need to cut.
I am a size 8 with this pattern, so I highlighted the line that goes with it. So, I would only cut the line with one long dash and two dots.
I don’t know about you, but I’ve easily cut the wrong lines on patterns before! After a while, they all look similar.
Highlighting helps me stay on track and double-check my work at the same time. Just make sure you highlight the right lines!
7. Decide if you’ll need other sizes.
Will you need more than one size? Then, you may want to cut around the whole pattern piece.
Some people like to keep all the sizes in the nest because they plan to sew multiple pattern sizes. If that’s the case, you may not want to cut out a specific size.
You can keep all sizes intact and trace over the size you need. Then you’ll have all the other sizes to use in the future.
I like to cut out my specific size, but sometimes I need to grade between two sizes.
For example, if I make a dress and my waist is a size 8 and my hips are a size 12, I’ll cut out the size 12 and do my precise grading later.
(Skip step 8 if you’ve decided to keep all the sizes in step 7.)
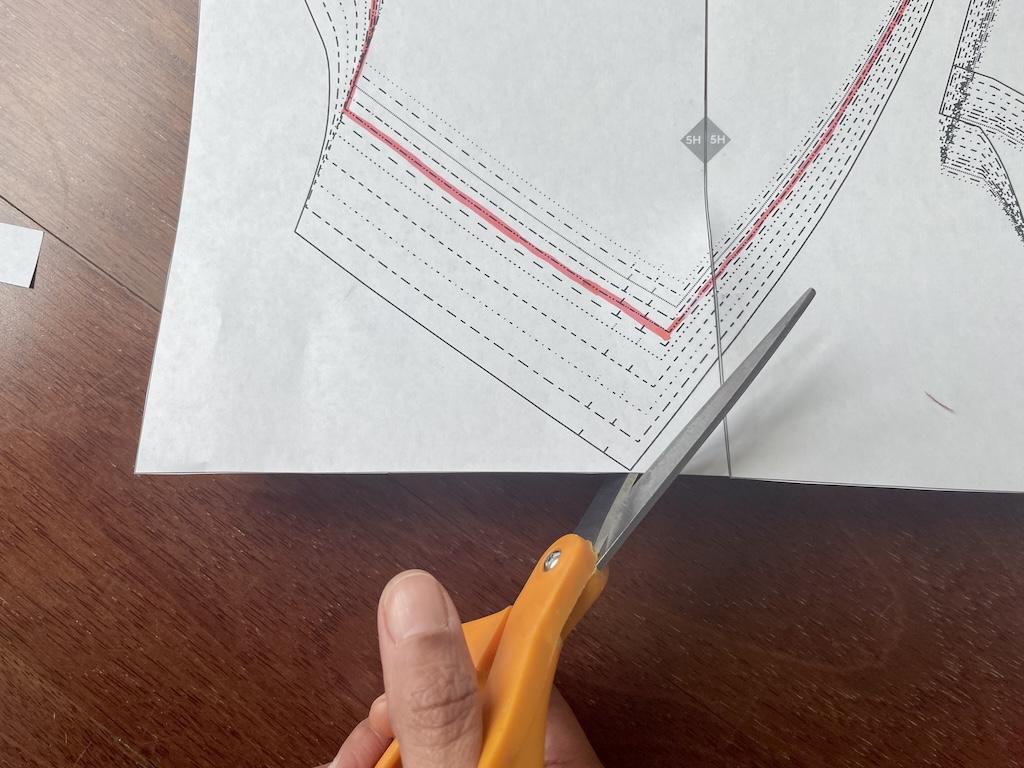
8. Cut out the pattern pieces.
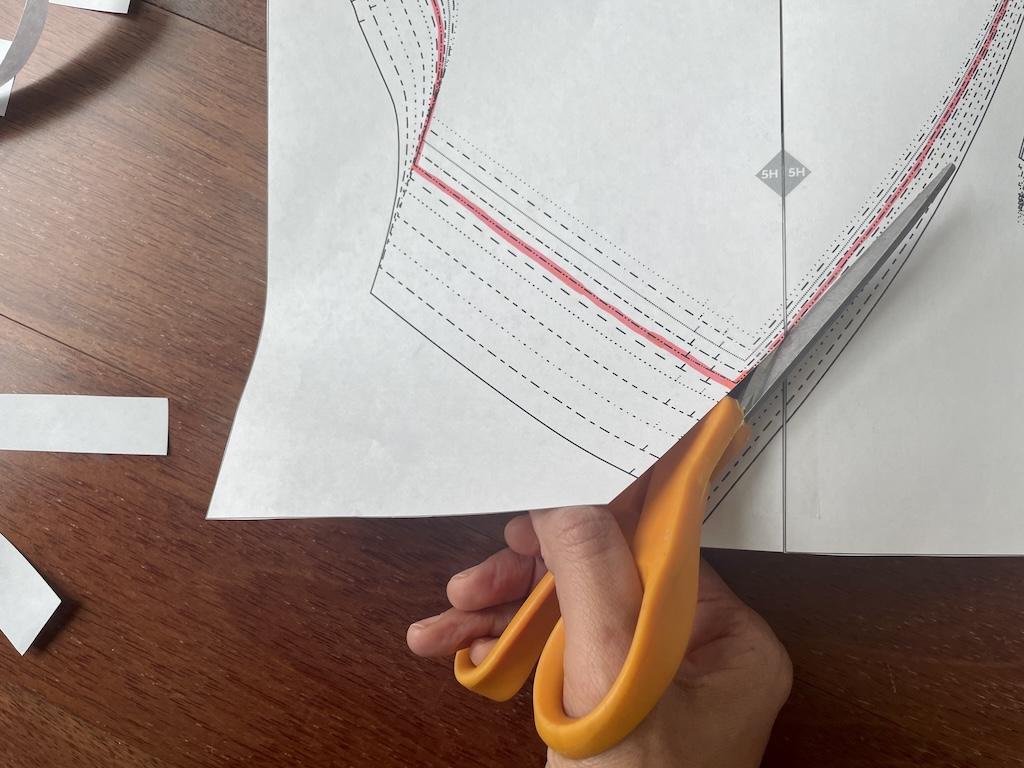
Remember when your teacher told you to cut along the dotted lines in grade school? Well, here’s where that skill comes in handy!
Use scissors to cut out your pattern pieces. If you’ve highlighted your lines, you’ll cut right on them.
If you make a mistake, you can easily use tape to fix it.
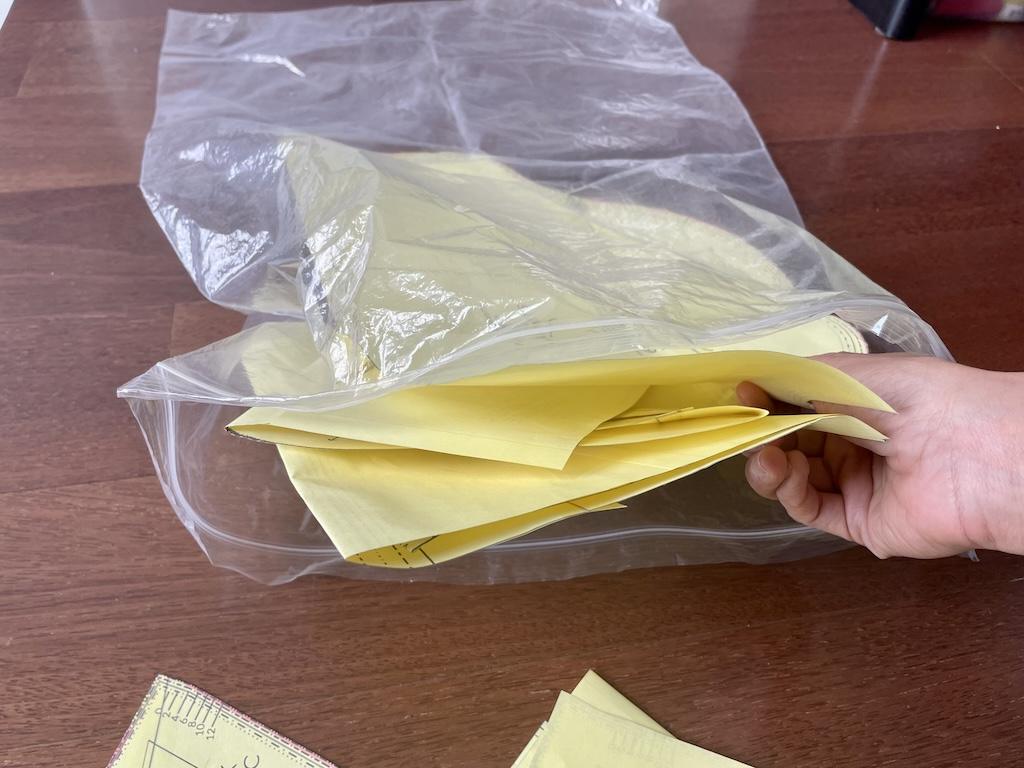
9. Use, store, and resuse your pattern pieces.
This is the fun part! Now, you can use your pattern by laying the pieces on your fabric and then cutting out the pieces.
To store the pieces, fold them up if needed. Keep them in a plastic storage bag or manila envelope.
Pull them out when you need to use them again. To straighten out the folds, I lightly iron them if needed.
Place a pressing cloth on top of the pattern piece. Place the side with the tape facing down using a low heat setting.
Project Notes
Some PDF patterns have many pages, depending on the number of pieces. So you might need a lot of printer paper!
I’ve made a dress that used more than 30 pages! Whew!
And I’ve downloaded some for accessories that only had 2 to 4 pages. It’s nice to start out small to get the hang of it.
Final Thoughts
Cutting out digital sewing patterns might seem like a lot of work. But in the end, you’ll have something to use many times.
And you can store your file on your computer. That way, if you need another one, you can print it again.
More About Sewing
I have other blog posts about beginning to sew. You might want to check them out.
- If you’d rather work tissue paper patterns, I’ll show you how to cut those too.
- Would you like to know about beginner sewing tools to have in your kit?
- I’ll tell you where you can learn to sew, including places you might not think to check.
I’d love to hear about your fun sewing adventures!
Originally published: February 15, 2025