Disclaimer: This post may contain affiliate links. As an Amazon Associate, I earn from qualifying purchases.
After showing what my sewing room looks like, I decided to discuss how I organize it. Although it can get untidy, I do have a system in place.
Note that I don’t live in a stand-alone house, so space is limited. I have cabinets, tables, containers, boxes, and storage bags.
Get some ideas from me as I give you the semi-tour to show you my little system and how I keep it together.
My Sewing Room Organization
For context, I have about 850 square feet to work with. There’s one bedroom plus two other large spaces I can use.
Let’s say that a large percentage of my place is dedicated to sewing. It’s practically my whole home!
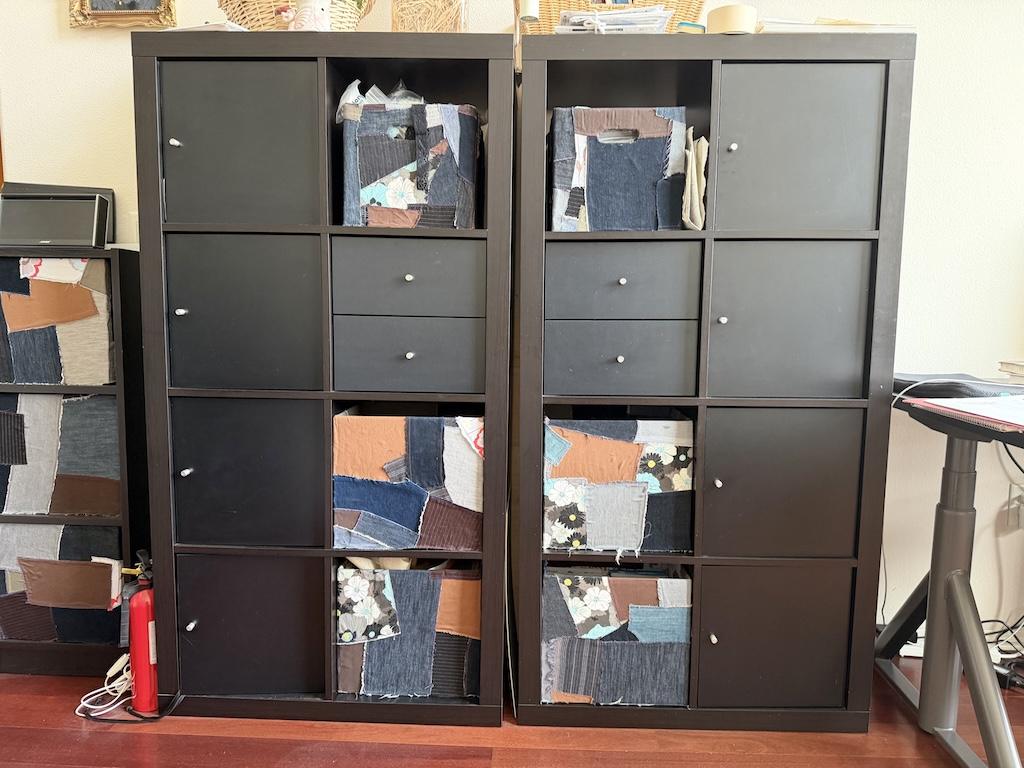
1. Cabinets and Bookcase
IKEA has some affordable solutions for crafting and sewing organization. I’ve spent a lot of time browsing through their stuff.
Although I like the store, sometimes I get overwhelmed because they have so many options.
I’d recommend measuring out your space before going. With my dimensions in mind, I knew how much room I was working with.
The last thing you want to do is buy a cabinet and then find out it’s too big. Then you’ll have to return it.
IKEA is great with returns, but the thought of hauling big, bulky stuff back stresses me out.
In the end, I bought two big cabinets and a small bookshelf. Each cabinet has 8 cubbies.
They’re pretty versatile because I can put a box or basket in each cubbie or shelf. Plus, the cubbies can have drawers or doors.
I decided to get black because it’ll pretty much match everything in my room.
These house the bulk of my notions, patterns, drafting tools, and some crafting supplies too.
2. Sewing Tables
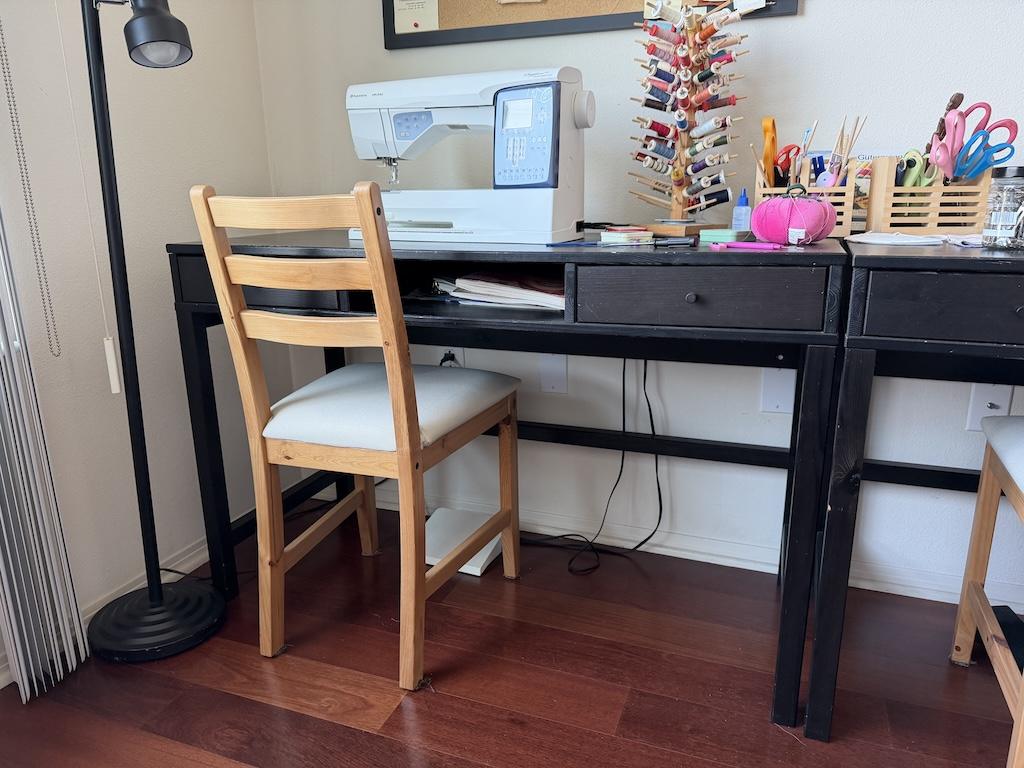
I also bought two desks, for my serger and sewing machine. Okay, these aren’t legit sewing tables, but they’re functional and reasonably priced.
I like that they have a lot of space underneath for leg room and storage.
Note that I had previously bought another desk from IKEA. It doesn’t have much space under it, and that’s something to keep in mind.
Anyway, the drawers on the ones I use now are pretty spacious for little things. I store my loop turners, sewing needles, and stuff like that in them.
As far as the desktop itself, I need more room. So, when I upgrade, I’ll get tables with more length.
Plus, I’ll get a more sturdy option. But these have lasted for many years, so I won’t complain.
3. Containers and Boxes
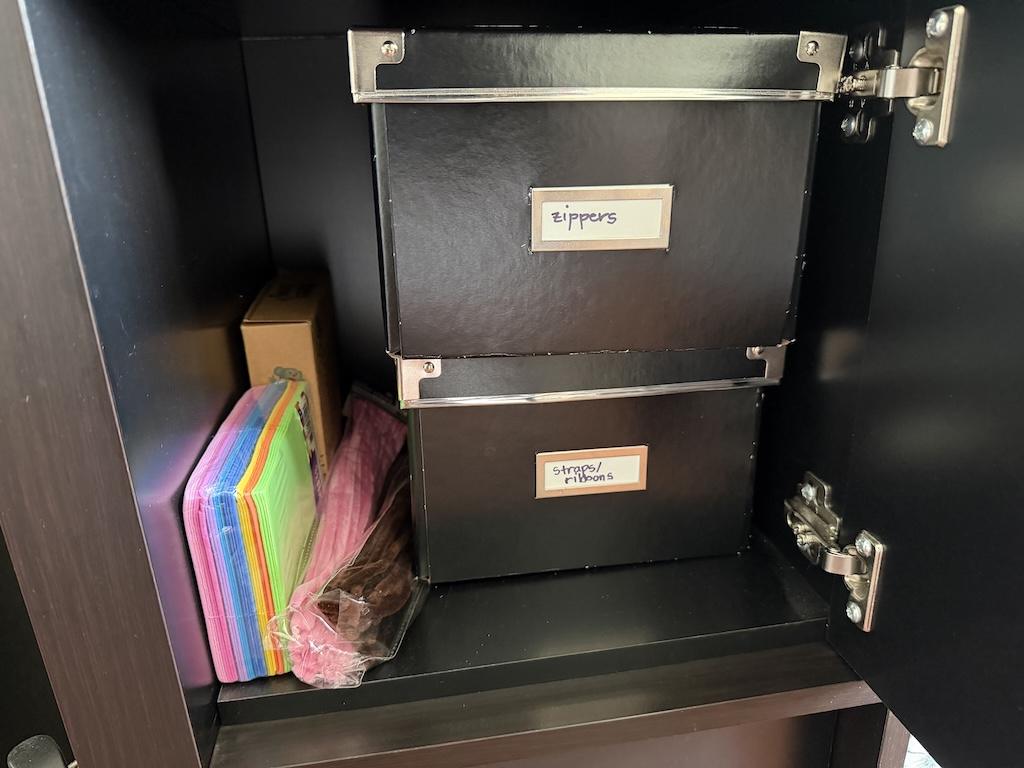
I have many containers and boxes in my cabinets to keep things organized. I bought them from IKEA, Walmart, and the dollar store.
Others I’ve made, and I’ll get into that later. But the cubbies are spacious, and I wanted to keep the things inside them in order.
I don’t like to just throw things inside and hope they stay organized, because they won’t.
Having smaller boxes that I can stack and write on makes it so much easier.
I also put things in clear plastic zip-up baggies. For example, I have elastic in many of these.
It’s easy to see, and considering I have many different sizes and types, I like to keep them together.
And then I have many zippers in a box. I just throw them in because I always dig through to find the right size, color, or type.
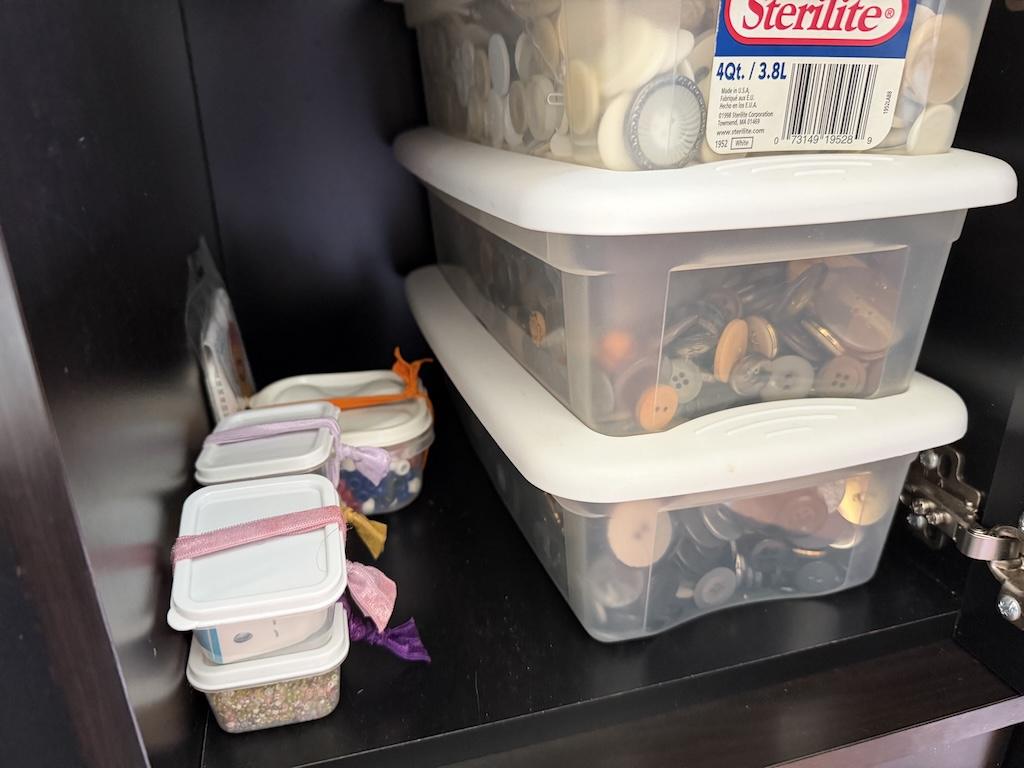
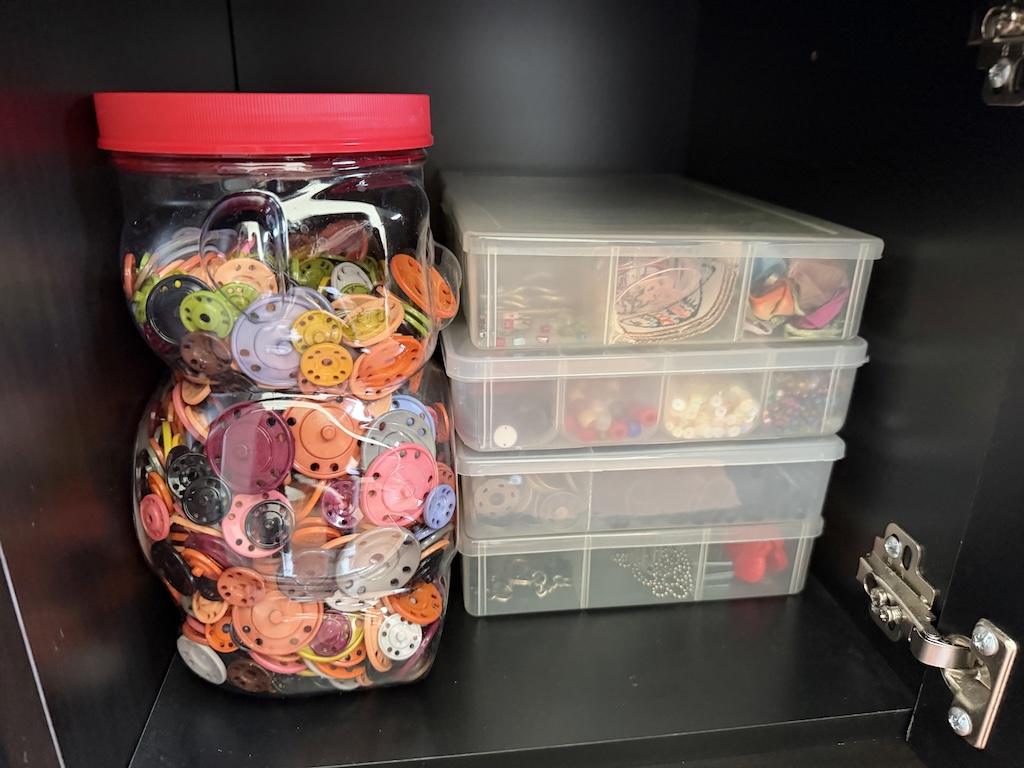
Many of my buttons are in clear shoebox containers, and I have them organized by smaller and bigger buttons.
Then I have different colors together, and I have the most of black, white, and brown. Oh how I love to collect buttons!
4. DIY Scrapy Boxes
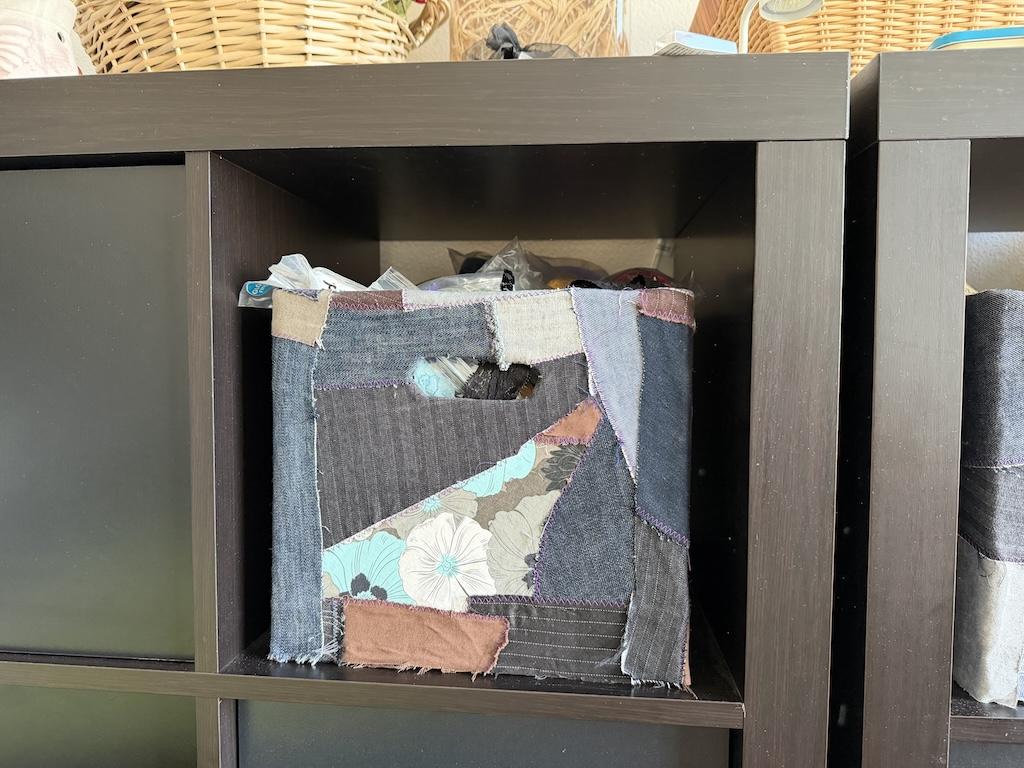
So, let’s get to my DIY storage boxes. I upcycled sparkling water boxes to make these.
So I basically got empty boxes and glued fabric on them. But before that, I zig-zagged fabric scraps together.
Then I let them dry for several days. These took a long time to make!
They look a bit haphazard, but I upcycled boxes and used up scrap fabric. So that made me feel good.

Plus, they fit perfectly on the shelves and cubbies from IKEA. They’re nice and deep, so I throw stuff like stretch elastic and other stuff in there.
My serger thread is in my DIY boxes because the cones are pretty big. And these go in my little bookcase.
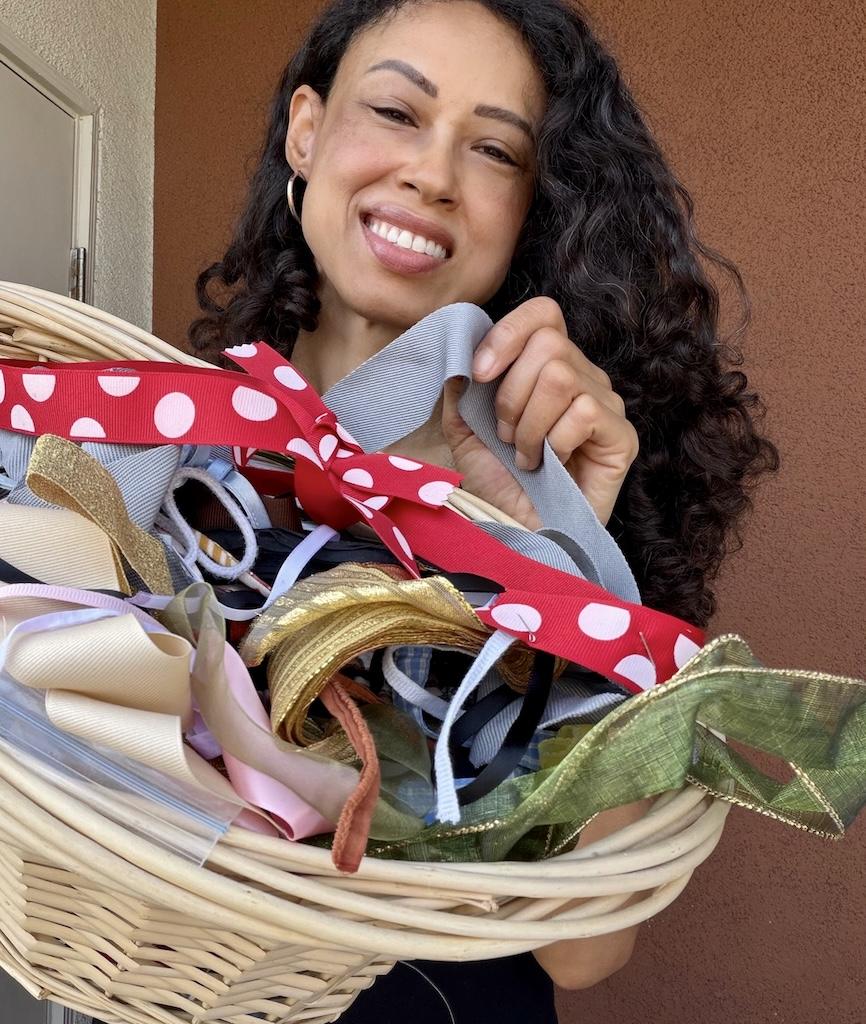
5. Woven Baskets
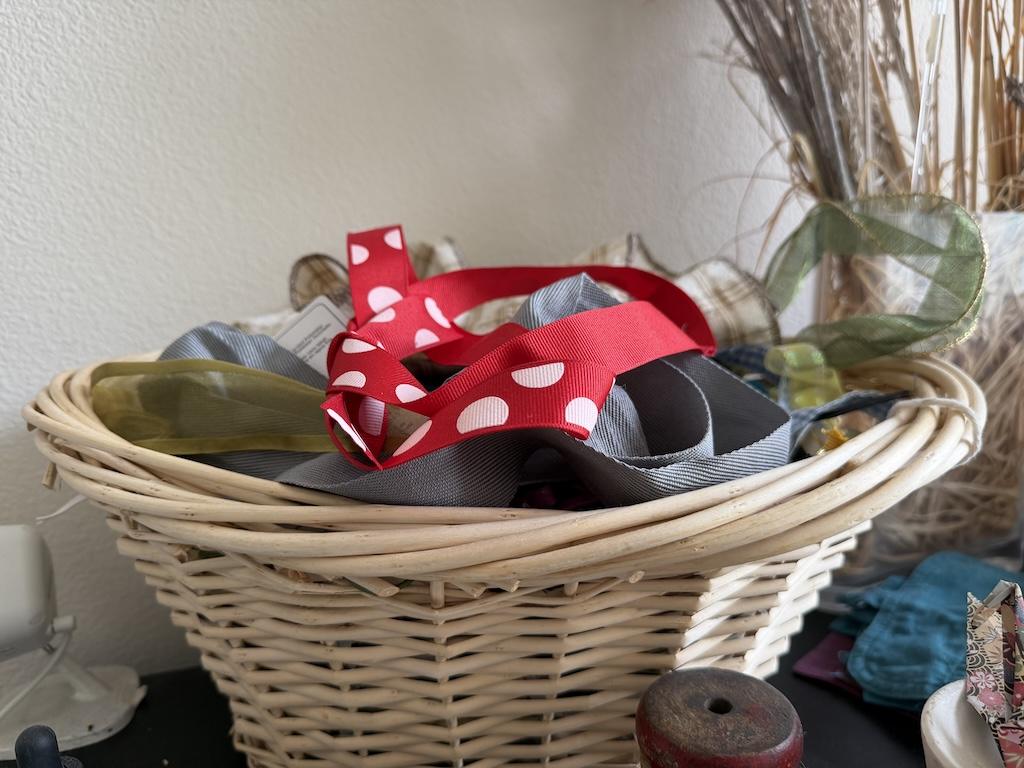
I’ve got a few baskets in my house. They were gifts, as I don’t recall buying them.
But I repurposed them for holding ribbons, elastic, and bias tape. I like throwing this stuff in baskets, and it looks pretty.
Back when I purchased my cabinets from IKEA, I bought some bamboo baskets too. I had two really big ones that I stored fabric in.
I also had bamboo baskets in my cubbies. But after some time, they got moldy.
Then I researched that this can happen to bamboo, so I stopped using them.
6. Divided Craft Containers
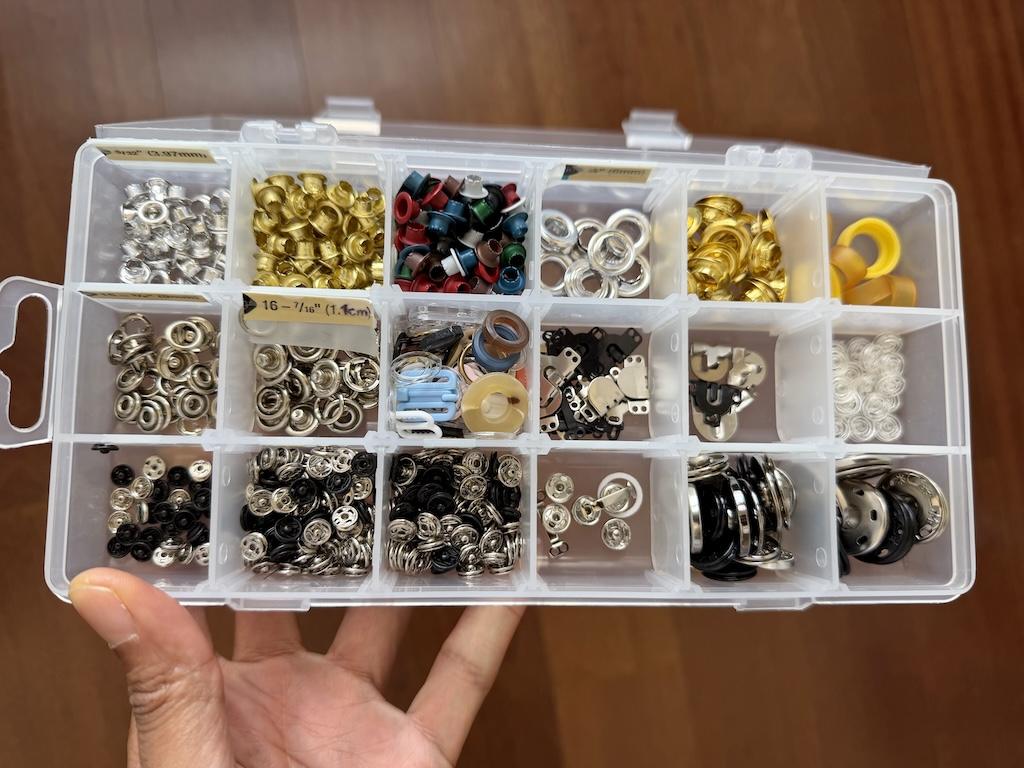
I have a few of these divided craft organizer boxes for the small stuff. This includes beads, baby pins, and other notions.
They come in very handy. I have them organized according to little notions and trinkets that go together.
This helps me keep all the eyelets, snaps, bra sliders, rings, hooks, and eyes organized in different sizes.
Plus, I like that I can stack these on top of each other in the cubbies. I had purchased these from Walmart or Joann.
Make sure you get some with good locks. The last thing you want is for one of these to pop open and your stuff fall out!
7. Drawer Organization
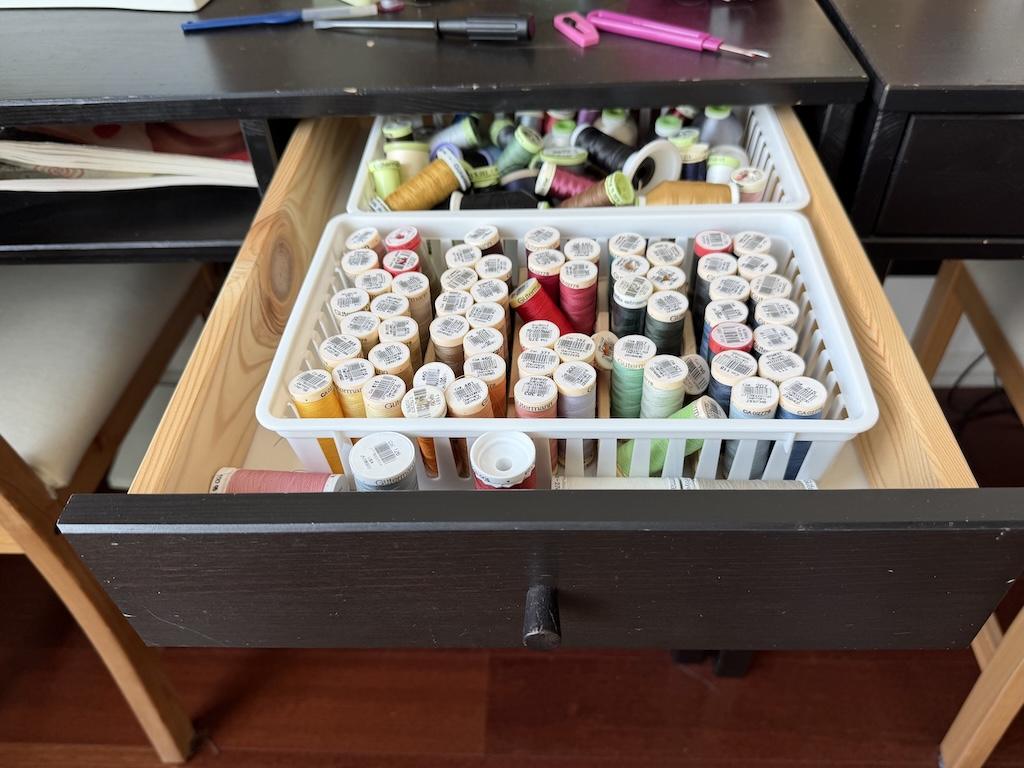
So, my drawers are pretty organized with baskets and trays. I mentioned before that I use these little baskets from Walmart or the dollar store.
They fit perfectly in my desk. And you might want to measure the depth, but the smallest sizes seem to work best.
I do have a lot of different types of thread, and they go in these baskets. I mostly have backstock, light thread, heavy thread, and hand sewing thread in them.
As far as trays, the best ones come from old makeup kits! They’re great to organize needles and other small tools.
Plus, this was a great way to reuse more things I’m not using around the house. The flatter they are, the more stuff I can lay on top of them.
8. Makeup and Tackle Boxes
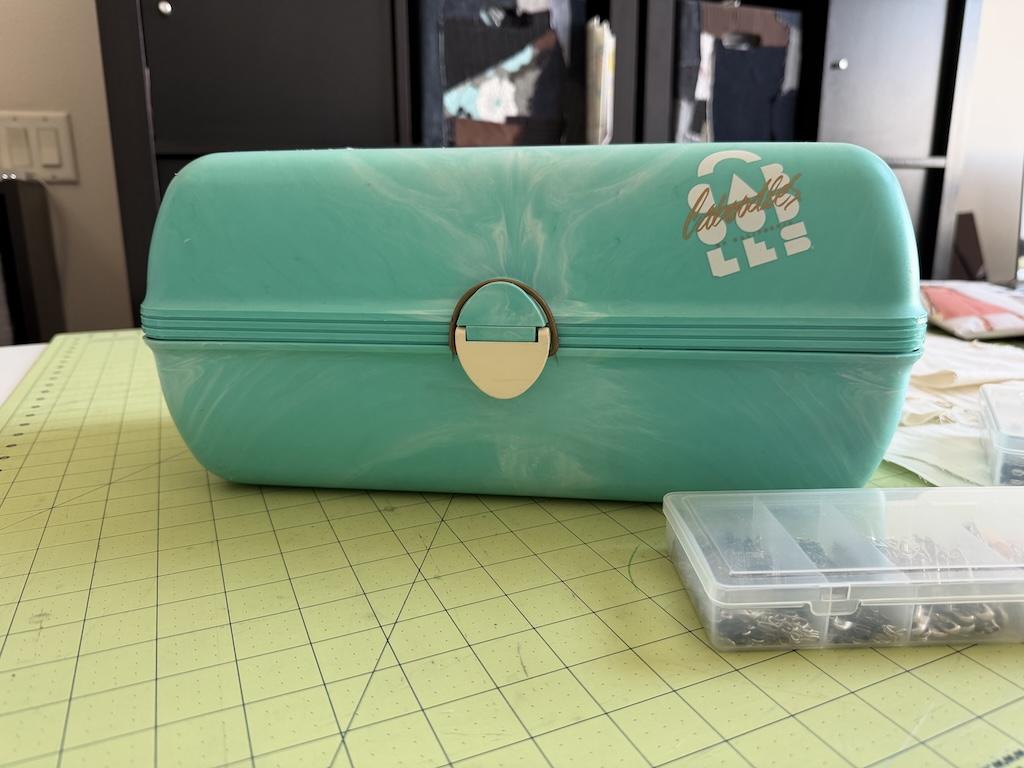
Speaking of makeup kits, these are great for storing sewing supplies. I have this old Caboodles case.
First off, I loved these things, especially back in the day when I used to travel for long trips. Now I bring a smaller cosmetics kit.
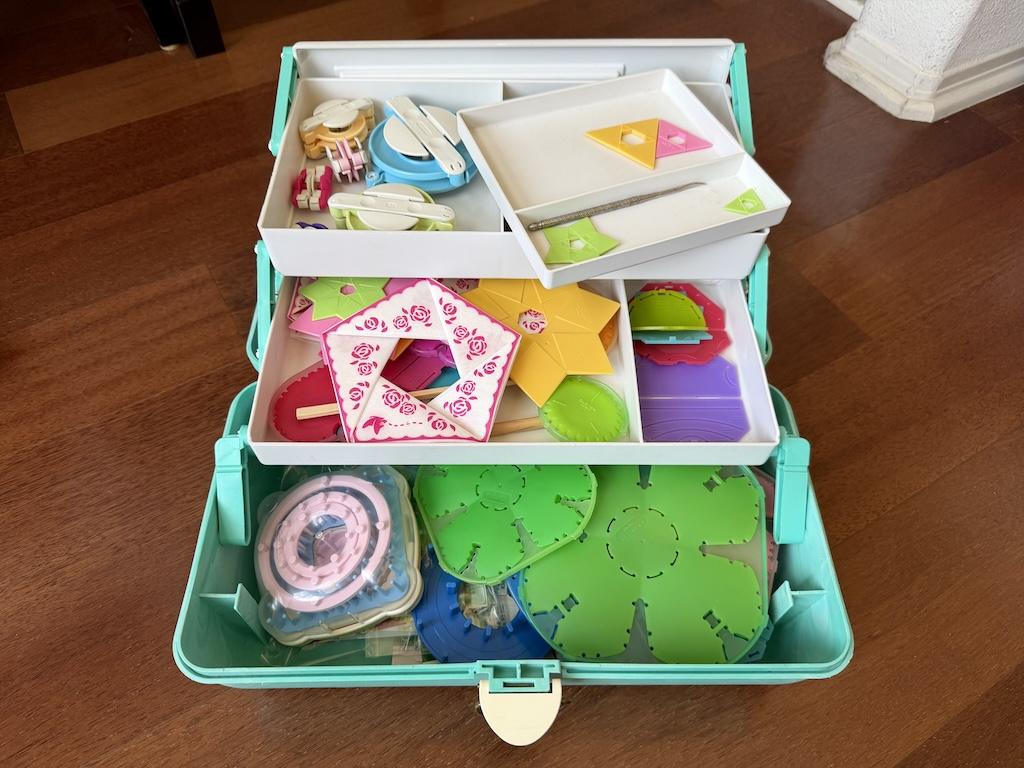
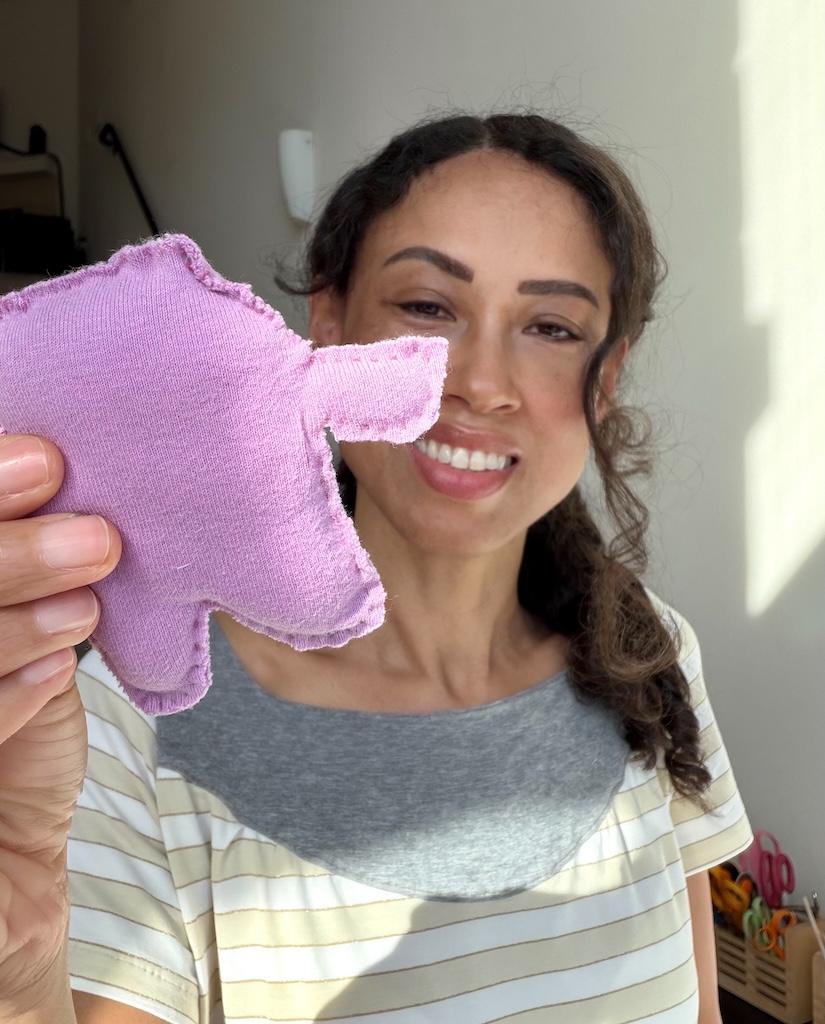
But my old Caboodles is pretty big. I store all my yo-yo and fabric flower-making tools in it.
Oh, and I have fun pom-pom making stuff too!
You can also use these as tackle boxes too. I’ve found some legit tackle boxes and art kits that are amazing.

Walmart also has some cool tackle boxes in the fishing department. I like the clear plastic as it’s so much easier to find stuff!
However, I have this mini one that I decorated and used when I worked backstage.
9. Storage Bags

Years ago, I bought these storage bags from Amazon. They claim to be dust-free, and I’ve had them for years.
So actually, they do keep my stuff clean. And they’re also breathable and not too costly.
I kept some fabric, mockups, and clothes I’ve sewn and need to upcycle in there. Since I don’t have much room, they’re under my bed.
I used to keep this stuff in luggage, but I have upgraded my luggage so they don’t fit under my bed. Plus, I donated my old luggage to the women’s shelter.
The storage bag is so much lighter, and now I’ve been storing other things besides sewing stuff in them too.
And mine is actually bamboo, but they don’t get moldy. Unlike the bamboo baskets I mentioned using before, these are different.
10. Shelving in the Closet

I spent time last fall organizing my fabric stash, and I did a good job. Most of them are on shelves, either on the top or at the bottom.
Years ago, I bought wire shelving units that are under my clothes. And they work well for outdoor use too, as I have plants on other ones.
Anyway, I have mostly new fabric at the top, and I organized it according to type. Like rayons, quilting cotton, denim, linen, etc. are all together.
I put all my muslin and old bed sheet fabric together and use these for mockups. So they’re stored in plastic bags that you get from buying bed sheets.
There are other fabric scraps and remnants I want to use in big plastic zip-up baggies.
And this has been so helpful because I used to look for stuff in my closet, and now it’s all nice and neat!
Additional Notes
I didn’t get all these things at once. It grew over time.
So don’t feel compelled to go out and buy a bunch of stuff. Like I said, I’ve found ways to reuse containers and baskets.
That way, I don’t need to buy new things. You might look around your house to see what you can use.
Also, I linked to similar stuff on Amazon so you can see what’s available online. I mostly bought my supplies in a physical store.
Final Thoughts
I’ve found a system that works for me and my room. Once I move into a bigger space, I can expand.
Or I could downgrade my sewing supplies and work with less. But why would I want to do that?!
More About Sewing
- Find out how my sewing room really looks behind the seams.
- Want some ways to refresh your closet for the new season?
- I finally dealt with my unfinished sewing projects, and you can find out how.
- Let me tell you about some mistakes that caused me a lot of sewing stress.
Originally published: April 9, 2026