Disclaimer: This post may contain affiliate links. As an Amazon Associate, I earn from qualifying purchases.
Over many years as a sewist, I’ve learned things the hard way. But I’ve gathered many fashion sewing tips that made me better along the way.
From choosing the right projects and materials to taking my time, I went from creating okay garments to more polished ones. There won’t be any gatekeeping on this one!
So, come along as I share all my tips with you, so you can avoid making the mistakes that I made early on!
Tips for Sewing Clothes
You’ll want to keep these things in mind as you plan your next projects. And you might want to come back to this list from time to time.
Friendly reminder—Wink, wink.
1. Choose projects at your level.
Speaking of which, you’ll want to choose a project at your level. This applies to everything you’ll sew.
If you are a beginner, you’ll get frustrated if the project is too difficult. And if it is too hard, you might give up on sewing.
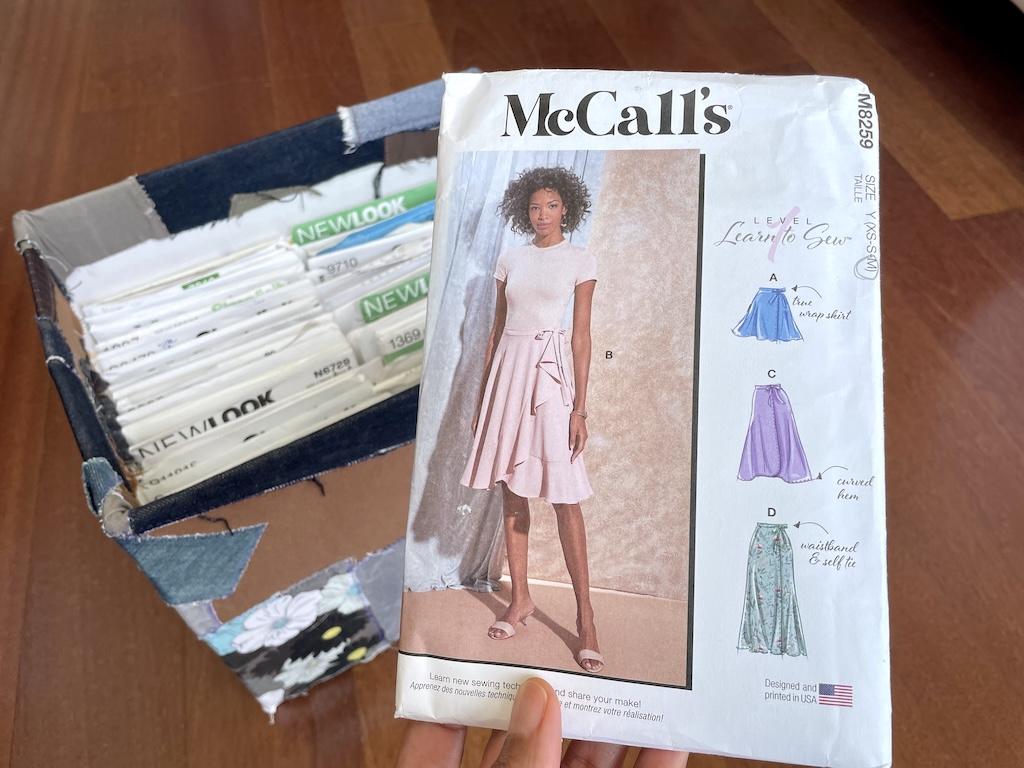
You’ll want to choose beginner patterns when starting out. For example, McCall’s has a Learn to Sew collection with levels 1 to 3.
It’s okay to collect more difficult sewing patterns for future goals and inspiration. With time and practice, you’ll be able to tackle them.
2. Choose projects you want to make.

Choose projects that you want to make. If you’re interested in fashion sewing, start with a tote bag, headband, or easy skirt.
If you are interested in making home decor, why not start with a pillow or napkins? Say you’d like to make stuffed animals and dolls, well, start with easy ones for beginners.
When you aspire to make quilts or blankets, find some easy projects. If you’re uncertain, you can dabble around until you find what you gravitate to.
There is nothing more demotivating than working on something you don’t like. I enjoy making clothes, so that’s what I spend my time on.
Of course, I’ll make other things too, but I’ve got my preferences. And that’s what makes it so fun.
3. Make a mockup.

If it’s the first time making a sewing pattern, you’ll want to make a mockup. This is your draft or sample.
Use this to check the fit and look of the finished project. That way, you don’t have to use your nice fabric in case it doesn’t turn out.
Ideally, you want to use a fabric similar to the one you’ll make the garment with. Muslin is a lightweight cotton fabric I like to use, along with broadcloth and old bedsheets.
I’ve made so many garments without a mockup because I assumed they’d turn out. Sometimes they did. Sometimes they didn’t.
Don’t base this on how the model looks in the outfit. We like to think that’s how it’ll look on us, but that’s not always the case.
Making a mockup can take up so much extra time. However, it’s a great way to do a pre-check and warm-up before sewing the real thing.
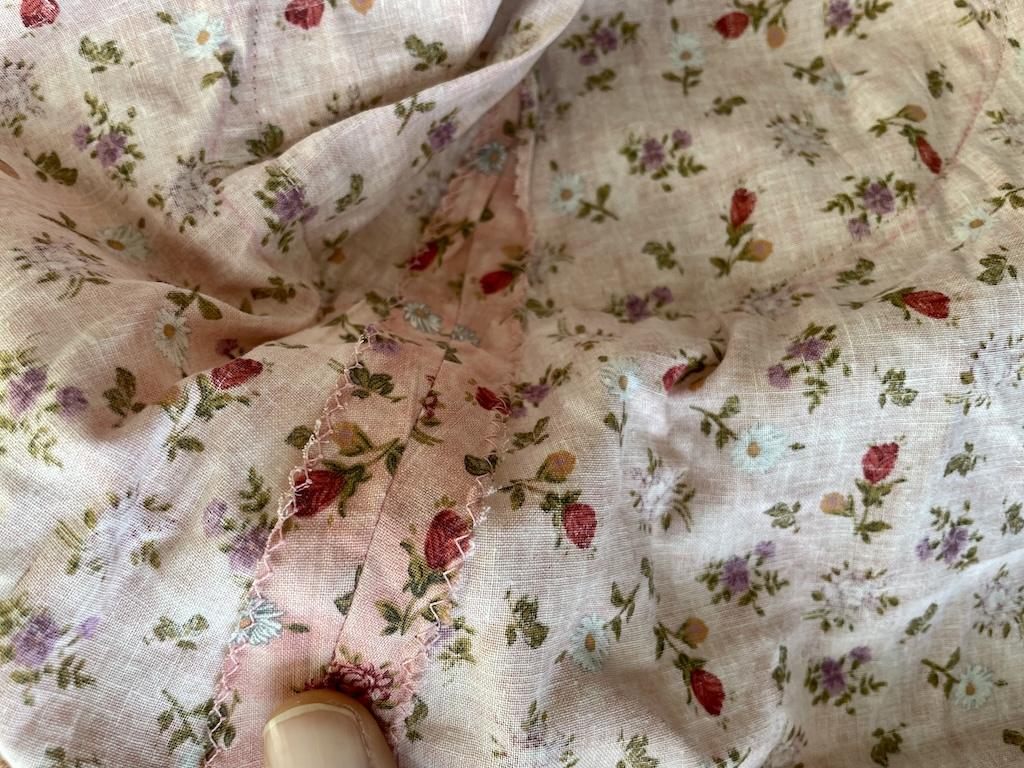
4. Choose the right fabric.
That brings me to the fabric. This is the one thing that will make or break the outcome of your garment.
Because the outcome will rely heavily on the fabric you choose. Trust me, I’ve had major fails and know this one well.
There are so many fabrics out there, so how do you know which to use? Well, when you use sewing patterns, they’ll tell you.
Look at the suggested fabrics on the envelope or in the directions. These are the fabrics that you should use.
Once you’re experienced, you’ll learn the properties of different fabrics. As a beginner, you’ll want to sew with woven fabrics (non-stretchy ones), as they’re easy to handle.
5. Get extra fabric.
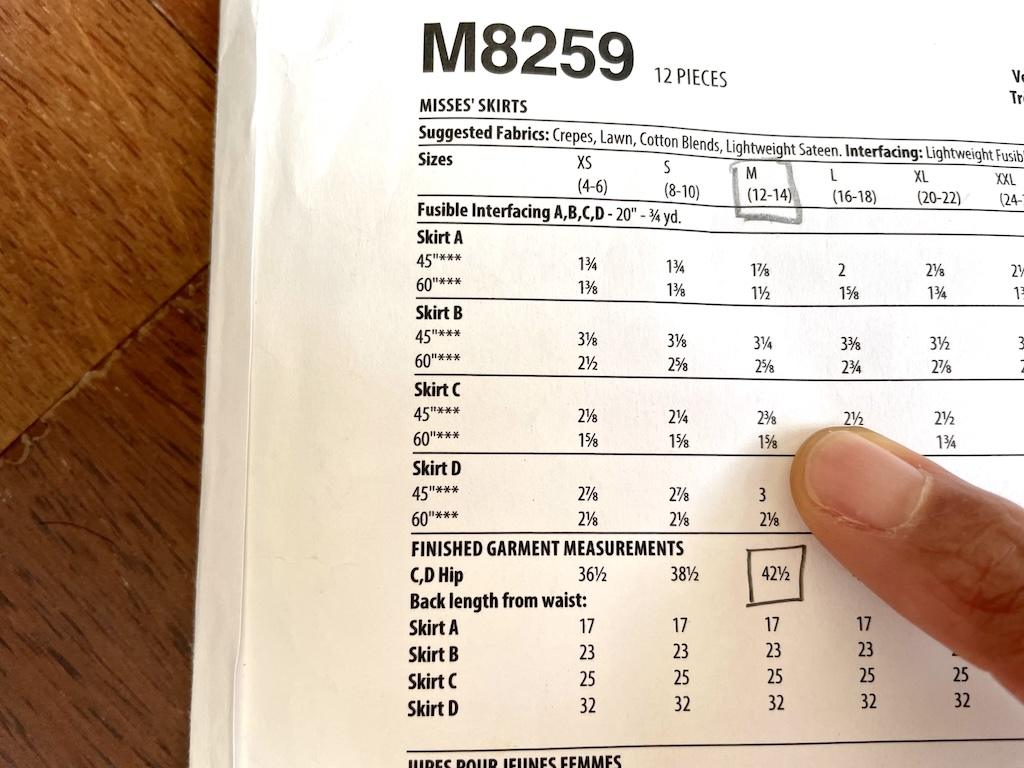
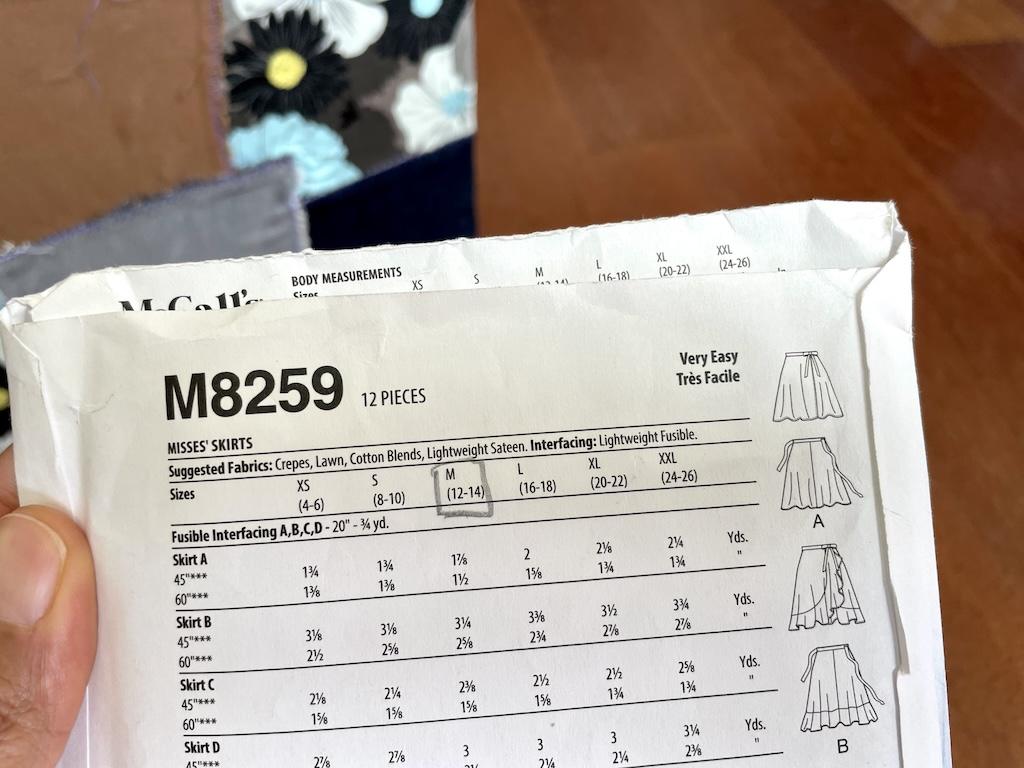
The sewing project should tell you how many yards of fabric you need for your size. You’ll want to get extra.
Depending on what I make, I like to have 1/4 to 1/2 yard of surplus fabric. That way, if I make mistakes or add to the design, I have enough.
When working with one-way designs, you’ll definitely want extra fabric. Think about plaid, you have to match up the lines.
It’s so annoying to be in the middle of a project and realize I need more fabric. Then I need to stop, run to the store, hope it’s in stock, and then wash it.
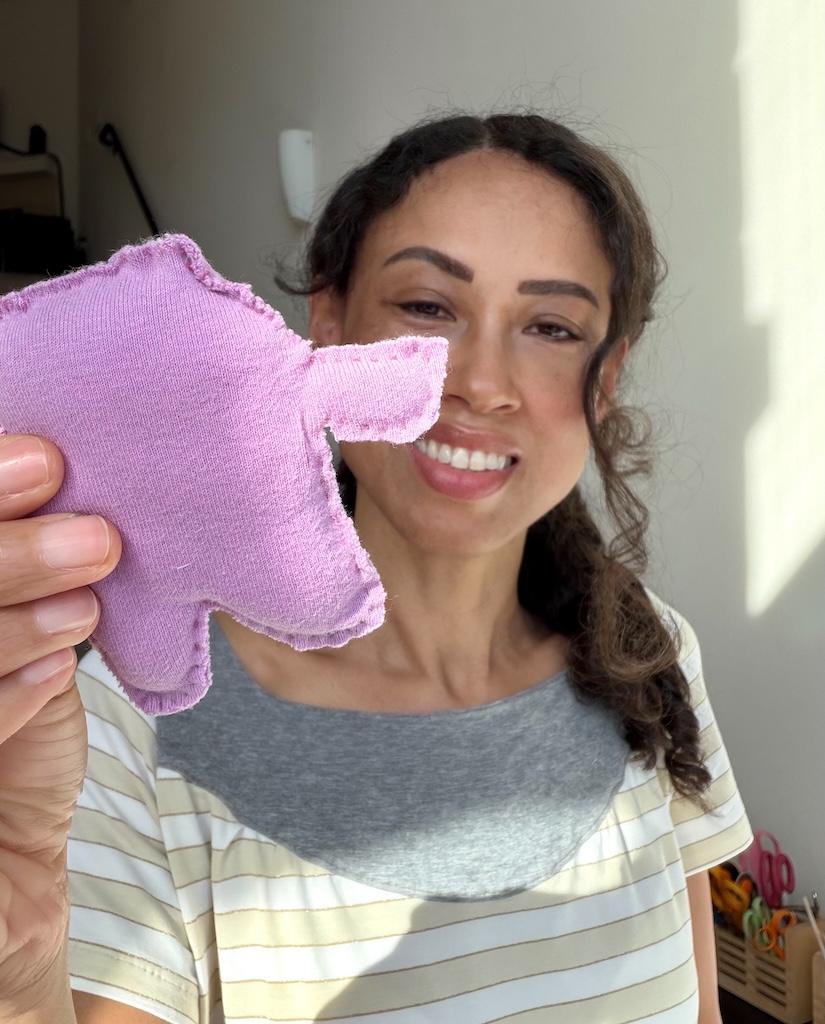
You can always use the leftover remnants for other projects. Check out how I used my extra fabric to make contrast pockets on my shorts.
6. Use the correct needle.

Needles come in many sizes and types. You’ll want to use a sharp needle that suits the weight and type of fabric.
For woven fabrics, I use a universal needle. When sewing knits, you’ll want to use a ballpoint needle, or one labeled for knits or jersey.
Choosing the size is important too. When sewing lightweight materials, I’ll use a size 65/9 to 75/11 needle. For medium weights, I use an 80/12 needle. And for heavier fabrics, between a 90/14-110/18 will do.
What happens if you don’t choose the right needle? Well, the fabric might pucker or the thread might break.
I’m guilty of forgetting to change my needle. You should do this at the beginning of every new project.
And of course, if you have a bend in your needle, you’ll want to change that out right away. Aim for straight, sharp needles for the best results.
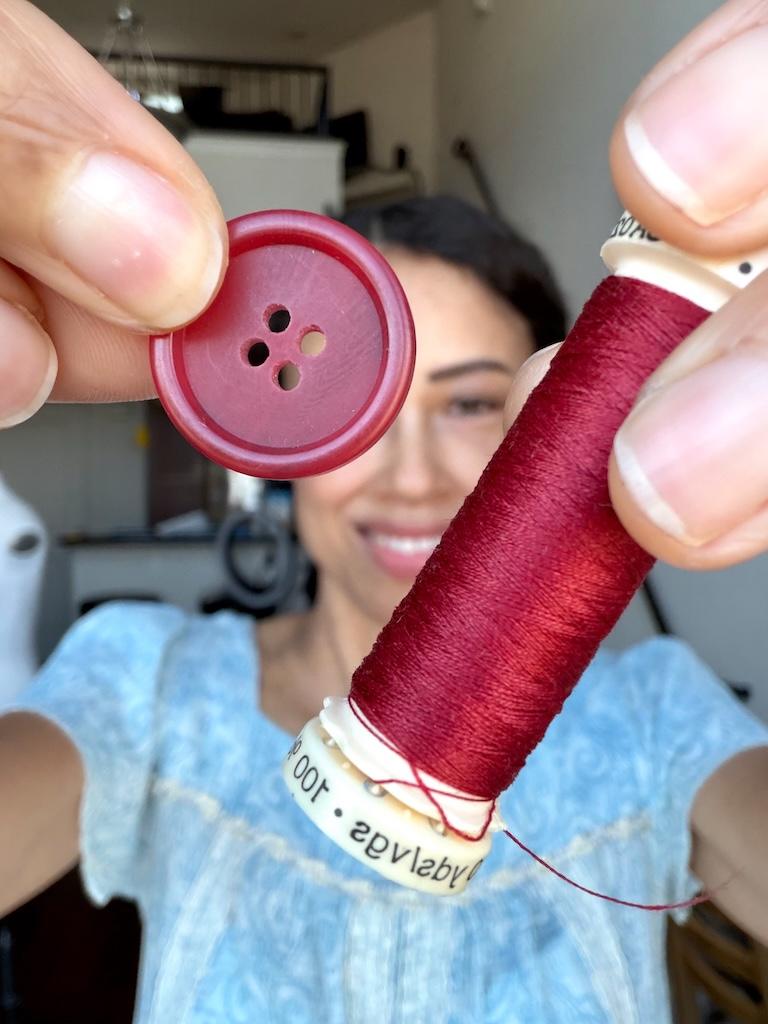
7. Use the correct thread.

Just like with needles, there are different kinds of threads. When sewing clothes, I typically use Gutermann all-purpose thread, made of polyester.
It’s good for medium to heavyweight wovens and knits. And now they have a stretch thread that you can use with knits.
When I sew lingerie, I use a thread for lightweight fabrics. And when sewing denim, I’ll use a jeans thread that’s made of cotton and polyester.
Use serger thread with overlock machines. You might be tempted to use this thread in your sewing machine.
But, it has a weaker strength because it’s supposed to be looped together. So, it may break easily for stitching other than serging.
8. Follow the directions.

When you buy a sewing pattern, you’ll want to follow the directions. Some of them also come with helpful sew-along videos.
The directions on this McCall’s skirt pattern are simple and very easy to follow. I like to read through the directions before starting.
You might be tempted to go off the cuff because you see people with advanced skills doing hacks and modifications.
But when you’re learning to read sewing patterns, follow them step by step. Once I learned how garments were made, I found my own methods.
I improv a lot. However, the first time I sew a pattern, I like to follow the directions.
9. Pin and/or baste.

When you are sewing pattern pieces together, you need to pin and/or baste. This will keep your pieces in place as you sew.
Say you sew patch pockets on a garment. Well, if you don’t have a way of keeping them where they need to be, they’ll move around.
So I like to use straight pins or clips on occasion. You’ll figure out which you prefer.
After pinning, I’ll baste the seams together to ensure fit. This is important, especially if it’s a rounded seam like a cuff or collar.
Basting is a temporary stitch and is much easier to remove than a permanent one. Especially when working on a mockup, I’ll baste, because I end up deconstructing seams to fit the garment.
10. Press as you sew.

Pressing is just as important as sewing itself. You’ll need an iron set up in the room.
I have mine near my sewing machine because I press almost as much as I sew. When you follow the sewing pattern directions, they’ll tell you what to press.
When you don’t press your seams, the garment won’t look nice. Pressing pushes the fabric where it needs to go.
Folds and seams will stay neatly in place. This will make your garment look polished.
Never ignore the directions when they tell you to press. They tell you this for a reason.
11. Take your time.

When sewing clothes, this is one of those tips I’d highlight. Allow yourself time to finish the project.
I’ve been sewing for so long, I can guess how many hours a garment will take to sew. I always figure in another few hours.
Things don’t always go as planned. Trust me, I make mistakes. Then I have to seam-rip and start over.
Or I don’t like how something looks, so I re-create or modify it. Things will go awry.
When I rush or I’m tired, I make way more mistakes. Know when to retire for the day and start fresh later.
So if you’re planning to make a costume or outfit for a big event, start well ahead of time. You don’t want to be all stressed out and working on it down to the final minutes!
12. Take notes and pictures.
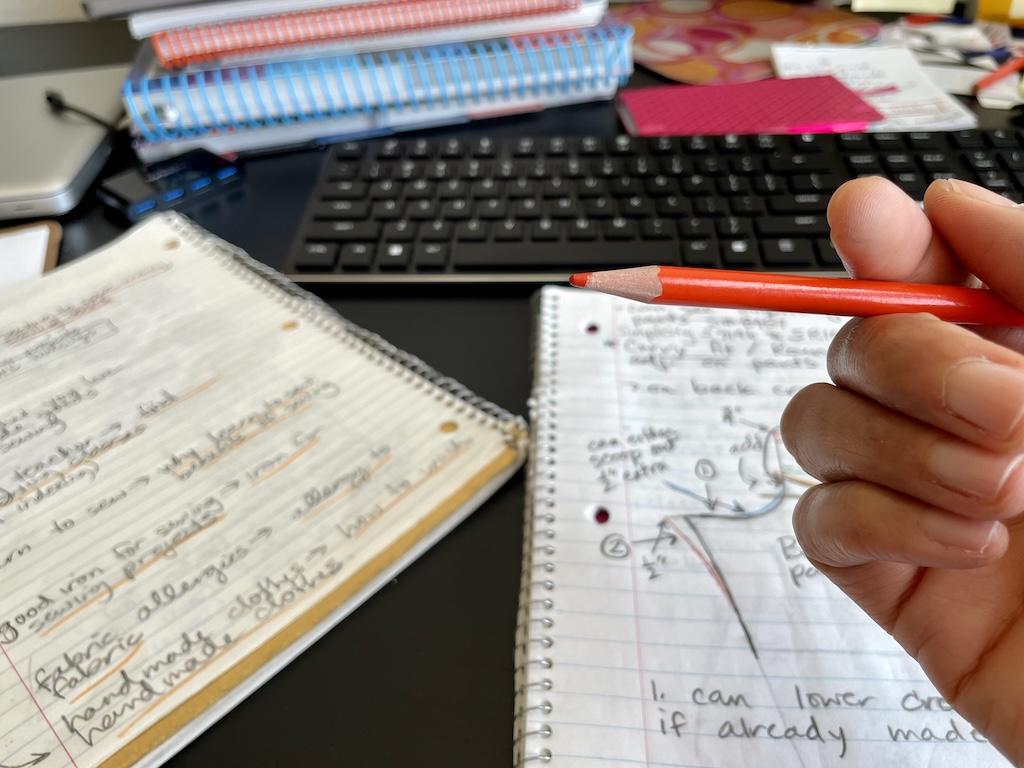
I’m glad I started this early on. However, I wish I had pictures of the sewing projects I did as a child.
You’ll want to take notes on your creations. Write down what worked and what didn’t work.
Jot down ideas and draw pictures. I have way too many notebooks, and I also write on the sewing pattern directions.
That way, when I sew the pattern again, I have notes to refer to. You might revisit a pattern years later and forget what needed adjustments.
Take pictures of your finished projects too. That way, you have a reference and can remember them.
That garment may be upcycled or donated, and you wish you had the picture. I keep mine in a folder on my computer and have hundreds.
Okay, you don’t have to take as many as I do. A couple of shots with do.
Overall
Fashion sewing is complex because there’s so much involved. Once I learned and used these tips, they became ingrained in my head.
The more you sew, the more you’ll understand why having a good foundation is important. We all want our creations to come out the best they can!
Read More
- What are some basic sewing supplies you’ll need when beginning to sew? I’ll show you!
- Would you like to know how to cut tissue paper patterns?
- I’ll also show you how to cut digital patterns, if you get them online.
- Let me tell you about all the clothes I’ve made with quilting cotton.
First published: June 16, 2025