Disclaimer: This post may contain affiliate links. As an Amazon Associate, I earn from qualifying purchases.
I alter a lot of my waistbands to make my bottoms more comfy. So, I thought I’d show you how I do my flat front elastic back skirt pattern hack.
We’ll hack a skirt sewing pattern with a side zipper to make it fit better. The finished garment will retain the zipper and contoured front waistband.
I’ll tell you which materials I used and my step-by-step process with photos. You might want to make a similar hack too!
Materials
These are the things you’ll need. Also, you’ll want to use the suggested fabrics and notions on the pattern that you choose.
- Skirt pattern
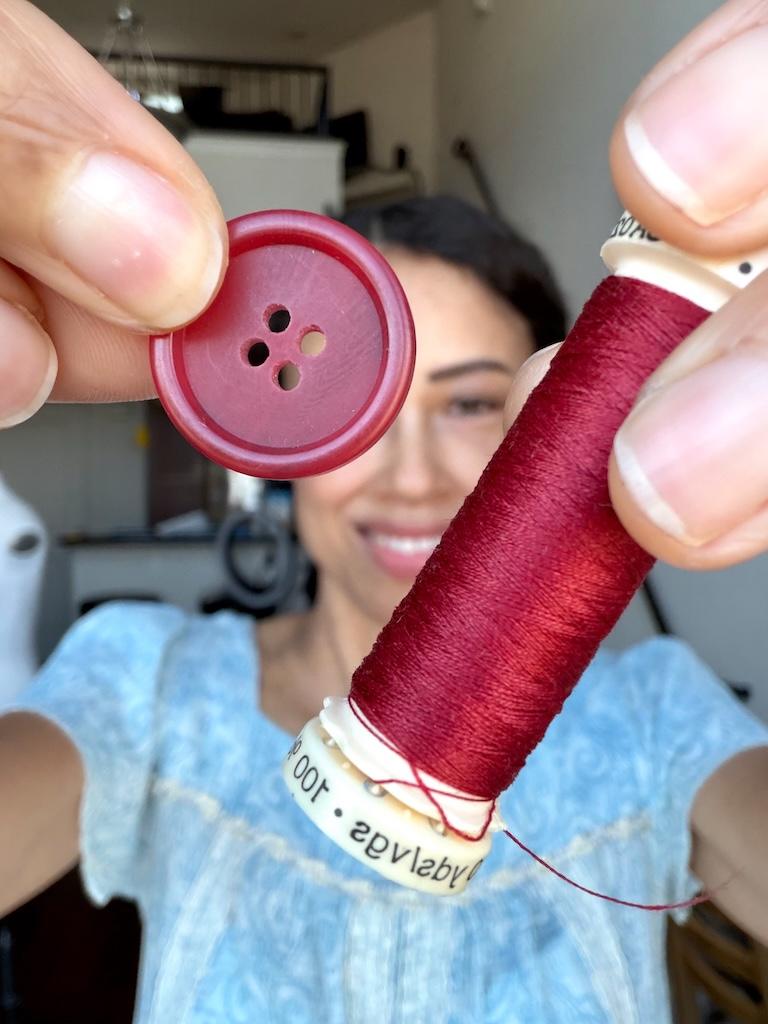
- Fabric
- Zipper: I used a 7” nylon zipper
- Elastic
- Interfacing: I used lightweight fusible
- Basic sewing supplies: needles, thread, pins, scissors, iron, etc.
Notes on Choosing a Skirt Pattern

I used Simplicity S2698 sewing pattern to make my skirt. It doesn’t have an elastic waist when sewn from the pattern.
It also has a side zipper and front slash pockets. We’ll keep the zipper to get in and out of the skirt. Note, we’re not making it pull-on.
There are many similar patterns out there. If your variation is different, i.e. button up front or zipper back, you might have to tweak this process a little.
Notes on Choosing Elastic
For the back waistband, I used 1-1/4 inch (1.25-inch) wide knit elastic. I actually used woven elastic for this tutorial, and you can see my guide for the best types to use.
If you want to use a different width, you must adjust the waistband casing size.
How to Make a Flat Front Elastic Back Skirt Hack with Zipper

This is an intermediate to advanced project. You should have experience with installing zippers and making pattern changes. If you’re not there just yet, you can save this for future ideas.
Note, this is my mockup, or rough draft, and I didn’t finish the seams. But you can see my markings and stitches better. Also, I used a 5/8 inch (0.625-inch) seam allowance throughout.
1. Cut your pattern pieces.

Cut your pieces out except for the front and back yoke pieces. I’ll use the term yoke to refer to the waistband that comes with the pattern.
Instead of cutting the yoke back, you will make a back casing for the elastic back waistband. I’ll show you how.
And before cutting the yoke front, you will need to make some adjustments. I’ll show you how to do that, too.
Simplicity S2698 sewing pattern has pleats in the skirt back, giving me an extra 4 inches around the back waist.
This is a good amount of ease for the elastic back. Remember, there’s a zipper for getting in and out.
If you use a pattern that doesn’t give you enough ease in the back, add width to the skirt back. You want at least 4 to 5 inches of extra fabric for the elastic back to gather.
2. Cut the back casing

I drew out a rectangle on my fabric that measured 25 inches by 4-1/2 inches (4.5 inches). I made sure it was long enough for the skirt back.
Make yours longer if needed. If you use the same elastic I use, the width will remain the same.
I actually used another sewing pattern as a template to make it easier. But you don’t need this.
By the way, for reference, I’m making a size 14. Before cutting, be sure the back waistband is long enough. It’s better to make it a bit longer and trim the excess later.
3. Cut the front yoke.

Before cutting the front yoke, I had to make adjustments. First, I traced the pattern.
I knew the width of the front yoke had to match up with the back casing. The back casing will be folded in half, so that the width measures 2-1/4 inches (2.25 inches).

That means my front yoke needs to be 2-1/4 inches (2.25 inches) plus seam allowance. I added a 5/8-inch (0.625-inch) seam allowance. The total width for my yolk had to be 2-7/8 inches (2.875 inches).

The side of my yoke was angled, so I straightened it out a bit. Remember, the back casing is a rectangle, so you’ll have to straighten it so that they fit together.

After that, I outlined my new yoke and labeled the markings with a permanent marker. Then, I cut it out.
The yoke front included in the sewing pattern has a nice curve in the front. I prefer this contoured fit over using a rectangular front.
You could bypass using the yoke by cutting another rectangle for the front waistband. However, you won’t get the nice curve in the front.
4. Sew your skirt.

For whatever sewing pattern you choose, follow the directions provided. You will sew the skirt as usual.
Sew the pockets and front darts or pleats if your skirt has them. At the least, there should be darts for shaping.
When sewing the skirt back, skip making the darts. Mine had pleats in the back, so I ignored them.
The elastic back will gather at the waist, so the darts and pleats used for shaping are not needed.
Sew the skirt front and back together at the sides.
5. Make the front yoke.

Follow the directions that come with the pattern to make the front yoke. I sewed across the top and then understitched.
6. Sew the waistband sides.
Now, sew the yoke front and back casing together at the side. But…
Keep in mind which side your zipper will go on. Make sure you sew up the opposite side.

You’ll want to leave a small opening on the side waist to pull your elastic through.

Press the seams open to lay flat before folding the waistband in half. You can baste them in place and undo the basting after inserting the elastic.

After that, I basted down the length of the waistband. That way, it stays folded in place when I attach it to the skirt.
7. Sew your waistband to the skirt.

Follow the directions and sew the waistband to the skirt. Make sure the waistband front matches up with the skirt’s front.
I basted mine first to make sure everything lined up. Then I sewed.
After that, you’ll want to trim and finish the seam. Press the seam down towards the skirt.
8. Pull the elastic through.

Using a bodkin, I pulled the elastic through the casing. I started from the back casing and pulled towards the opening made at the side seam.
Then, I sewed the elastic end to the back casing about one inch from the end. This will be next to the zipper.
Make sure you sew through the casing and elastic inside. I went over it twice to secure the elastic.
After pulling the elastic through the casing to the other end, I did not sew it yet. I just pulled it through the hole using a bodkin.
9. Add the zipper.

Now it’s time to add the zipper. Follow the directions for your sewing pattern to sew the zipper.
Some directions may tell you to lap the zipper so the seam allowance is not centered. I didn’t do that.
I press my fabric over 1/2-inch (0.5-inch) on each side. Then, I center my zipper between the 1/2-inch (0.5-inch) seam allowance on each side.
Note that I did not use an invisible zipper for my skirt. It wouldn’t work well with the elastic in the waistband.
On my pink skirt, I sewed a contrasting black side zipper. It doesn’t show that much, though.
10. Secure the elastic.

Once I had the zipper on, I could try on the skirt and adjust the elastic. I always use a baby pin to hold the elastic in place while I do this.

After that, I cut off the extra elastic, leaving about an inch. Then I tucked it in through the hole and sewed through the side seam of the waistband.
Stitch in the ditch is what it’s called…
11. Sew the hem.

If you haven’t done it already, sew the hem. Some people like to finish the hem in earlier steps. I save it for last.
And voila! You’re done. Not bad for a hack job!
Project Notes

You might want to make a mockup. That way, you can see if your sewing pattern will work with this hack.
You can also make any adjustments before sewing your final version. This is how I have hacked many of my skirts with zippers and button closures.
And when making your wearable version, make sure you finish your seams. If you don’t have a serger, you can use a zig-zag stitch.
Also, I added a polyester-cotton blend lining to my pink skirt, and it makes it more comfy!
Final Thoughts

Now, what I like about my skirt is that there’s no bulk in the front. Plus, with the elastic back, it’s way more comfy when sitting.
This project will take a little time, but learning the hack is worth it. Then you can wear your skirts out and about, and on vacation like I did!
More Sewing Projects
I have more related posts on my blog. You might want to check them out.
- By the way, I made my T-shirt and I love the neckline.
- I also made a fun tiered skirt with a flat front elastic back waist.
- What about a denim mini skirt hack with an elastic back waistband and zipper?
- Want to sew a flat front elastic back waistband on your low-rise pants? I’ll show you how!
I’d love to hear what kind of sewing projects you’re working on!
Originally published: September 5, 2024