Disclaimer: This post may contain affiliate links. As an Amazon Associate, I earn from qualifying purchases.
I made a couple DIY travel sewing kits, and they sure come in handy! I’ve used it to fix a button or make quick repairs on the go.
You can store one in your car, purse, gym bag, luggage, work desk, or wherever you desire. This also makes a great gift idea for that traveler you know.
I’ll show you the materials needed and how to make it step by step. It’s a pretty quick and easy project.
Materials

You might already have many of these items around the house. These are the things you’ll need.
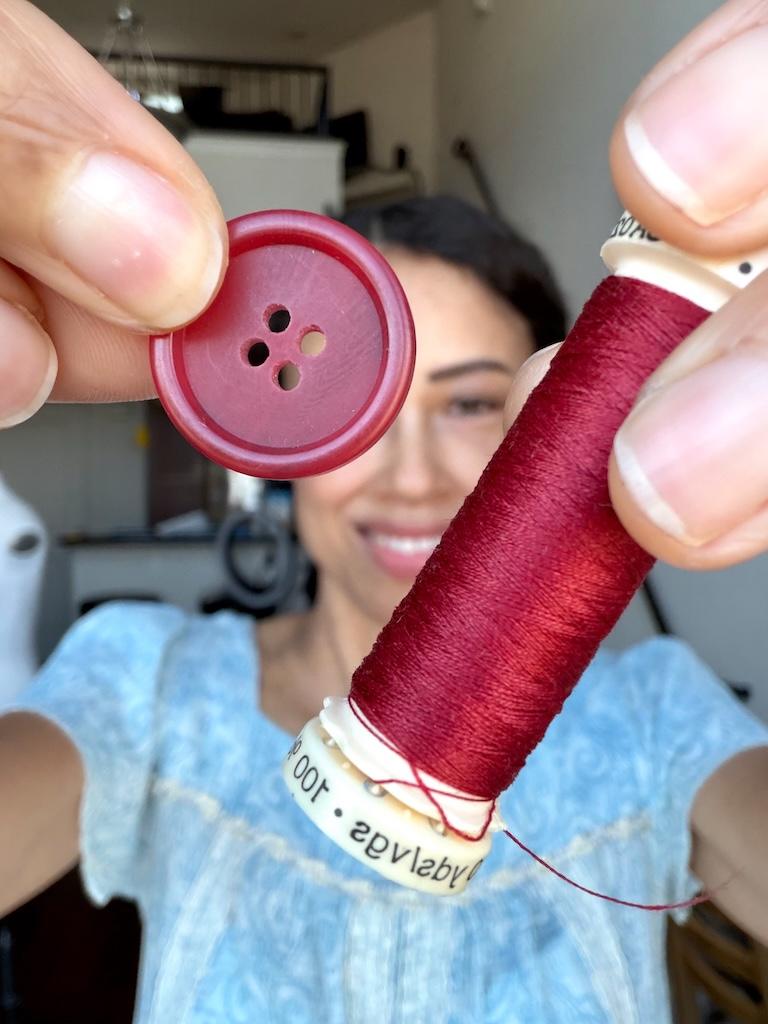
- Thread
- Safety pins
- Straight pins
- Mini razor
- Mini scissors
- Hand-sewing needles
- Snaps
- Buttons
- Tape
- Permanent marker
- Hair tie or ribbon
- Small tin or container
How to Make a DIY Travel Sewing Kit
Your needs may vary, but we’ll do the basics to make quick repairs. Don’t worry about putting too much in your kit.
You can always do your pro sewing job later on.
1. Grab your empty tin or container.

I actually use empty mint or candy tins. They come in small sizes and will protect your items.
Another reason is that you’ll want to reach into your bag or desk for your tin without a pin or needle stabbing you.
2. Put your sewing items in your tin.

The things on the list you’ll put in the tin are thread, mini scissors, safety pins, straight pins, mini razor, mini scissors, hand-sewing needles, snaps, and buttons.
My kit isn’t exactly neat and organized, but it works for me. You can put the buttons, snaps, and pins in small plastic bags before placing them in the tin.

If you need something to keep your thread organized in the tin, check out my tutorial on making a DIY flat thread spool.
3. Label your tin.
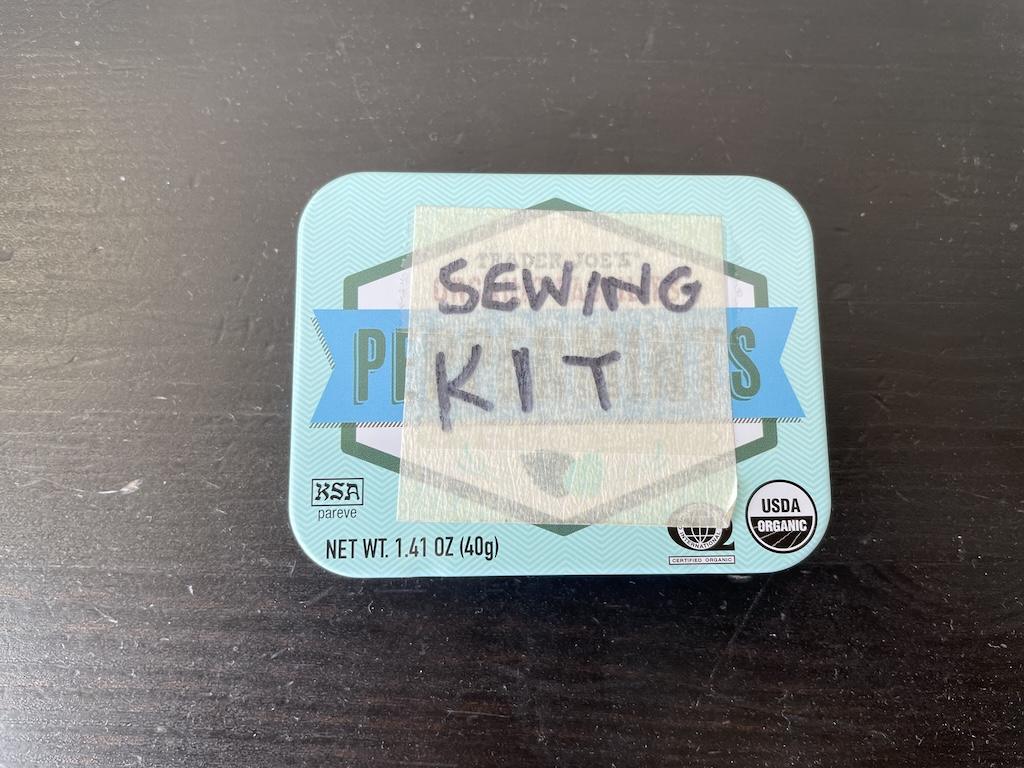
I took a piece of masking tape and put it across the outer lid. Then I wrote “Sewing Kit” on it. The reason for this is that while I might know what’s in it, others may not.
Plus, if it’s thrown in a glove compartment or desk, you’ll remember what’s in it without opening it.
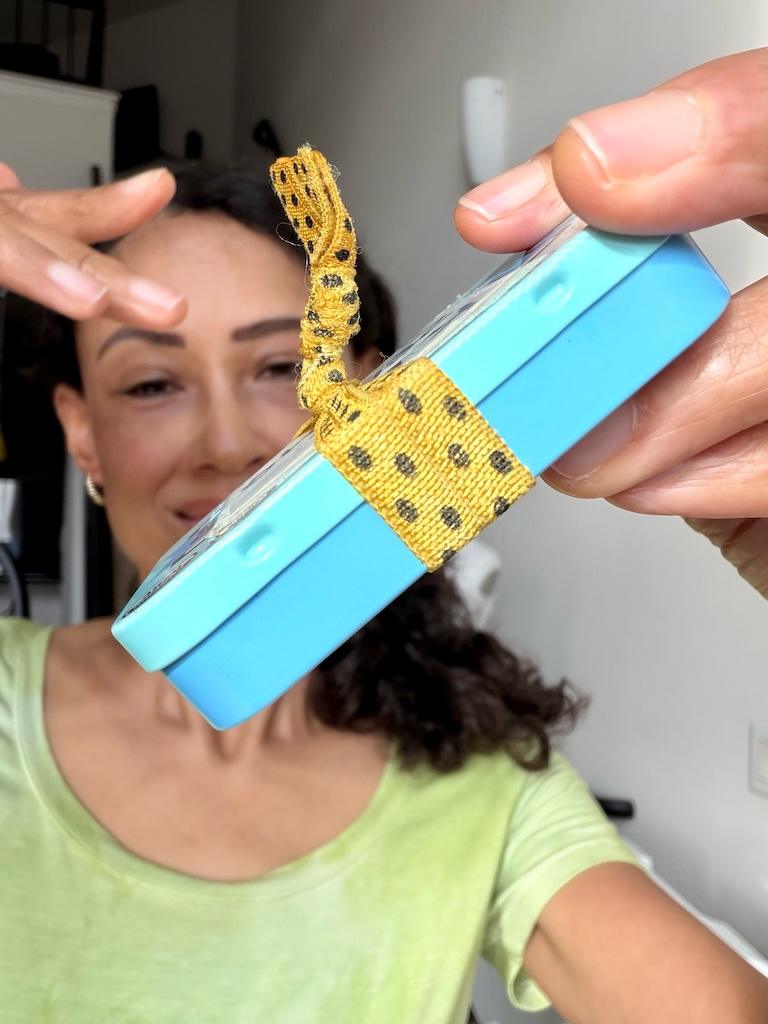
4. Secure your tin.
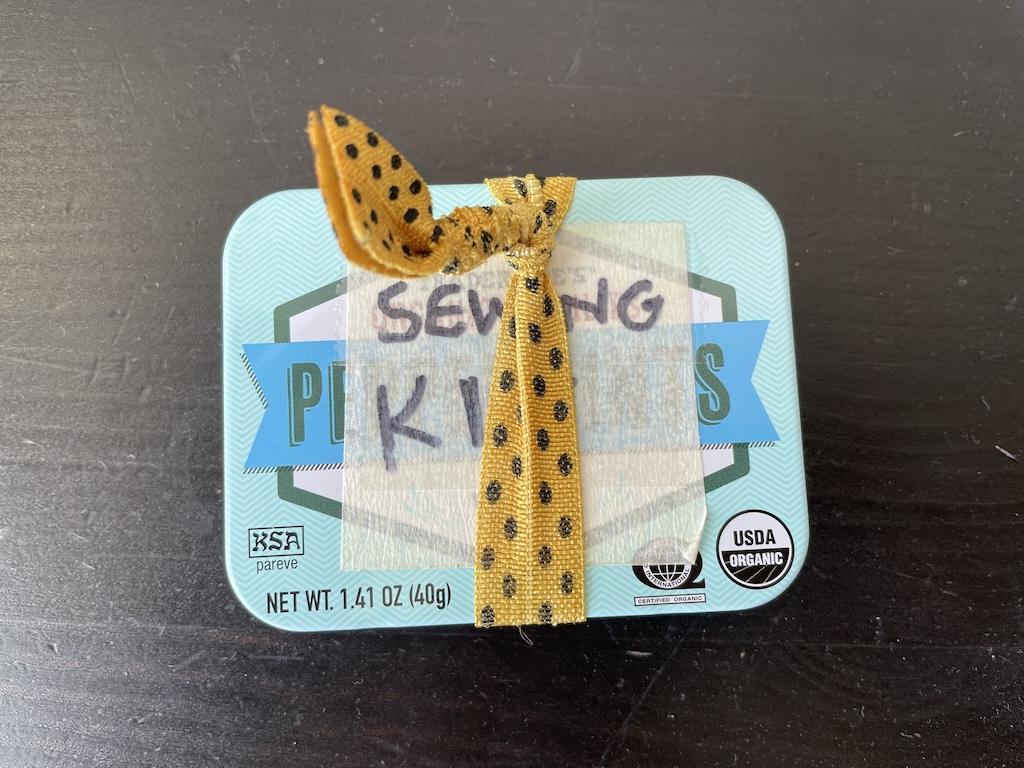
The last thing you want is for it to open up and all your items fall out! I like to use hair ties or ribbons to secure my tins.
Rubber bands tend to break after a while, so I don’t use those.
More Sewing Kit Ideas
Of course, you can decorate the outside of your tin to make it look much prettier than mine. I thought about hot-gluing buttons or beads on the lid!
If you make one as a gift, think about using a vintage tin. Then you don’t need to decorate it at all.
Project Notes
You can save money by making your own travel sewing kit. If you buy one, they cost between $5 and $30.
Yes… I saw one in the store for $30! It was in a tin, just like mine. It had a fancy lid, but the items inside weren’t any better.
Airlines, hotels, and cruise ships will also provide basic sewing kits when you travel. You can collect these whenever you go on a trip.

However, some of these kits (not all) use very cheap thread—the kind that breaks off while sewing.
Once, I used a cheap kit on a glamping trip. I had to make a makeshift curtain by sewing two pieces of fabric together.
The thread kept tangling and breaking. Plus, the dull needle barely poked through the fabric. Ugh!
So, you might be better off using the quality thread and sturdy, sharp needles from your sewing stash to make your own little kit.
Final Thoughts
Having a mini sewing kit might save your clothes in a pinch. Plus, it doesn’t cost that much to make your own.
I’m glad I carry one because I’ve used it on many occasions. And you might want to make more than one!
More About Sewing
I have many other related posts on my blog. You might want to check them out.
- Let me show you how to make your own flat thread spool to use in your mini sewing kit.
- Why not complement your sewing kit and learn how to sew a button by hand?
- I fixed my dress when it got stained by overdyeing the fabric to save it.
- Would you like to fix a small hole in your clothes with my no-sew method?
I’d love to hear about your sewing adventures!
Originally published: October 30, 2024