Disclaimer: This post may contain affiliate links. As an Amazon Associate, I earn from qualifying purchases.
Did your button fall off, or do you need to put one on a new DIY shirt? Well, I’ll show you how to sew it on by hand.
This is a great skill to have, whether you’re into sewing, crafting, or none of the above. Don’t worry, I’ve got absolute beginners covered in this tutorial.
I’ll show you the materials you’ll need and my step-by-step process with photos. Soon, you’ll be able to do it in no time!
- Materials
- How to Sew a Button by Hand
- 1. Choose your button.
- 2. Mark where the button goes.
- 3. Choose a needle.
- 4. Thread your needle.
- 5. Push the needle through the back side.
- 6. Pull the needle through the opposite hole.
- 7. Place the toothpick under the button.
- 8. Keep looping through.
- 9. Repeat the process for the other holes.
- 10. Finish off the back side.
- 11. Remove your toothpick.
- 12. Repeat for the other buttons.
- Project Notes
- Final Thoughts
Materials
First thing you’ll want to do is gather these things:
- Fabric (or garment)
- Fabric Scissors
- Buttons (two or four-hole)
- Hand-sewing needle
- Thread
- Beeswax (optional)
- Toothpick
How to Sew a Button by Hand
I’m using my freshly-made shirt for this one. But you can use this method to fix any clothes or accessories.
Just be sure to take your time and go slowly at first!
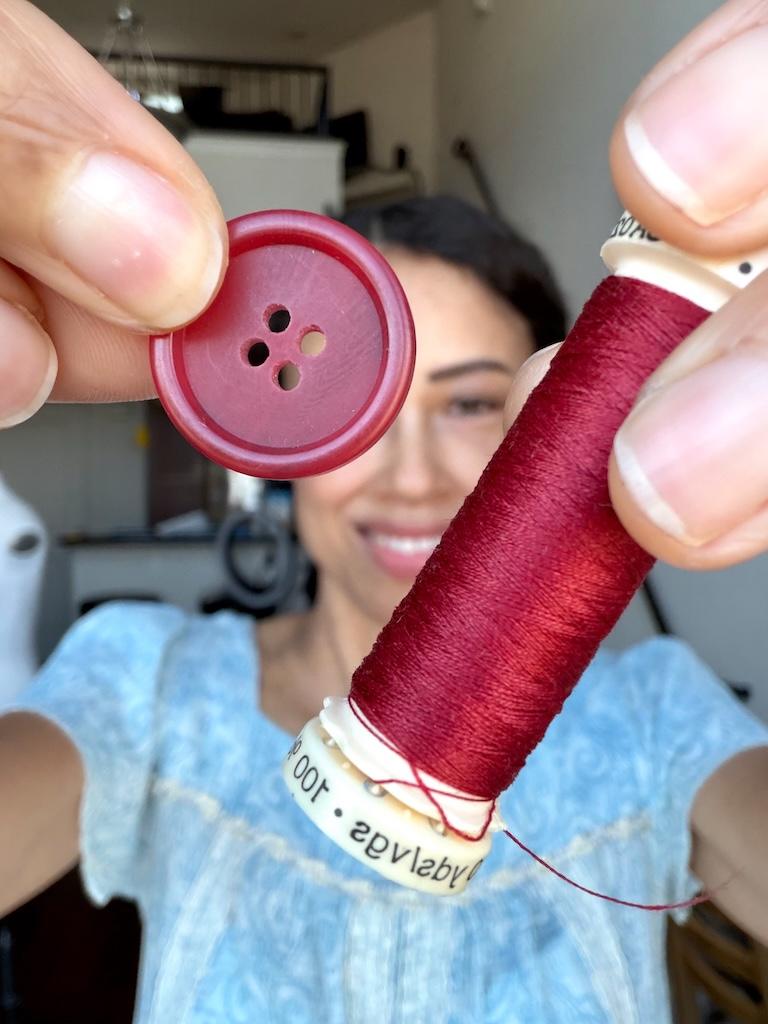
1. Choose your button.
If replacing buttons, look for ones that match the others on your garment. You can also be creative and pick all different ones.
No matter if you’re making something new or replacing, make the buttons fit the buttonholes.
Choose buttons that are the right size, thickness, and weight for your fabric.
I used 4-hole buttons that are about 5/8 inch (0.625 inch) in size. I put them on the fabric and felt them to test that they weren’t too heavy.
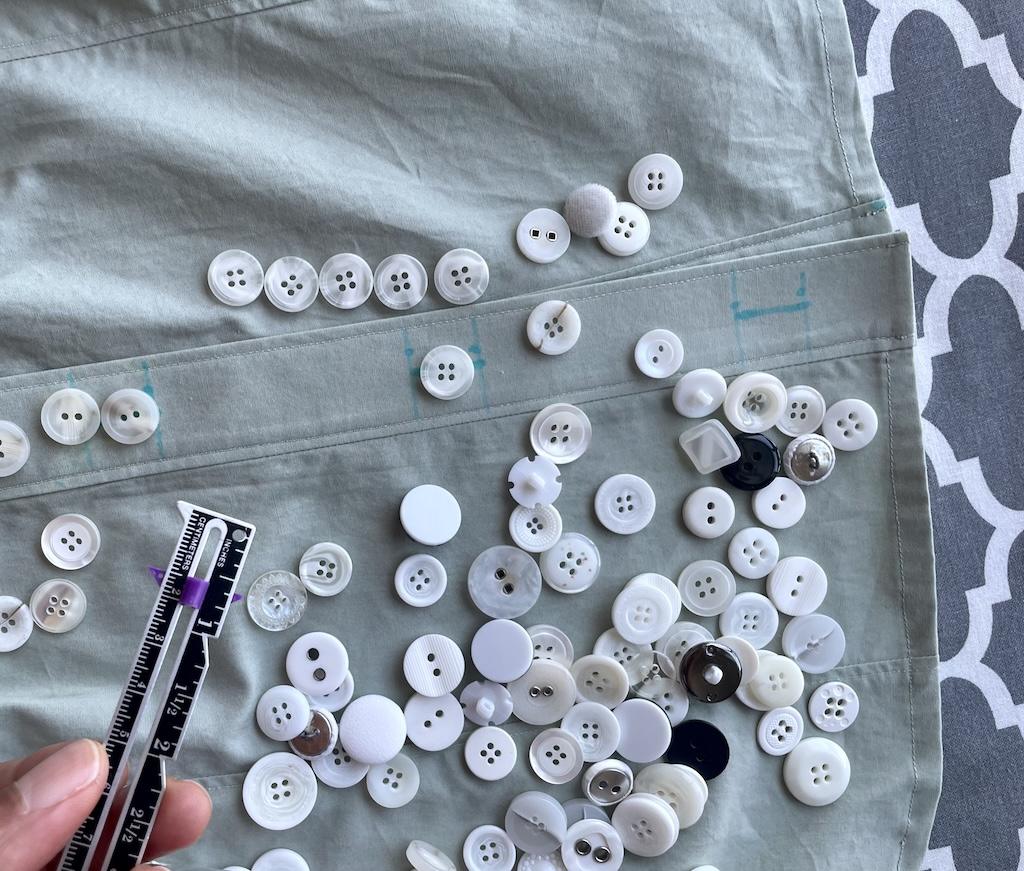
2. Mark where the button goes.
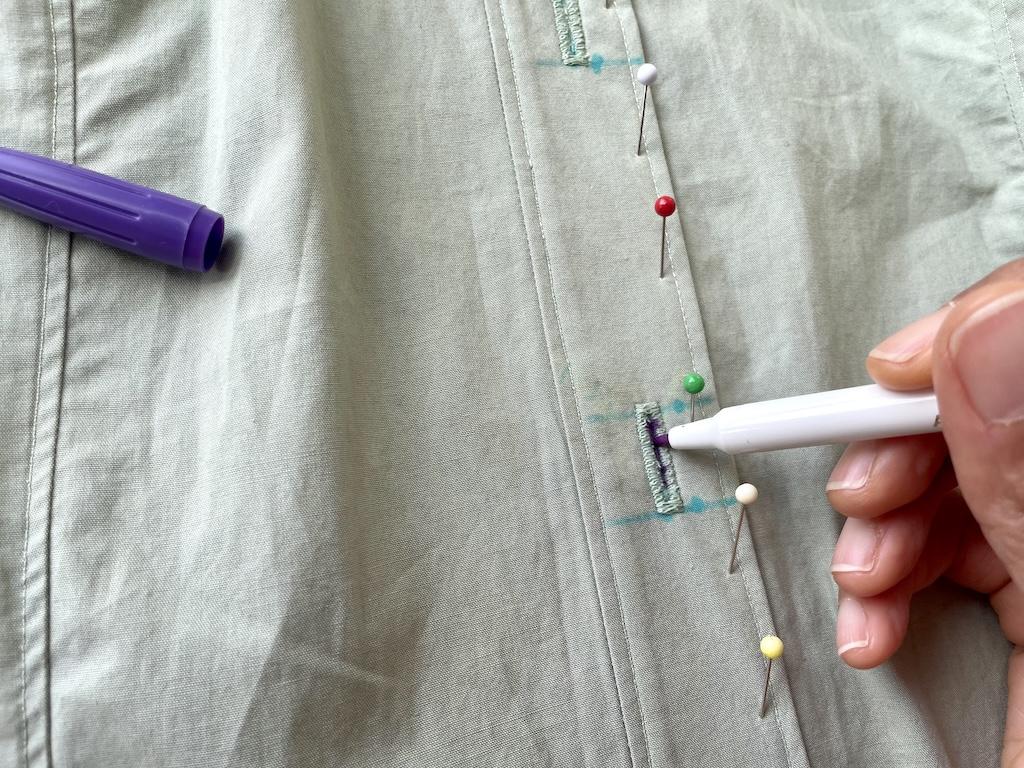
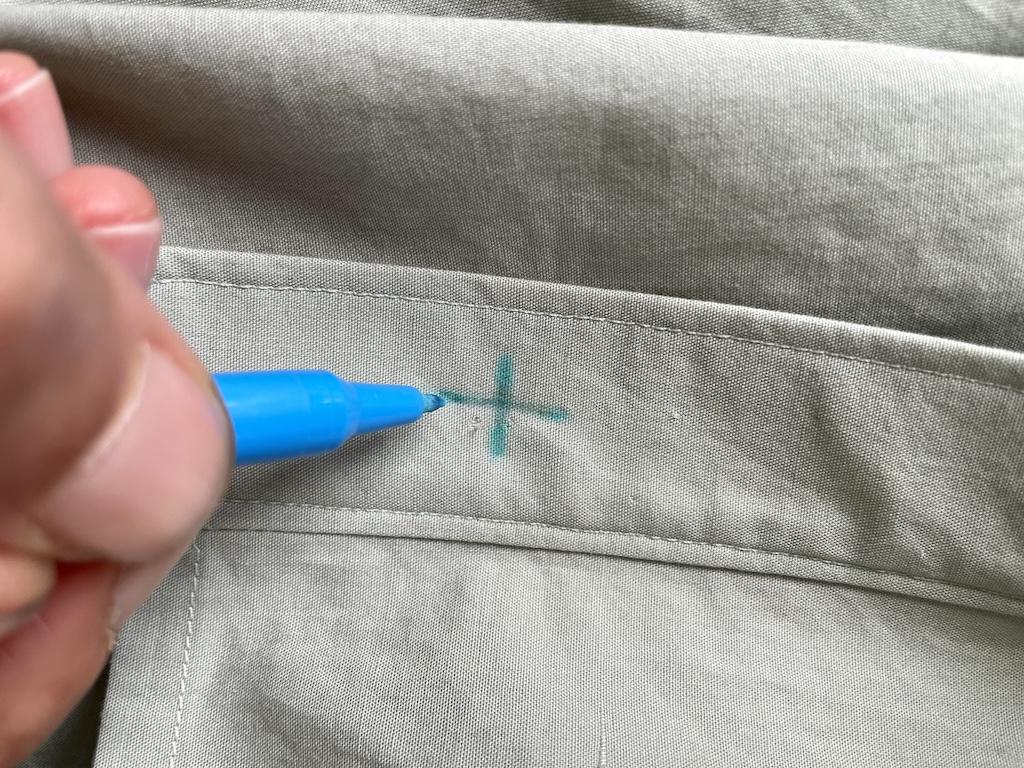
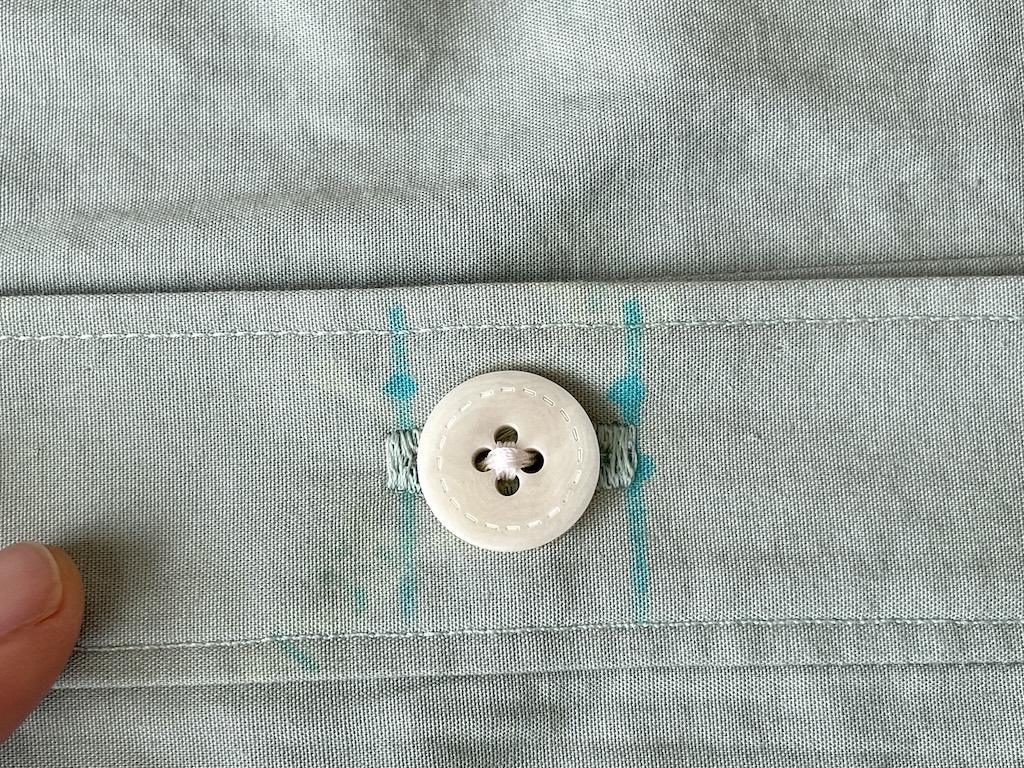
On my shirt, I’m going to mark where I need to place the button with a water-soluble fabric pen.
They’ll need to slide through a buttonhole, so I pinned the shirt with the overlap in front. Then I marked a cross through the buttonhole.
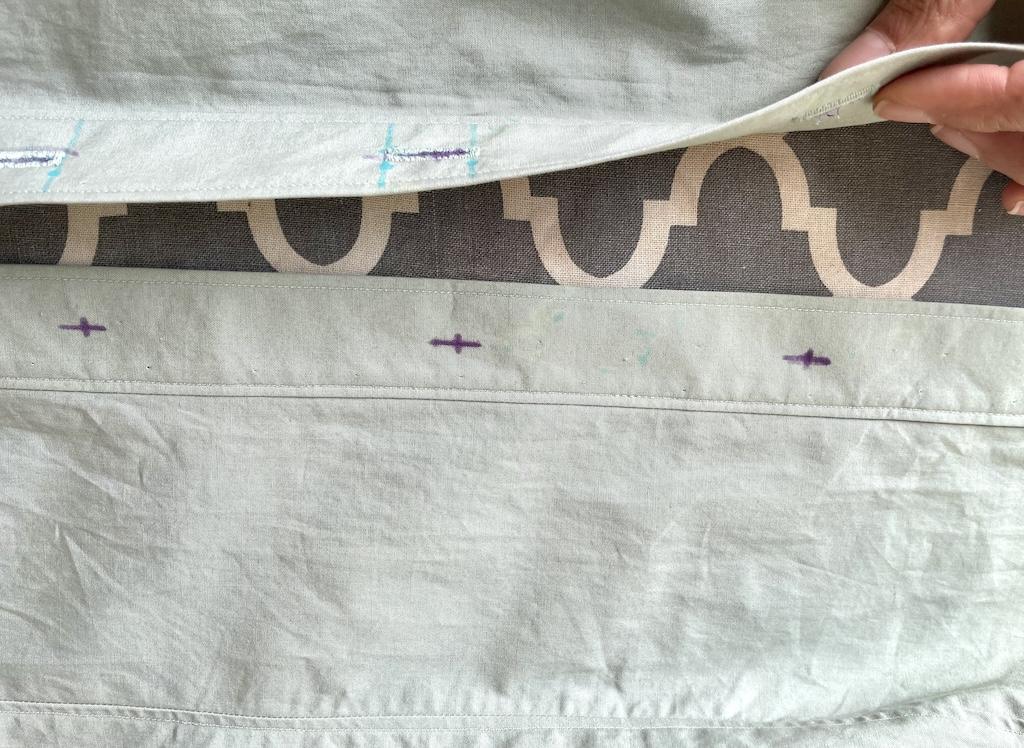
I removed the pins and drew the cross big enough so that when I place the button over it, I can still see it.
If you’re replacing a button, you might have strands of thread or holes from where the previous one fell off. You still might want to mark it to see the placement better.
3. Choose a needle.
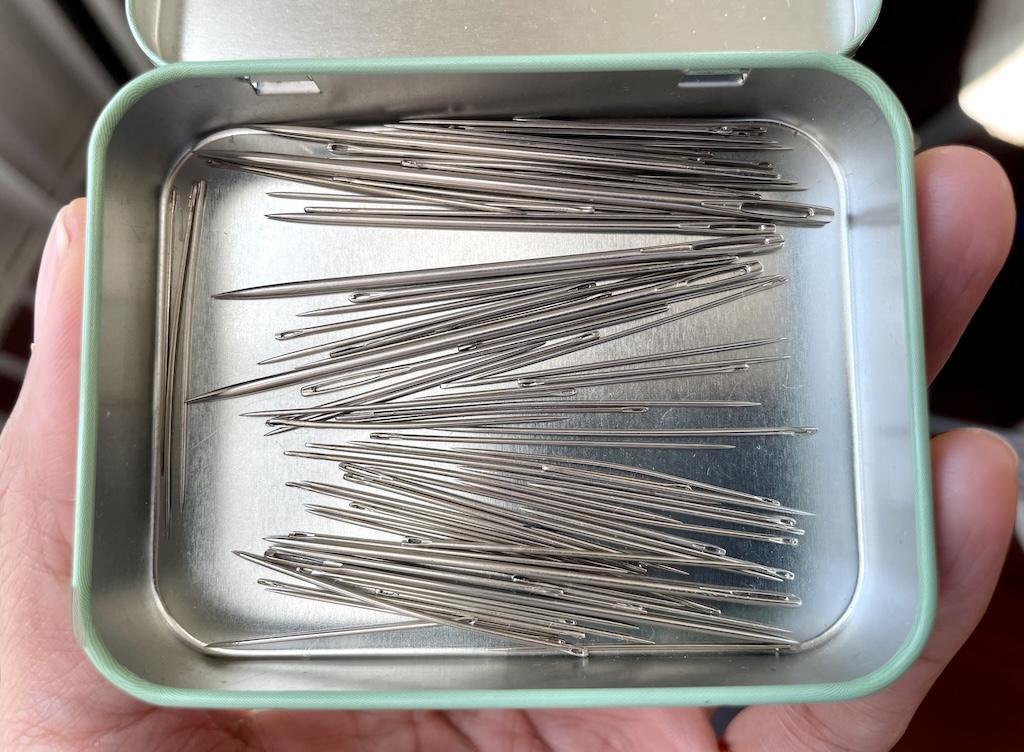
Most likely, you have needles that came in a pack. Choose a sharp needle made for the weight of the fabric.
The front of my shirt where I’ll sew the button is thicker because of the interfacing. It keeps the fabric structured and stiff.
Keep in mind that your needle might have to go through multiple layers.
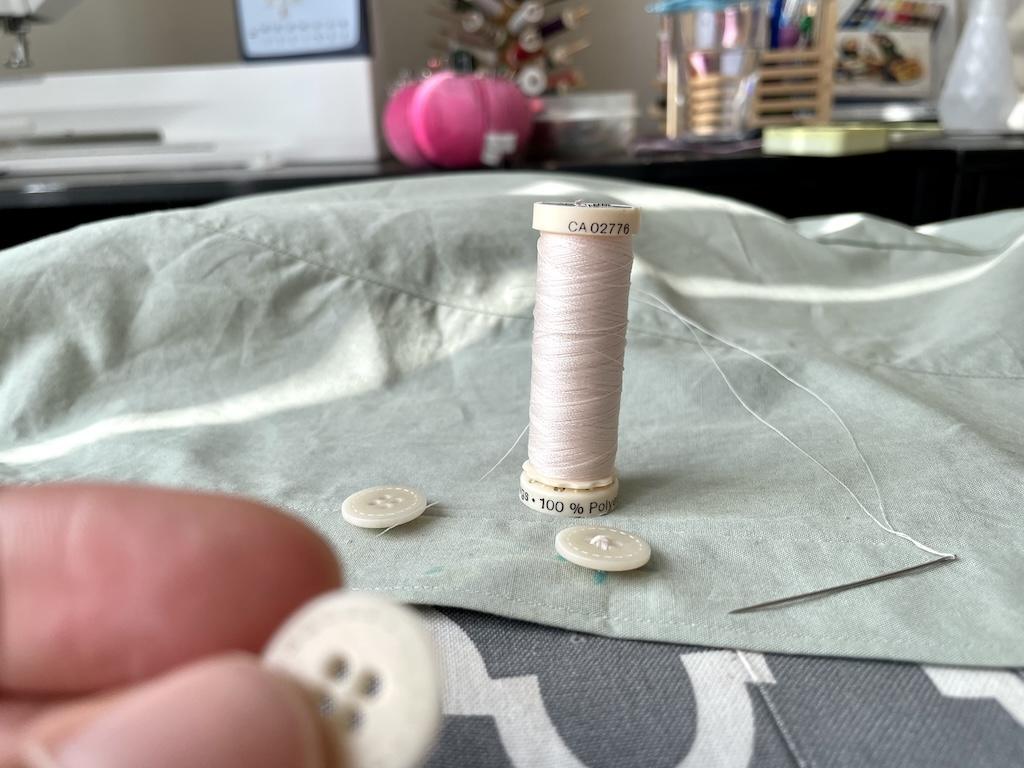
4. Thread your needle.
I’m using 100% polyester universal thread that matches my button. Some people like to hand-sew with cotton thread too.
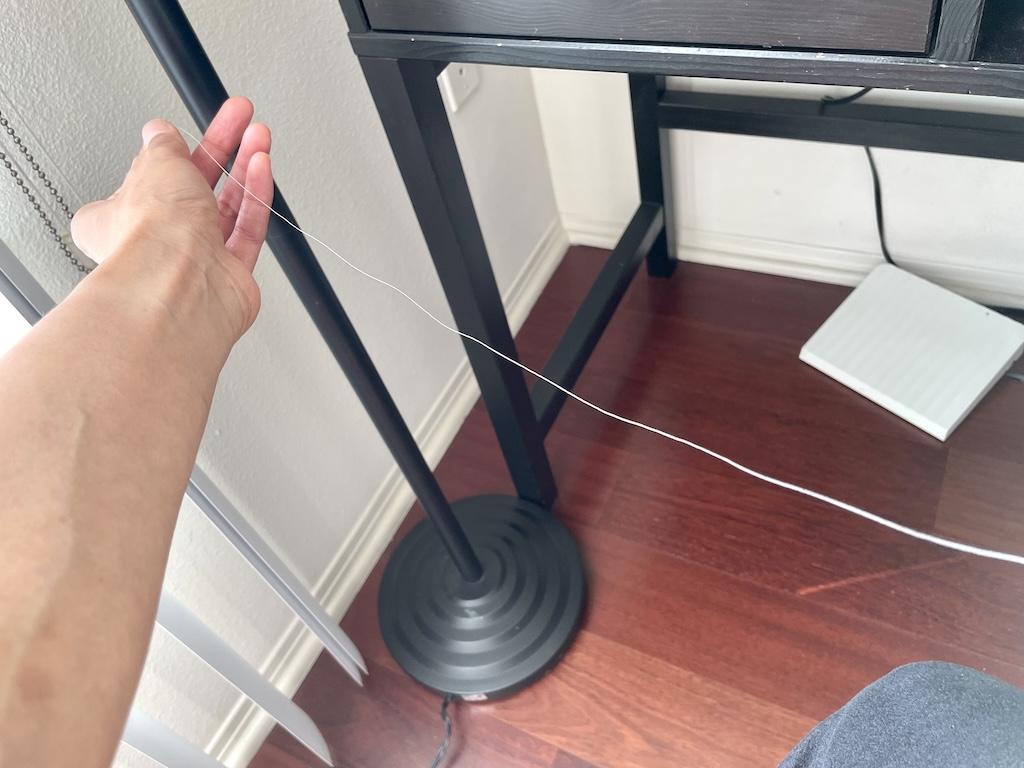
Pull out enough thread from the spool. I typically use 9 to 12 inches or the length of my forearm.

Now pull the thread through the eye of the needle. Keep going until you reach about the center point and double it.
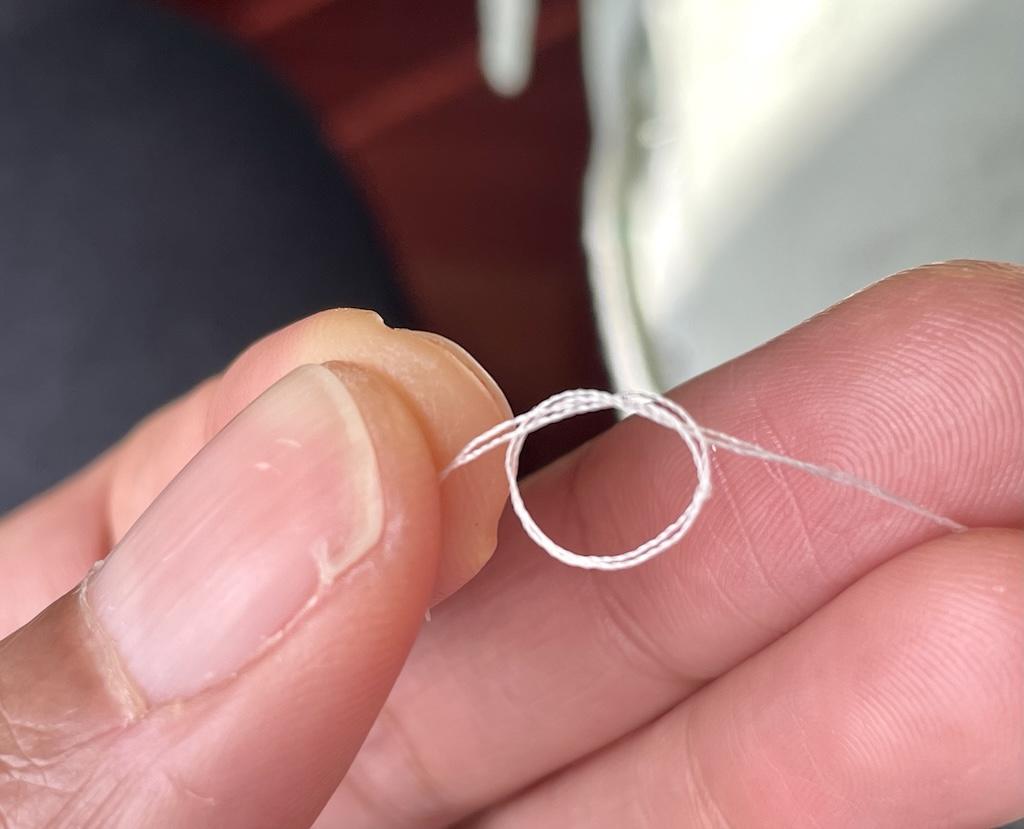
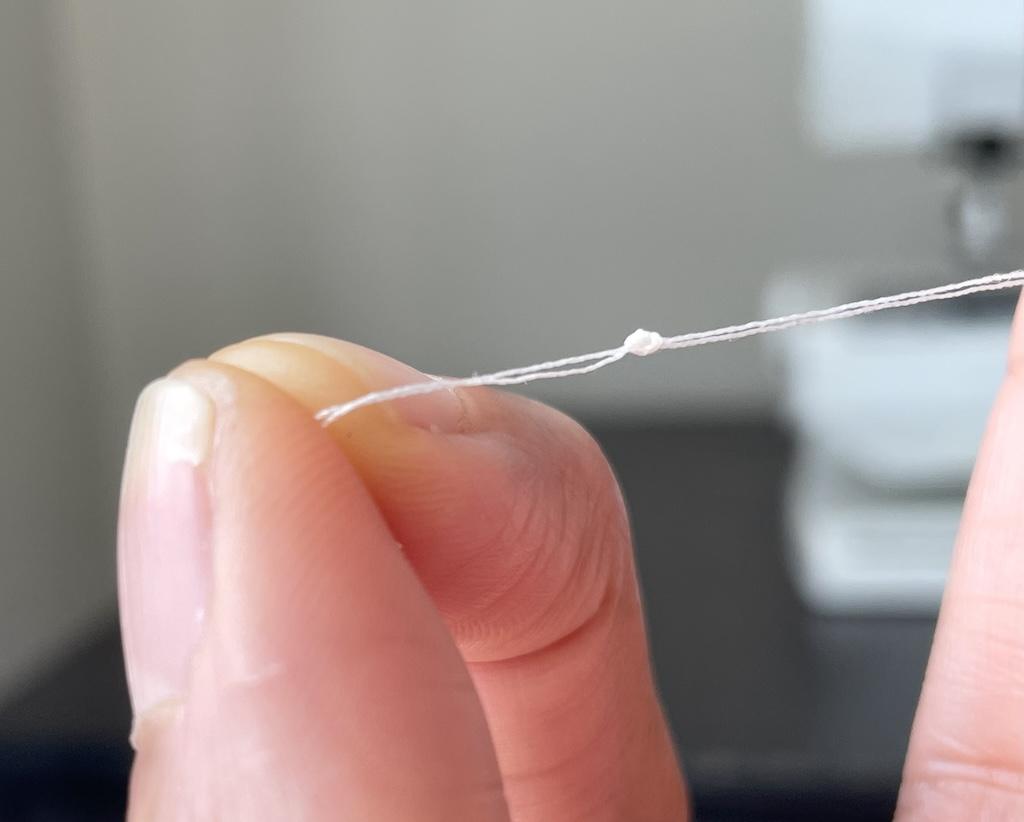
Bring both ends of the thread together and tie a knot. I like to double-knot.
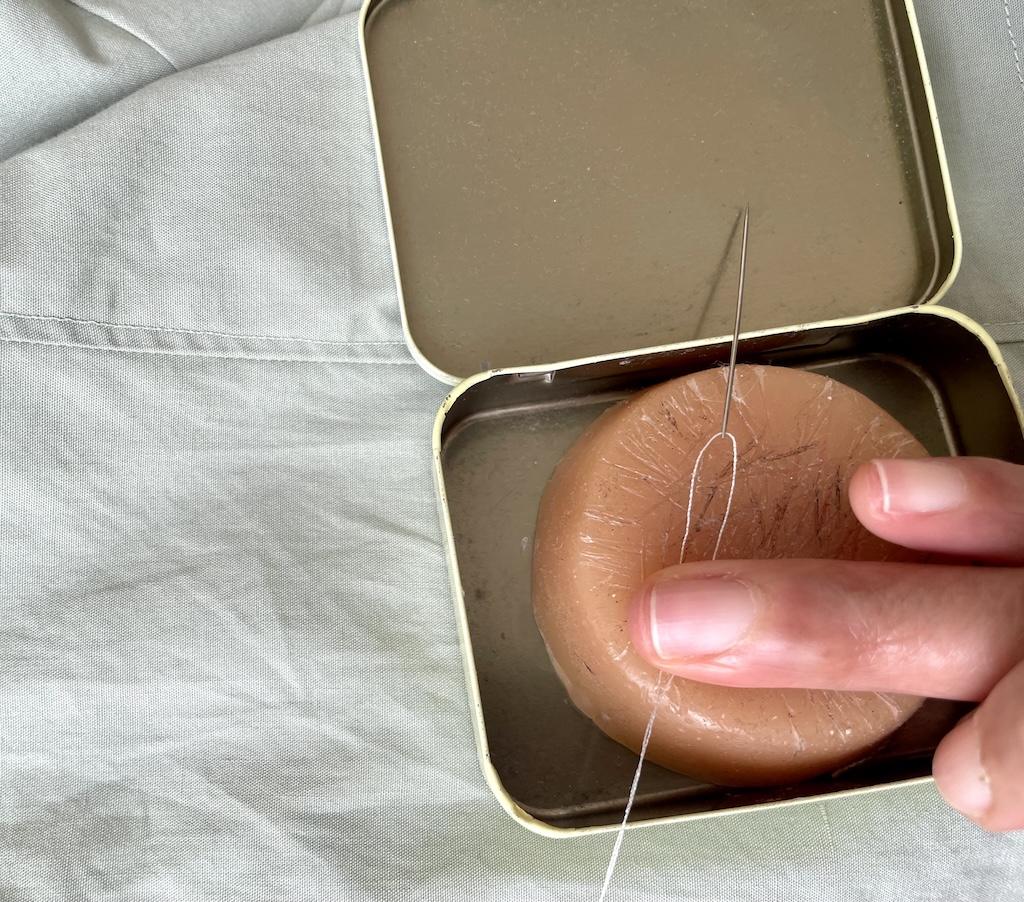
Lastly, I run the thread through the beeswax, which is optional. This coats the thread and makes it easier to glide through the fabric.
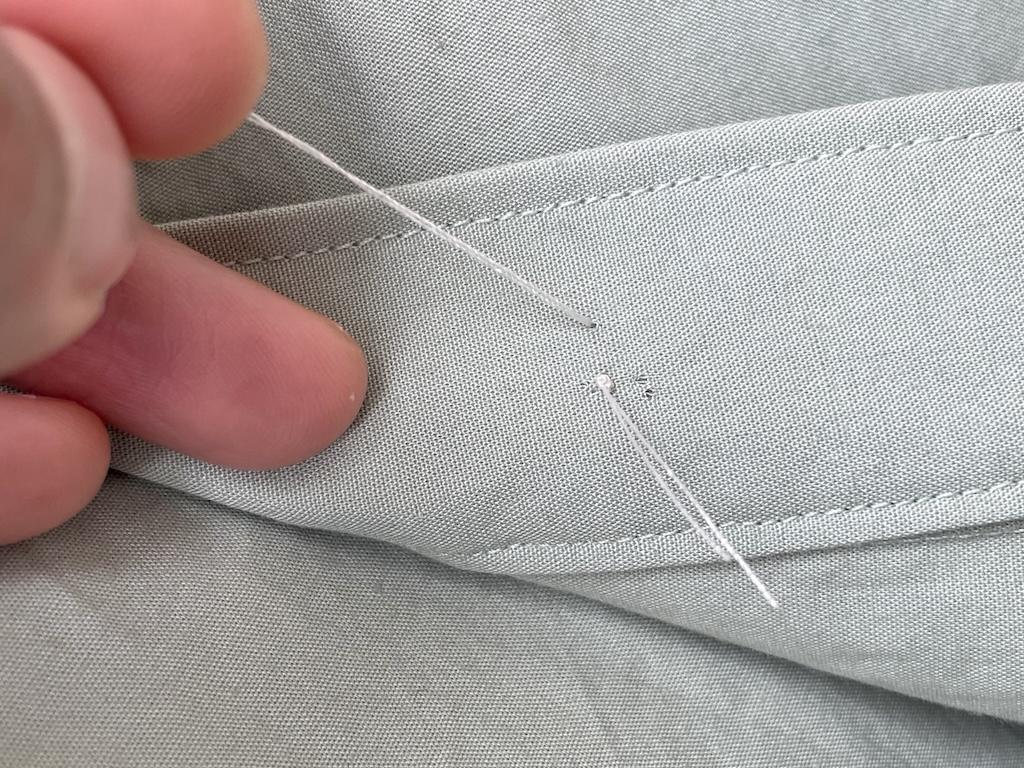
5. Push the needle through the back side.

Start your first stitch by pushing the needle through the back side of the fabric. I want to make sure my needle is on the mark, but off-center.
That’s because the center of my button should line up with the center of my crossmark.
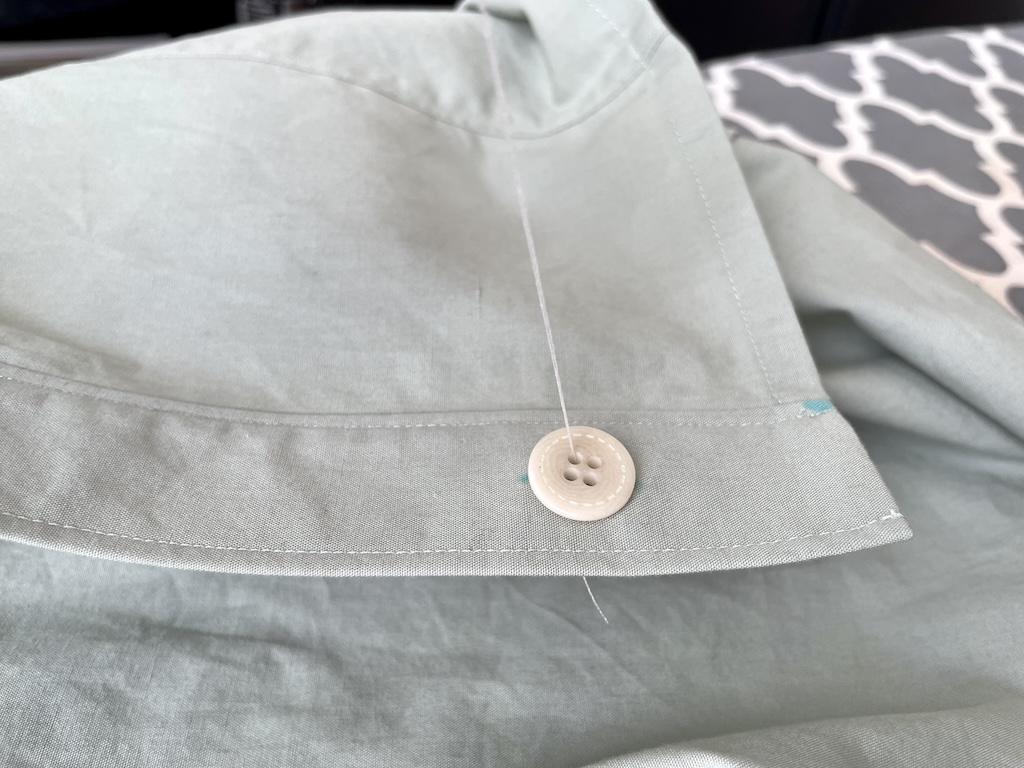
Then I slide my button through the needle and thread.
Pull the thread all the way through the back. The knot at the end should stop it from going through the fabric.
6. Pull the needle through the opposite hole.
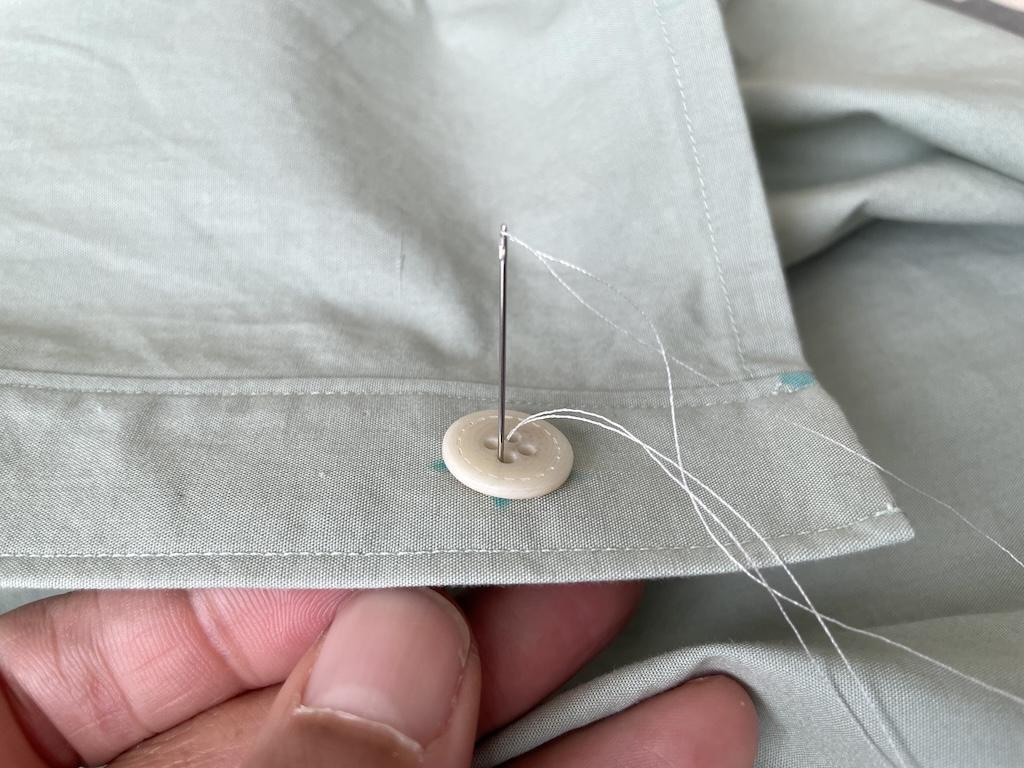
You’ll want to align your button to the crossmark before proceeding. Make sure the center of the button is on the center of the marking.
Also, the holes should align to the lines.
Now I poke the needle through the opposite hole. Pull the needle and thread all the way through.
Do not pull too tightly as to pucker the fabric.
7. Place the toothpick under the button.
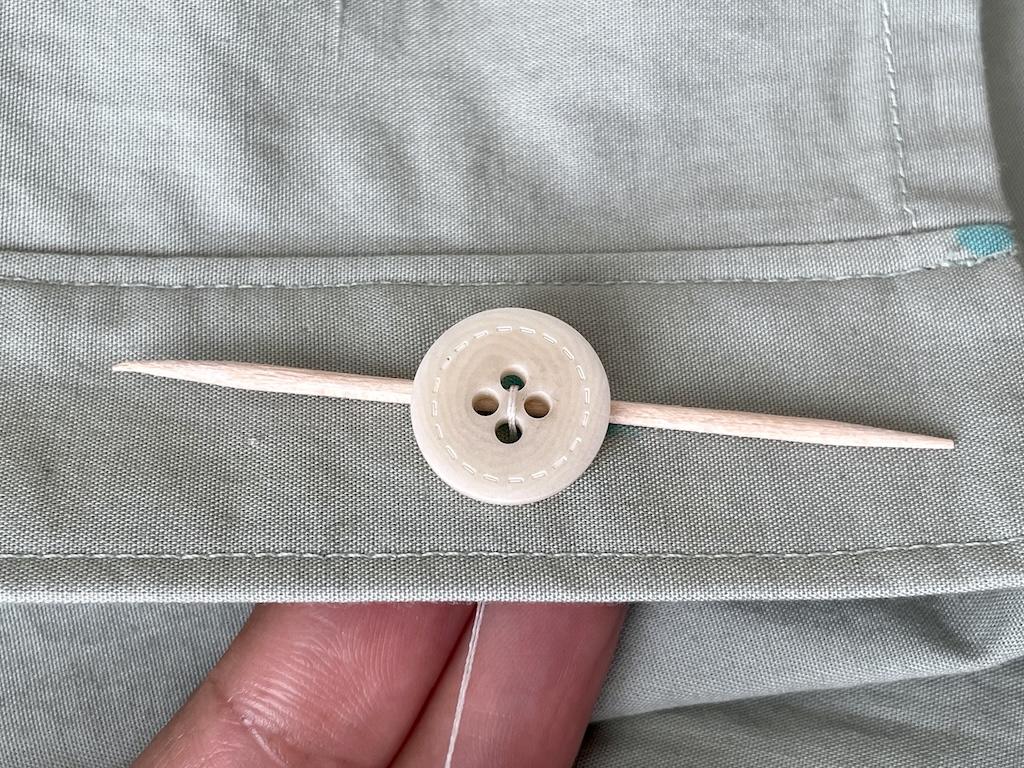
At the end, you’ll want your button to wiggle a little,and not be so snug. So at this point, I’ll put a toothpick under the button for a spacer.
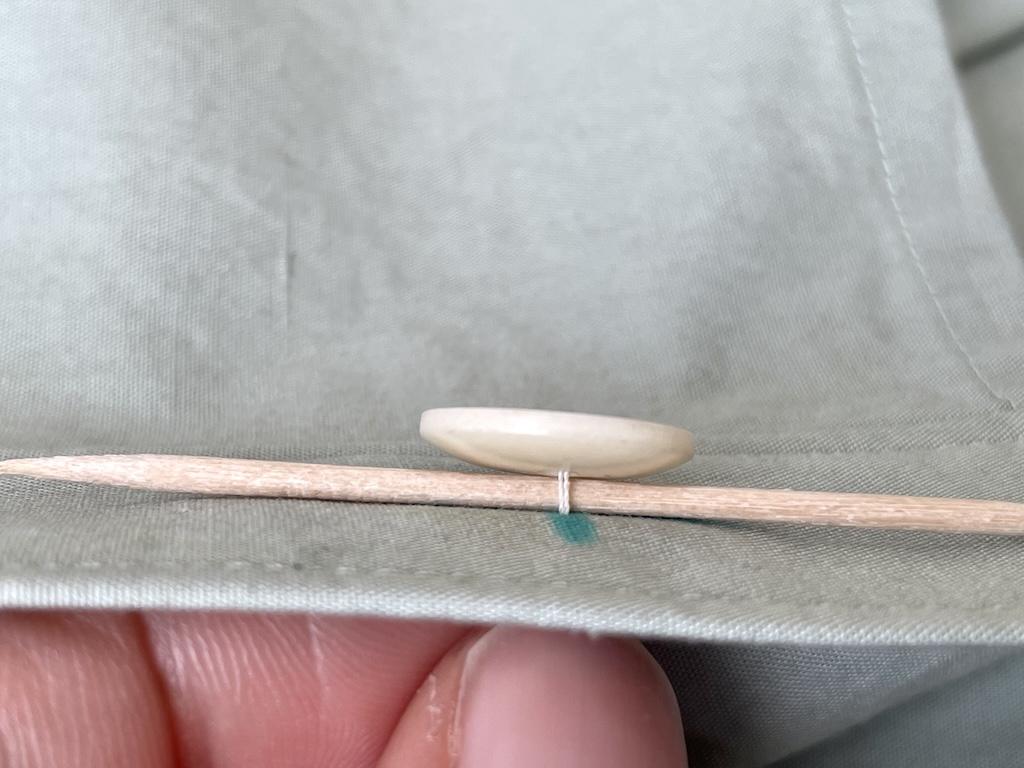
Just pull it through the center. It should be between your thread loops, and sandwiched between your button and fabric.
8. Keep looping through.
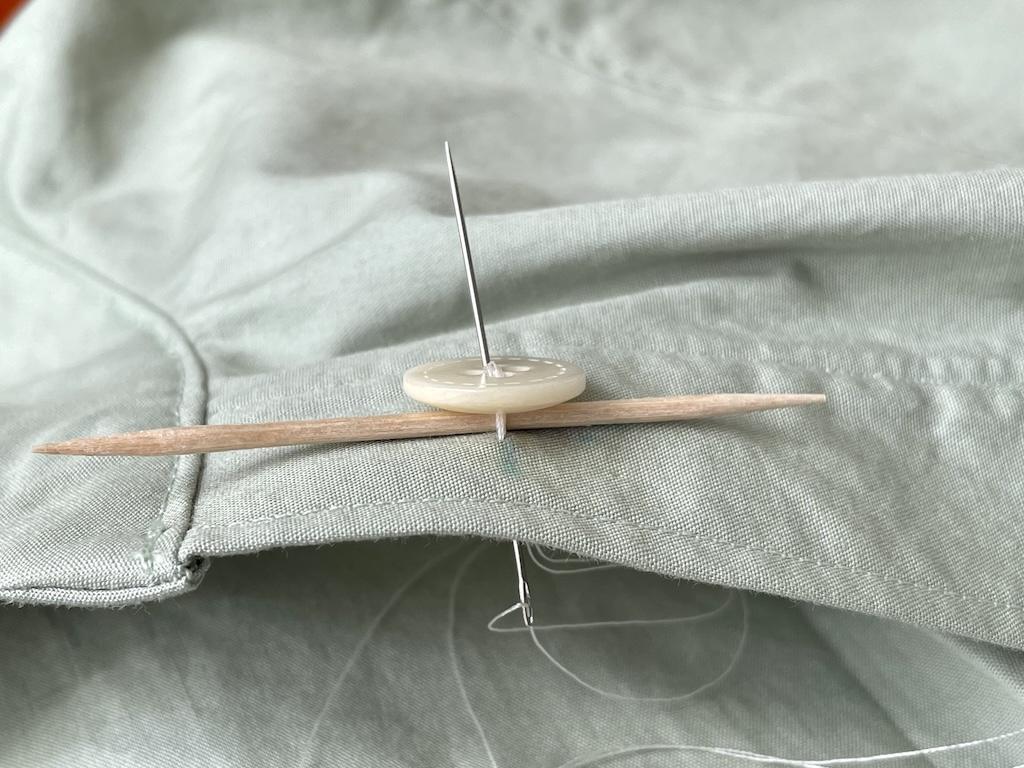
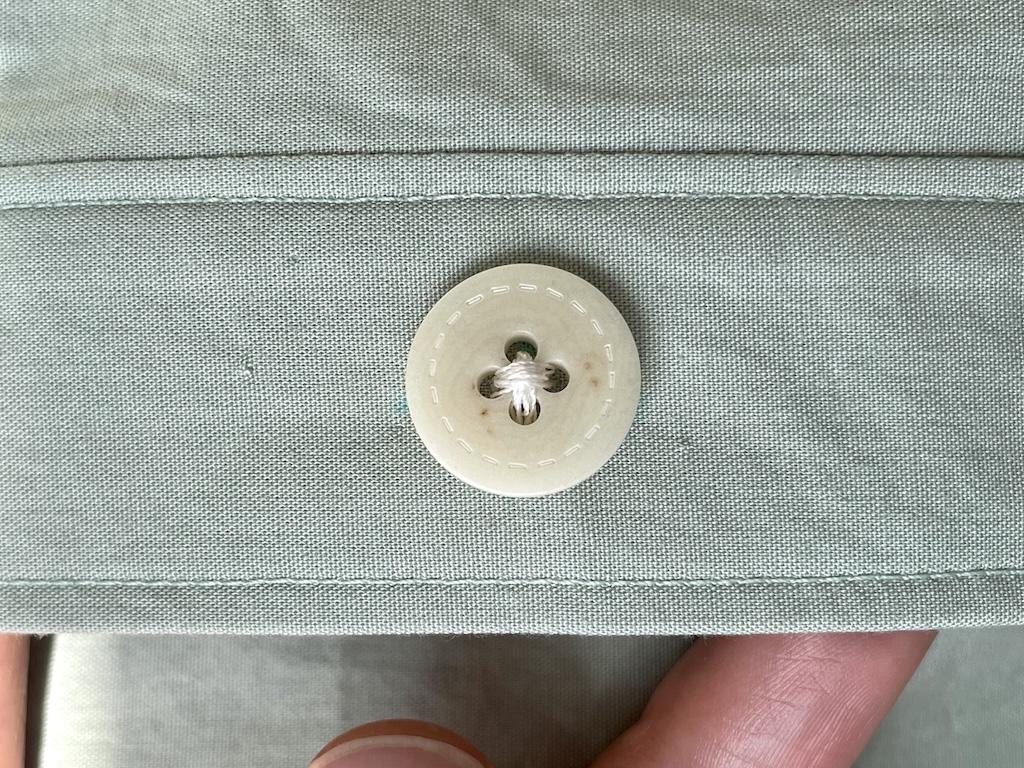
Now, you’ll repeat that first loop, taking the needle through the same holes on the button and fabric. I do this about 5 times to secure it in place.
9. Repeat the process for the other holes.
If you’re only sewing a button with two holes, you can skip this step.
But if you have a 4-hole button like I do, you’ll repeat the process with the remaining holes.
Just take your needle through the back side of fabric, just like you began your first loop. But this time you’ll loop through the other holes.
You’ll go over the other loops, and at the end, it should look like mine. You can see the “X” or cross I made.
This might be a little tricky to do with the toothpick, and I had to adjust mine so it wasn’t in the way.
10. Finish off the back side.
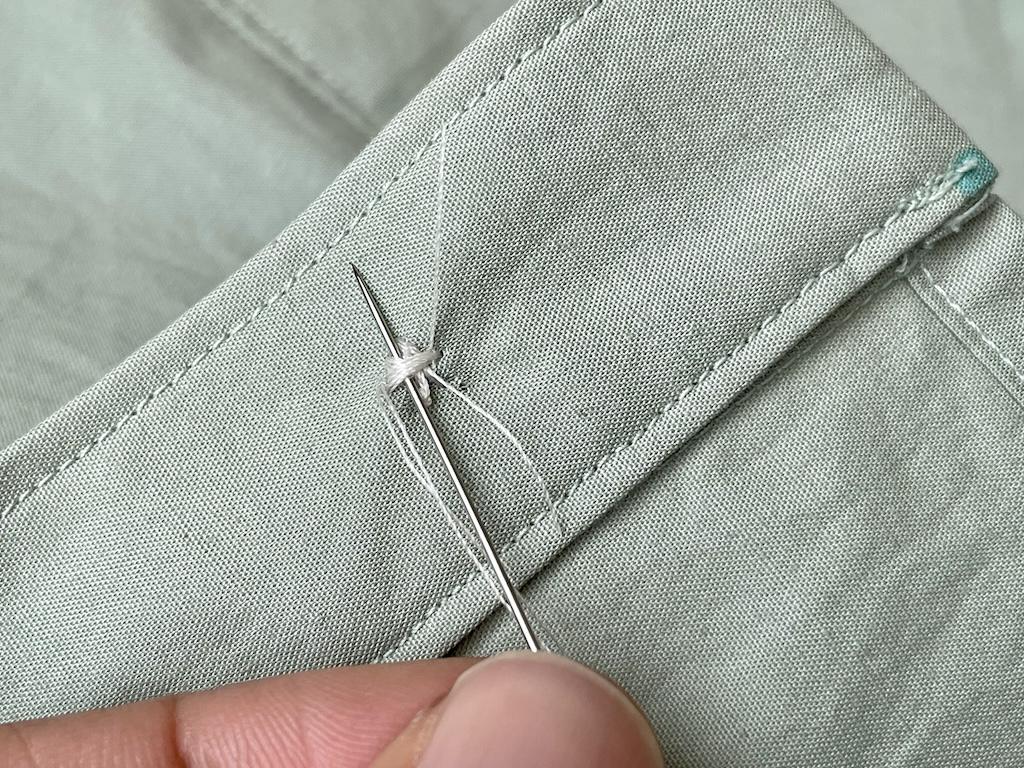
When you are done, take the needle through the loops you made on the backside. Catch the loops and take the needle through a knot.
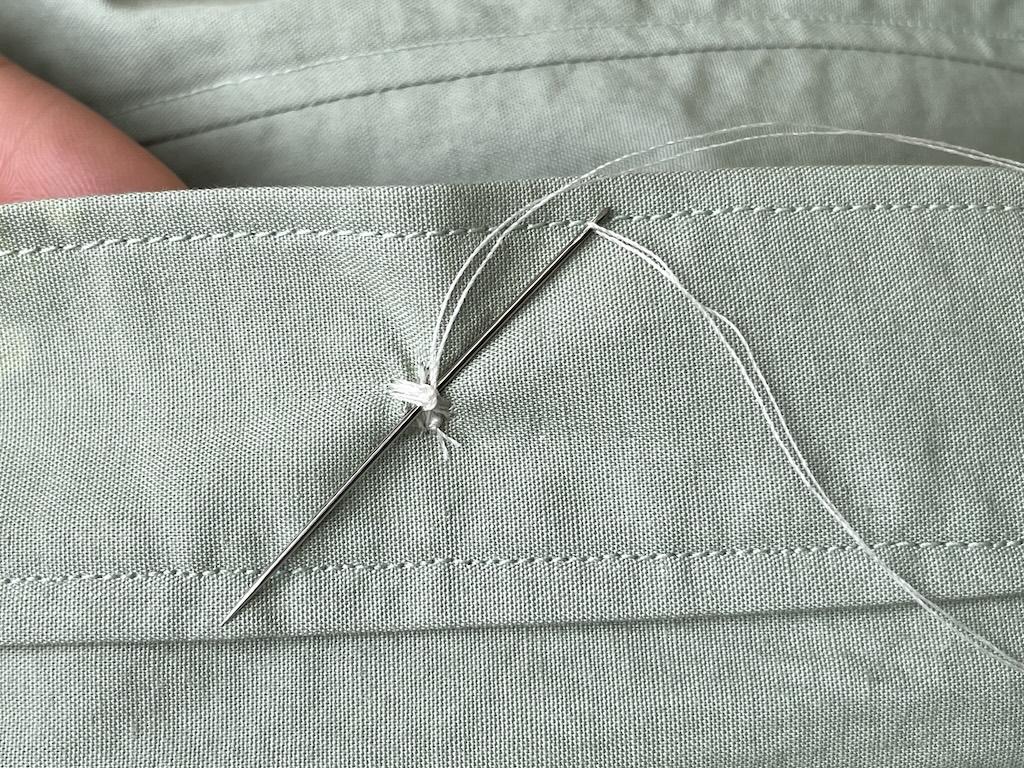
Pull the needle and thread to make your knot. This will secure the thread so it won’t come undone.
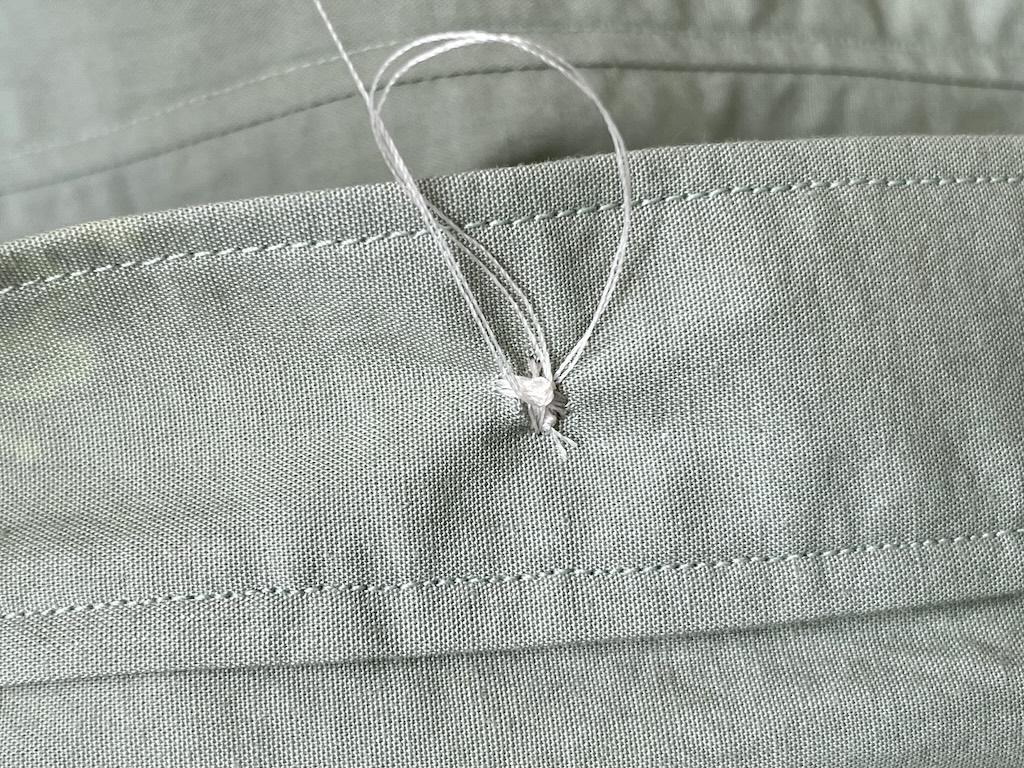

I do this twice to make sure it’s really on there so my buttons don’t pop off.
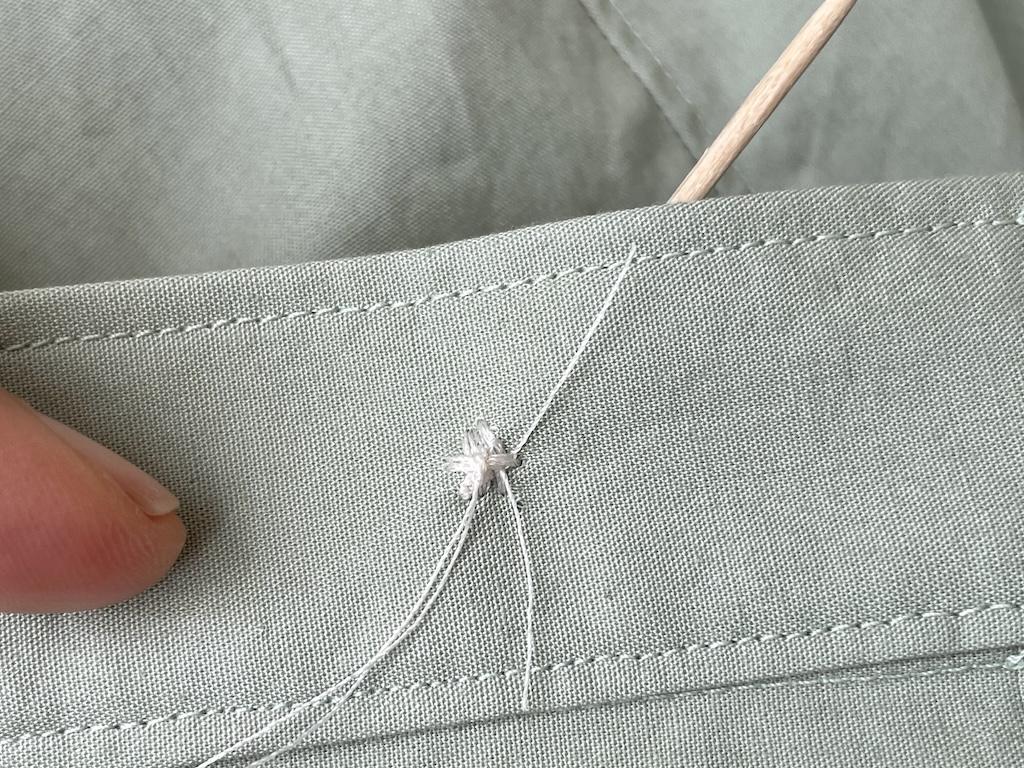
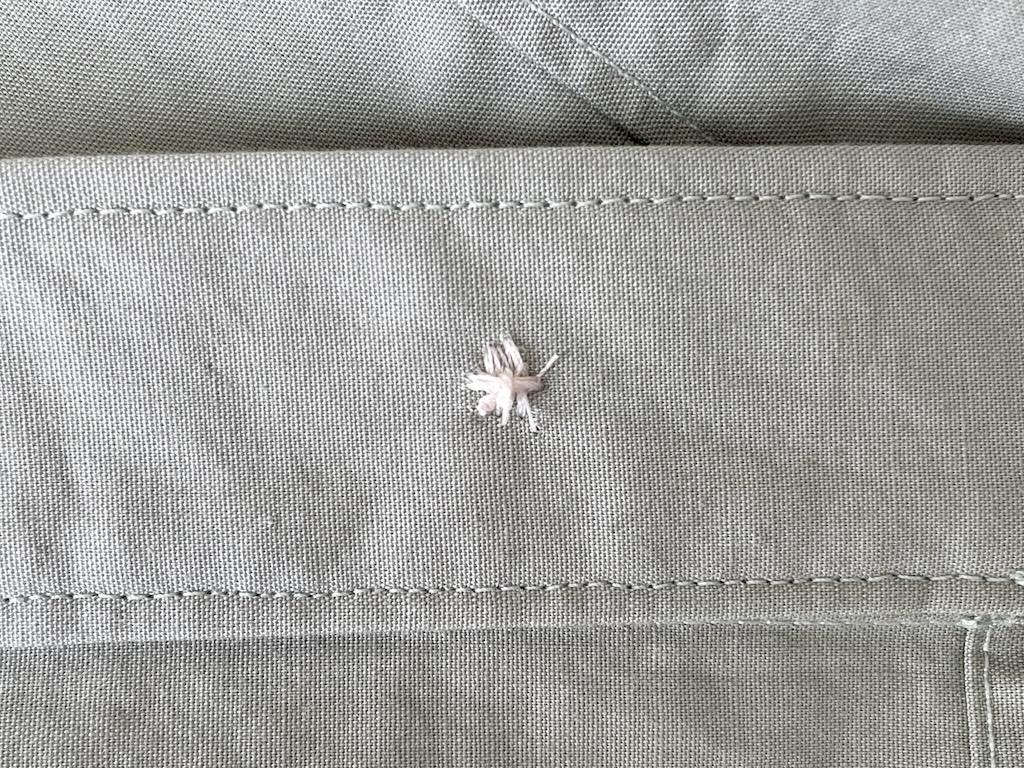
After you’ve secured the back side, you’ll want to snip any long pieces of thread. Make sure you don’t cut into your loops!
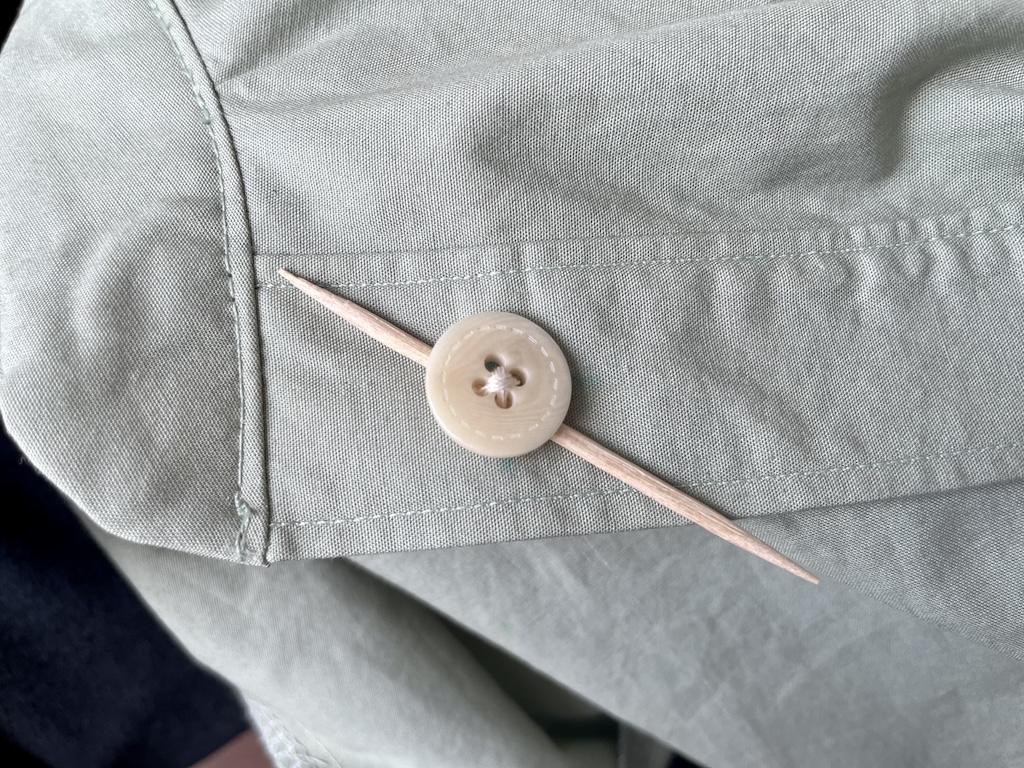
11. Remove your toothpick.
You can remove the toothpick by pulling it through. Look at how using the toothpick kept a nice space between the button and fabric.

So when you button up your garment, it’ll go through the buttonhole with ease. Look at how nicely it came out!
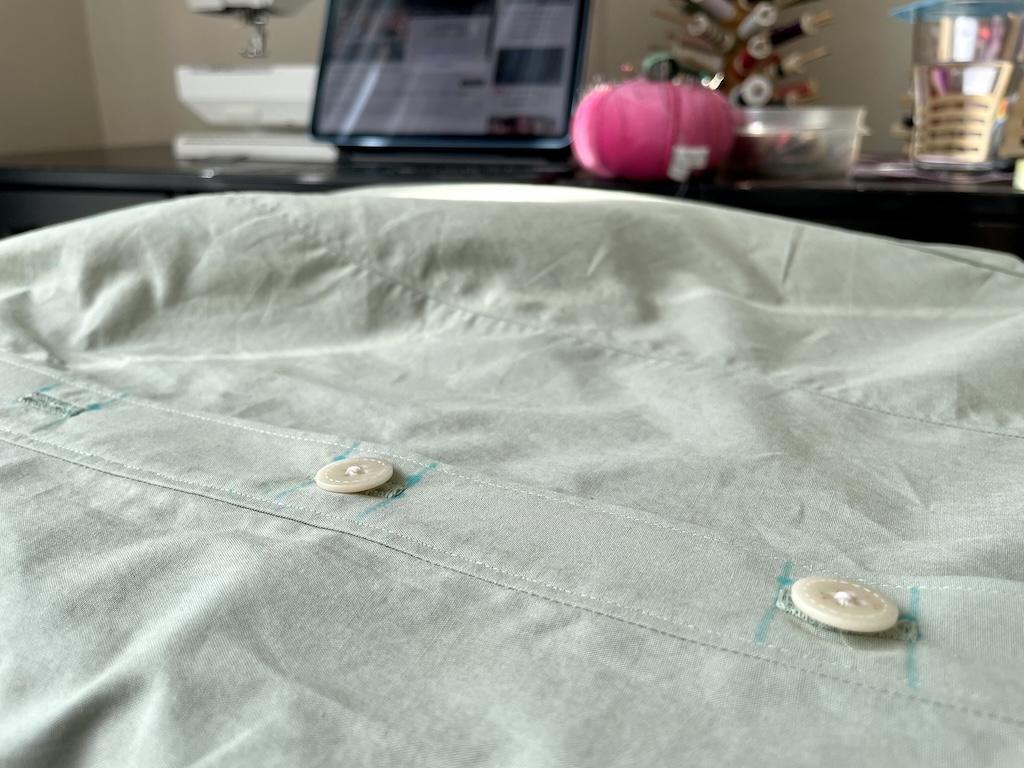
12. Repeat for the other buttons.
If you have more buttons to sew, repeat the process with the others. With more practice, you’ll get quicker.
If you mess up, it’s ok. Snip the thread holding the button, and start all over. Over time, you’ll get the hang of it.
Project Notes
It might take a few tries to learn this. But once you have it, you’ll be able to use this technique to sew snaps and other notions as well.
If you’re a beginner, I’d start with cotton woven fabric. It’s stable and the easiest fabric to work with.
Also, beginners can practice with larger buttons as they usually have bigger holes.
If you’re working with a shank button, the process is the same as sewing a 2-hole button, except you’ll loop through the back piece instead of a hole on the face.
You can also use thimbles if you’re prone to poking yourself with the needle, like I am. However, I find them hard to work with, so I don’t use them much.
Final Thoughts

Learning how to sew a button by hand is a valuable skill to have. You can repair your clothes by replacing this small, but vital notion.
Plus, I find doing this quite relaxing, as it takes my mind off things. It’s almost just as fun as sorting my big ol’ collection!
More About Sewing
I have more related posts on sewing that you might find interesting. You might want to check them out.
- But the way, I’ll tell you more about the button-up shirt I used for this tutorial.
- I’ll show you a no-sew method to fix a small hole in clothes.
- You’ll also want to make a DIY travel sewing kit to fix a button on the go.
- And check out my tutorial on making a flat thread spool for your mini sewing kit.
I’d love to hear about your sewing adventures!
Originally published: September 9, 2024