Disclaimer: This post may contain affiliate links. As an Amazon Associate, I earn from qualifying purchases.
My DIY dress coat is one that I’m a bit proud of because I almost gave up on it! I made it with paisley fabric, and matching it up was no walk in the park.
Plus, the lining caused me some drama that made me want to bury it forever. But I stuck it through, and it’s hanging peacefully in my closet today.
So come along as I tell you about the pattern, the materials used, my process, and share photos of my creation!
Simplicity S2311 Coat Pattern

I’ve had Simplicity S2311 sewing pattern in my stash for a long time. It’s part of the Project Runway collection, and I was a big fan of the show.
Tells you how long I’ve been sewing… But anyway, it has some pretty nice variations.
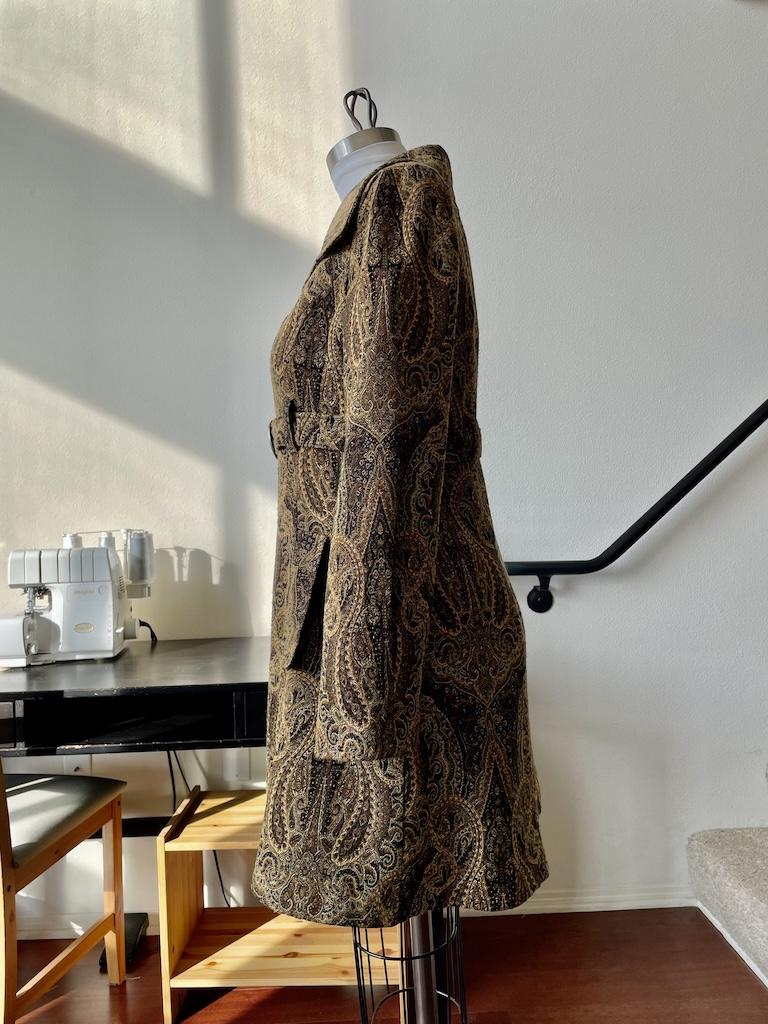
You can make a single or double-breasted coat with long sleeves. There are length and belt variations.
It has a nice, structured look that shows off a waistline. Although this pattern is out of print, you can still find it online.
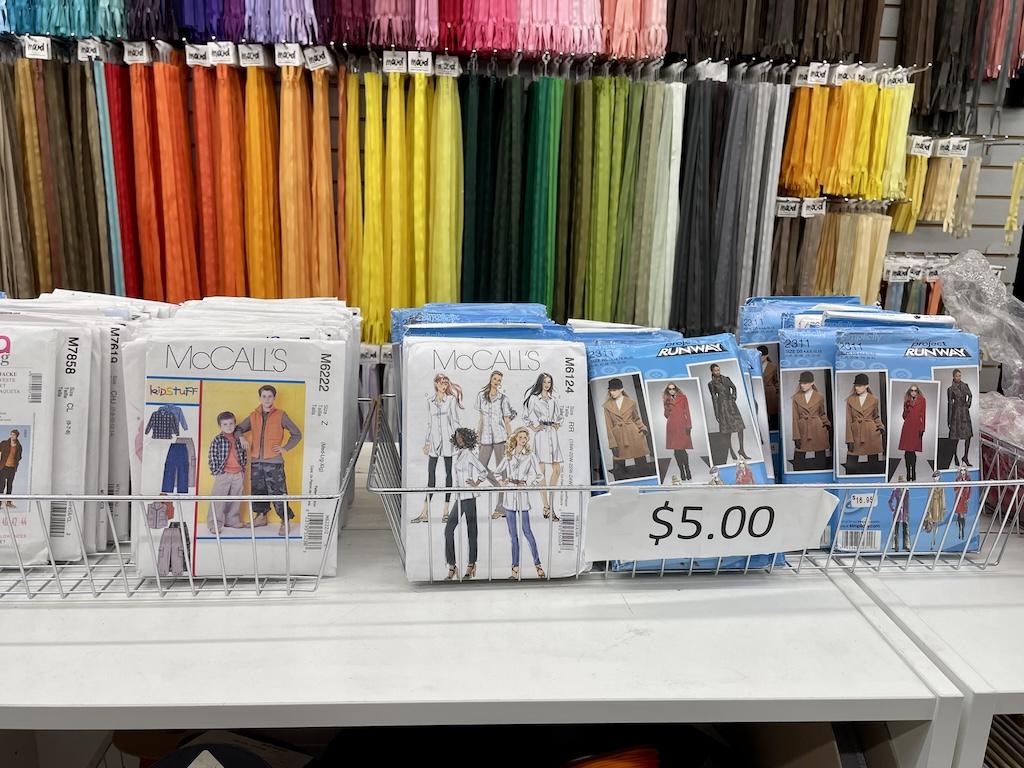
As a matter of fact, I found it while shopping at Mood Fabrics recently. They had many copies!
But if you can’t find it, there are many similar coat patterns out there. This one has a lining, which makes it more polished.
Materials
Here are all the things I used for this project. And I had to really search for some.
Fabric
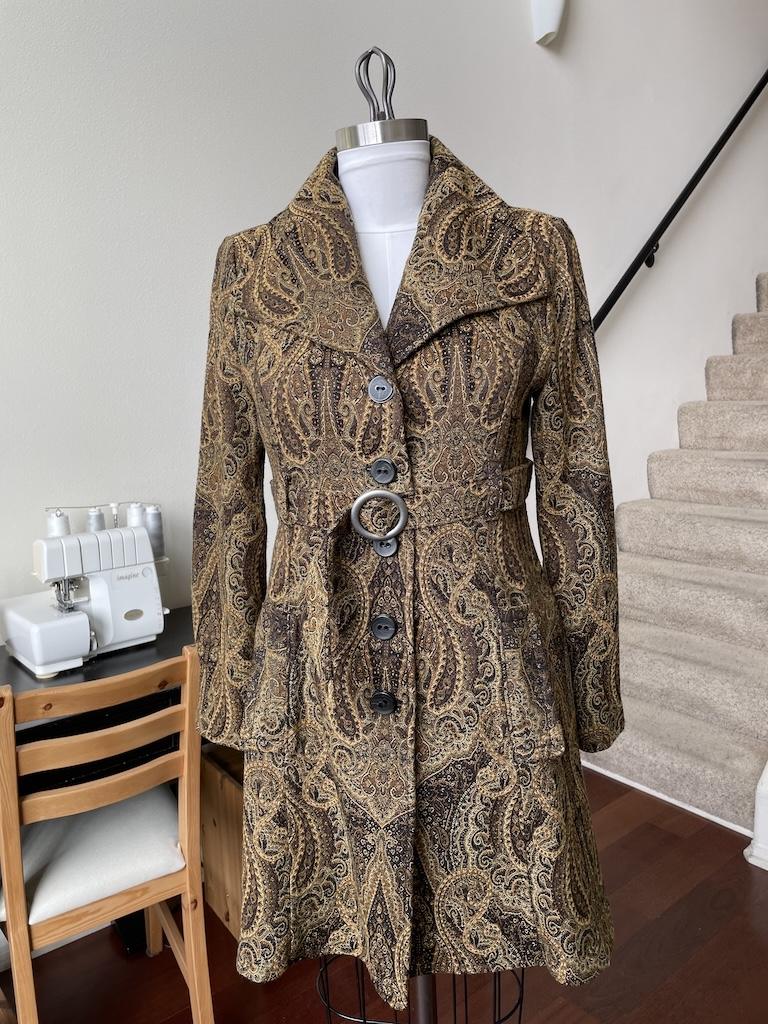
I had bought this polyester fabric in the fashion district a while ago. I didn’t know what I’d do with it, but it looked cool.
It has a paisley design in golden, brown, and black tones. It’s also a one-way design fabric.
Suggested fabrics include denim, corduroy, damask, poplin, twill, sateen, gabardine, wool, wool crepe, brocade, satin, shantung, taffeta, velvet, and double knits.
I used a lightweight woven polyester fabric for the lining twice. Actually, I’ll explain the whole lining debacle later.
Notions
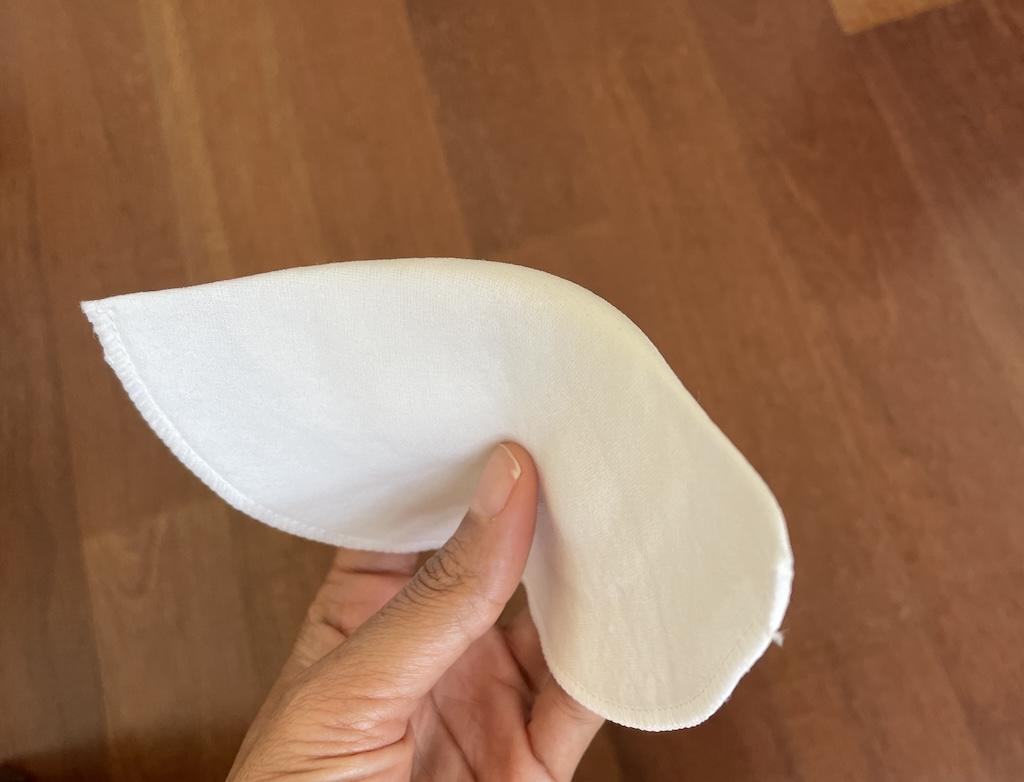
You’ll want to use shoulder pads in a coat. I used 1/4-inch (0.25-inch) pads, and they don’t look big at all. They just provide some structure.
Then I grabbed some 1-inch buttons. Mine were thick and worked with the fabric.
I also used a belt loop buckle, as I planned on making this tie belt more interesting.
For my interfacing, I used a medium-weight type I found in the fashion district. It’s fusible and black, and looks so cool!
Needle
Because the coat fabric was heavy, I used a size 100/16 universal needle. You should use a sharp needle that suits the weight of the fabric.
However, I used a size 75/11 universal needle to sew the lining together.
When sewing the lining to the coat, I used the size 100/16 needle. I also used this size for topstitching.
Thread

In my sewing machine, I used black Gutermann Sew-All thread. It’s made of 100% polyester.
I used Maxi-Lock serger spun thread for overlocking, and it’s also made of polyester.
To sew the buttons, I used Coats & Clark button craft thread. It’s much thicker and more durable, and made of polyester and cotton, with a glaze finish.
Sewing My Dress Coat
Well, making this coat took some time, especially because of the lining. The prepping was a headache with this fabric.
Prepping
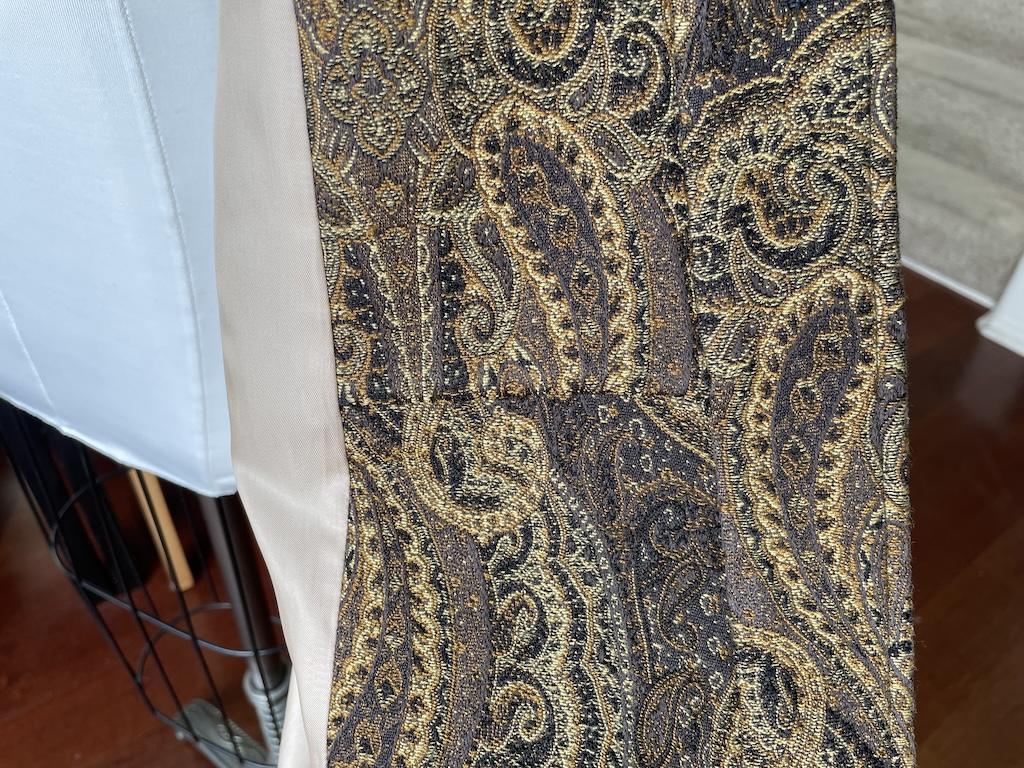
For this project, I didn’t make a mockup. I’ve made other coats by Simplicity, so I had an idea that it’d fit fine.
However, that doesn’t mean there are anomalies. If this is your first time making a coat, you’ll want to make a mockup.
Since I got a deal on the fabric, I wasn’t worried about ruining it. If anything, it’d make a wearable mockup.
First, you’ll want to choose your size and look at the finished coat measurements on the pattern envelope. Make you have enough ease.
If you plan to wear sweaters and sweatshirts under your coat, you may want to size up. This coat was definitely a slim fit.
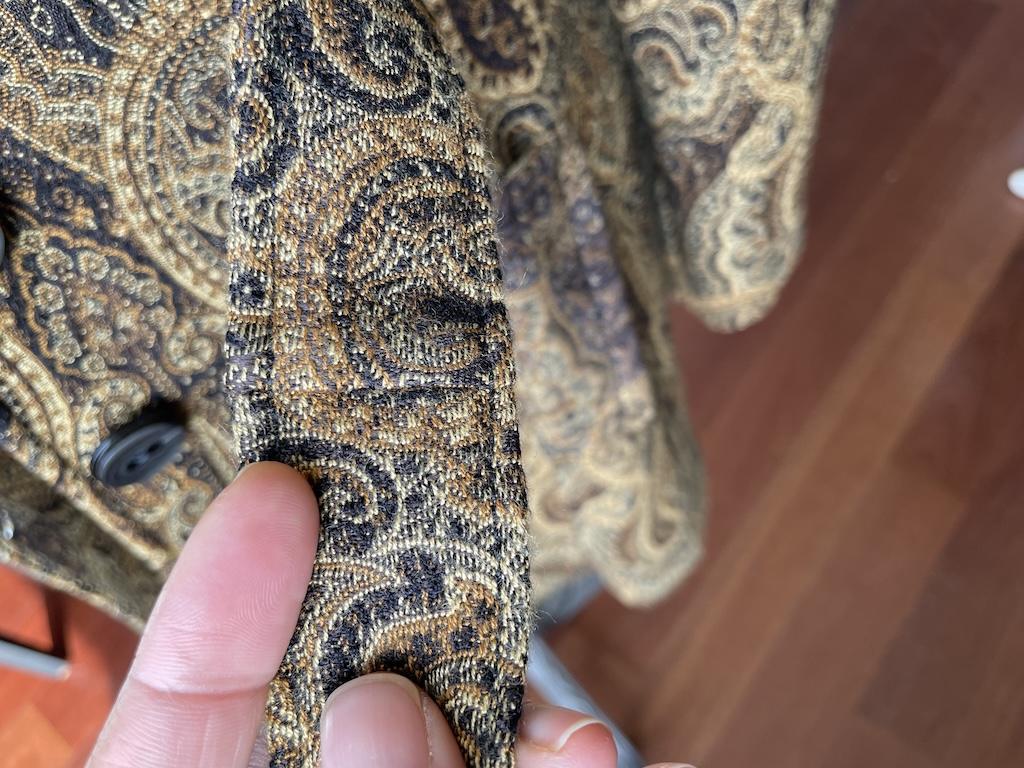
When cutting the fabric, I had to match up the one-way design. Let me tell you, I had barely enough fabric to make this coat.
So, it was like playing a stressful version of fabric Tetris.
I had to piece together small pieces of fabric to make the inside panels and belt. Shortening the coat length would have given me more fabric to work with.
After finishing the coat, I probably had three inches of fabric left. That’s not much surplus!
Construction

This project took so much time, I took breaks to work on other things! At one point, I didn’t know if I wanted to finish it or ditch it.
But my UFO pile was already big enough. I didn’t need another unfinished object to join the ranks.
The first thing I did was make the lining first. That way, I got it out of the way.
Then I worked on the coat. Don’t ask me why I sewed the seams and then finished them with the serger.
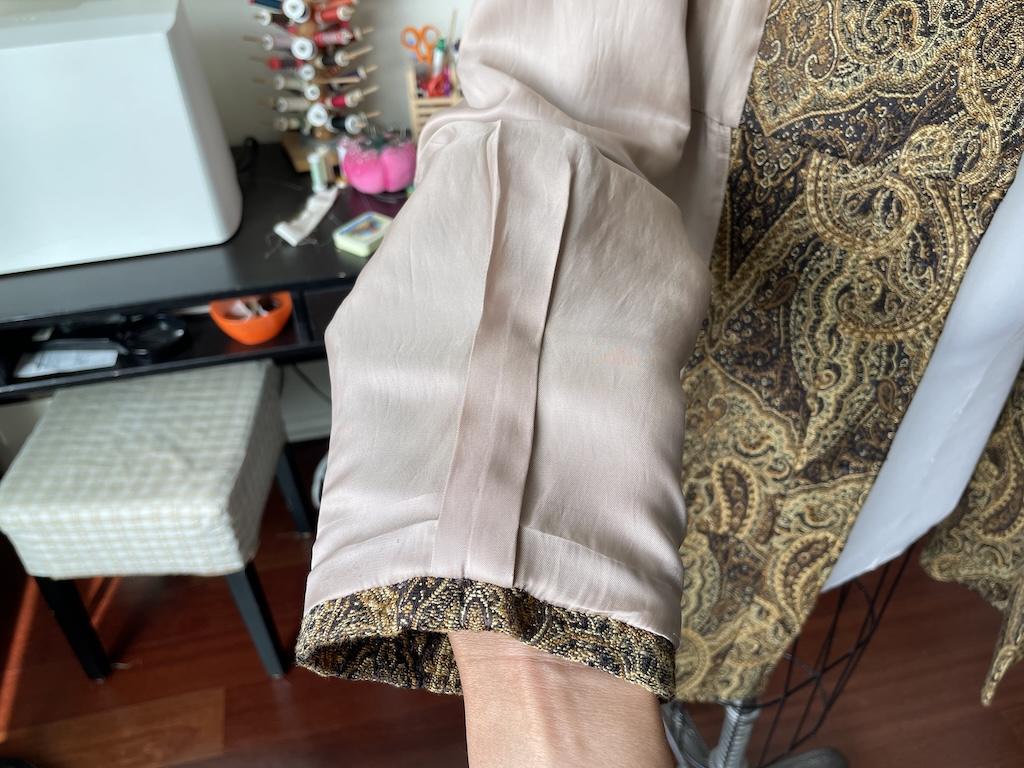
I’m so used to doing this. Then I realized, this is lined—I don’t need to serge the seams!
After sewing all the coat pieces, I attached the lining. My lining fabric moved around a lot.
To attach it, put right sides of the fabric facing each other and tack in place. Then flip it out and slip-stitch the bottom hem and sleeves.
Adjustments

Okay, the first lining I made got on my nerves. After finishing the whole coat, I didn’t like it. Ugh!
It was an off-white lining, and I didn’t like how it looked. Also, I realized I didn’t like the feel and wanted a smoother fabric.
So, after wearing it once, I ripped it out. Then, I redid the whole lining in another fabric and attached it to the coat.

That was such a hassle!
But the beige color lining looks so much better. And it feels amazing!
I kept the original lining in the pockets. Since they don’t show, they don’t bother me.
Finishing Touches
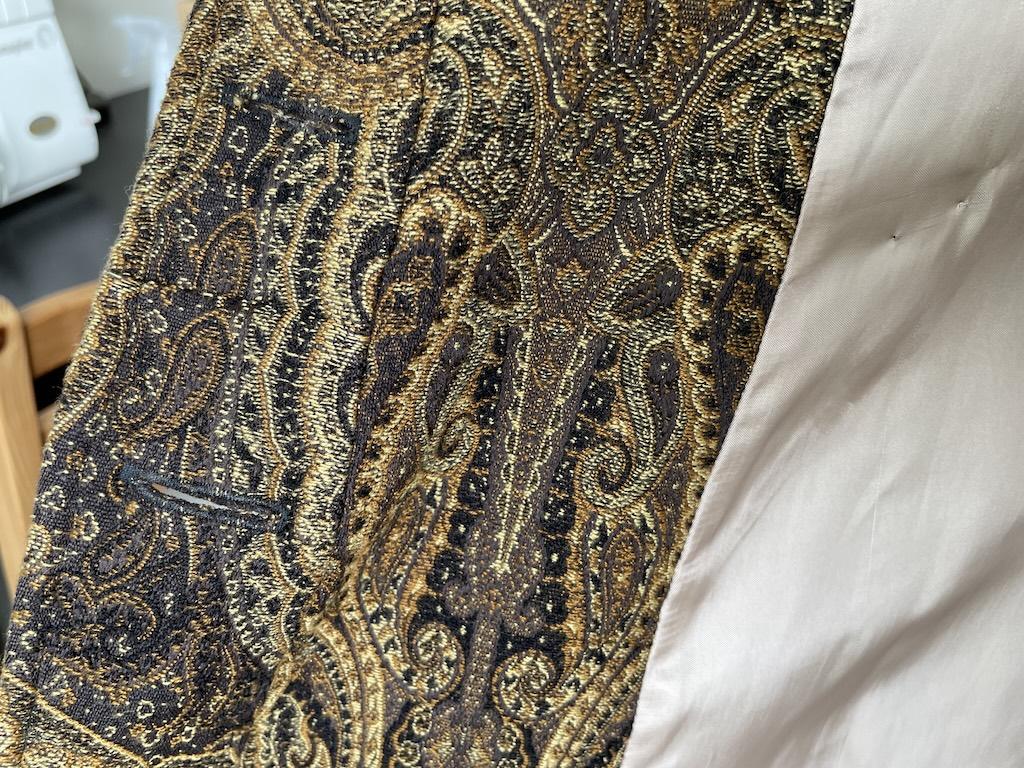
If your coat is thick like mine, you might want to hand-sew the buttons. I like this better than using the sewing machine.
You’ll want to keep a gap between the button and the fabric when sewing. I wrote a blog post about hand-sewing buttons.
I topstitched all the seams. You’ll want to do this when sewing heavy fabric to keep it nice and neat.
I also added a belt loop to the tie belt. For me, it holds around the waist better.
Notes
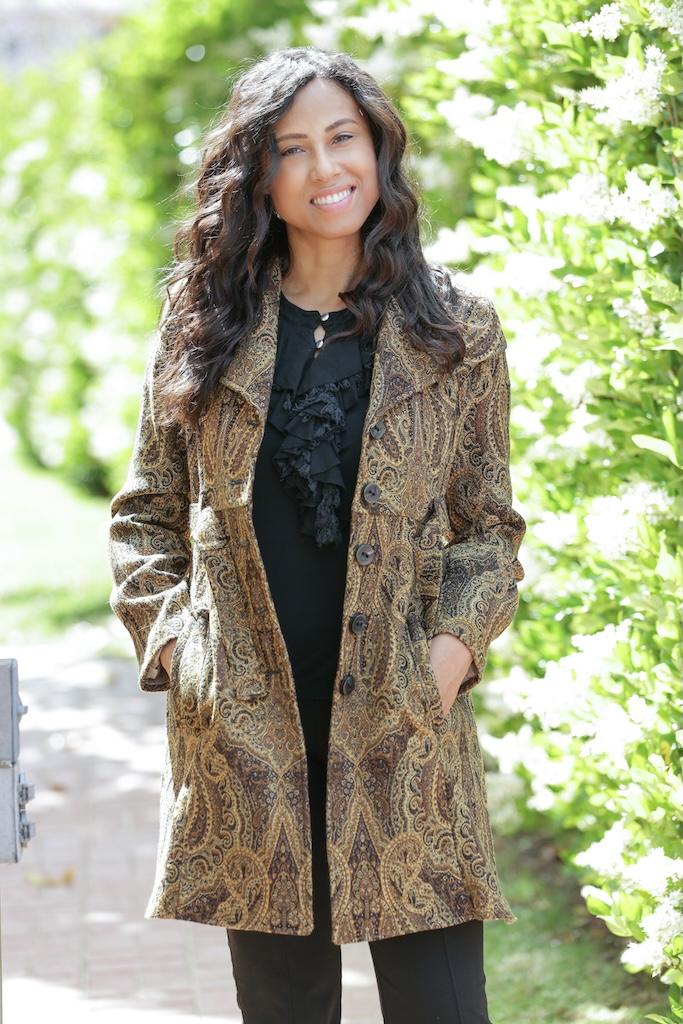
If you decide to make a lined coat, it might seem like a big project with extra work, but it’s worth it. It will hide the inside sewing job.
So, all the seams and construction won’t show. Plus, the lining makes it easier for the coat to slide on and off.
If you’ve made a dress with a lining, you might be ready to take on a coat. Otherwise, you can find other unlined dressy-looking coat patterns.
Overall
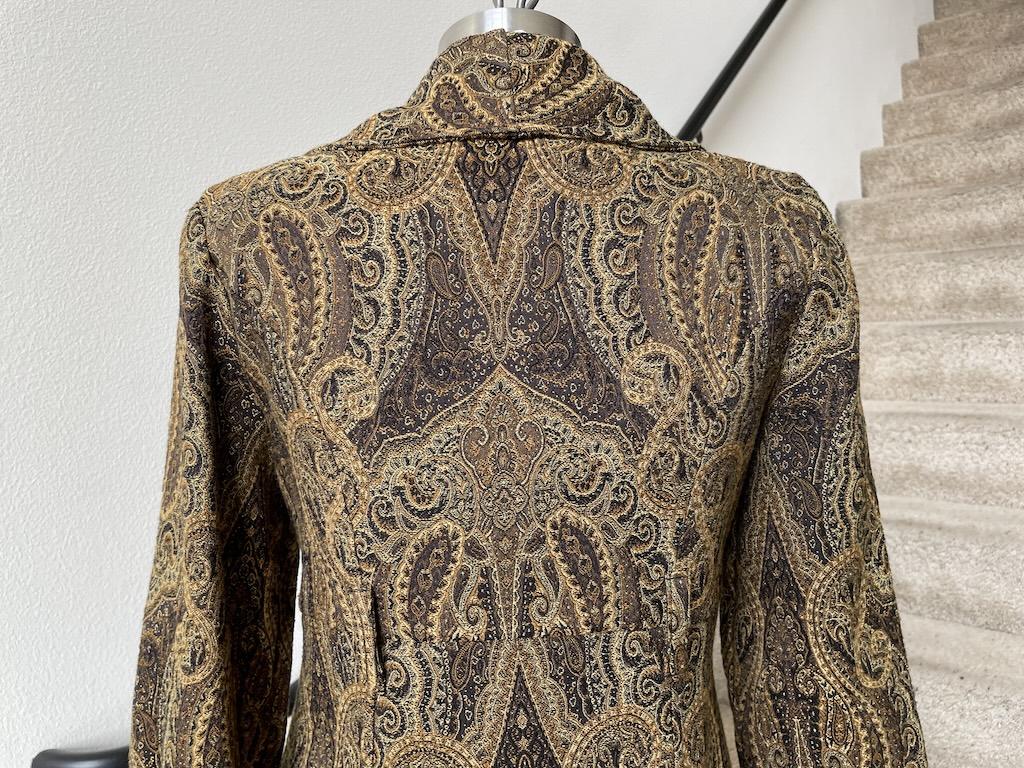
At the end of all my hard work, my coat fit perfectly, and I like the long length. And let’s not forget that dreaded lining!
I sure put a lot of hard work I put into this garment. What a passion project!
Read More
- What about some outerwear sewing tips to make your garments look more professional?
- I made an unlined long jacket that was way easier than making a coat by far!
- Have you ever thought of upcycling old jeans into a denim jacket?
- I used the same sewing pattern to make a smooth sateen jacket.
- What about combining fabric colors to make an earth-toned shacket like mine?
Originally published: December 28, 2024