Disclaimer: This post may contain affiliate links. As an Amazon Associate, I earn from qualifying purchases.
In the cooler weather, I pull out my reversible scarf from the depths of my closet. It’s double-sided and made with two different fabrics.
Actually, this is a great project for someone starting to sew knits. And this is a nice and easy gift to give for holidays and birthdays.
Come along with me as I show you how to make it, what materials to use, and give you step-by-step directions with photos!
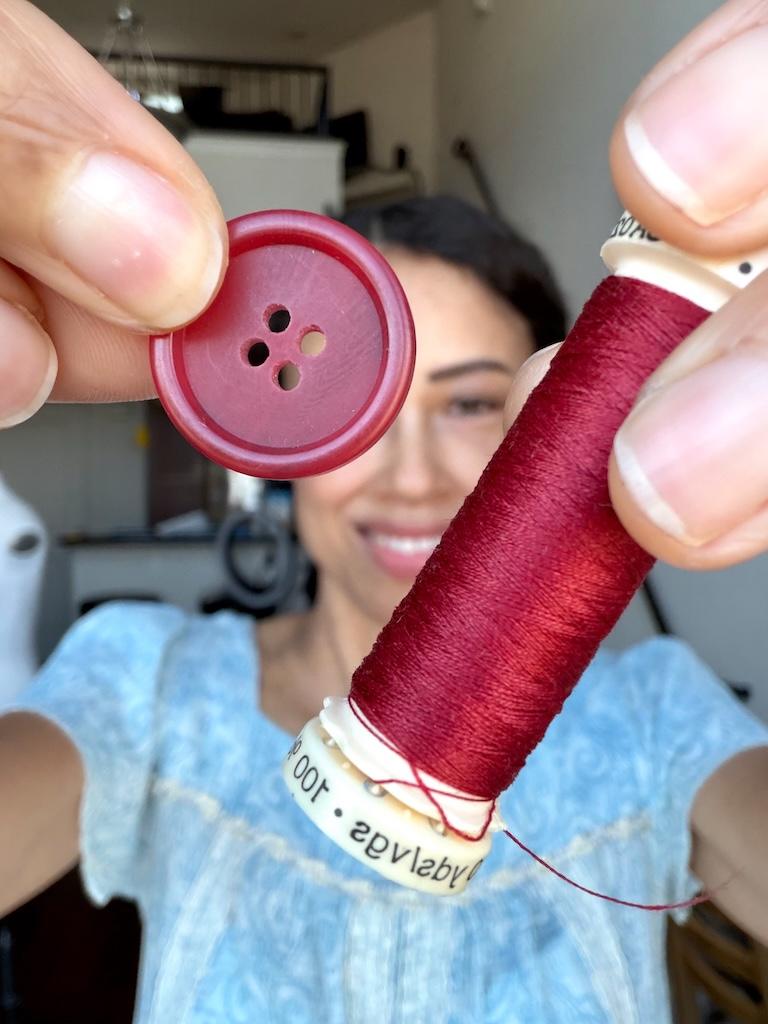
Materials
You’ll want to gather up all the stuff we’ll use. These are the things you’ll need.
- Fabric
- Yardstick
- Basic sewing supplies: needles, thread, pins, scissors, iron, etc.
Notes on Choosing Fabric
For this project, I’m going to use stretchy, or knit fabric. However, another good alternative you can use is fleece. Whatever you choose, pick materials that don’t fray.
You’ll need between 1-1/2 yards (1.5 yards) to 1-3/4 yards (1.75 yards) of fabric total. However, if you choose two different prints or colors for your sides, you’ll need to double the amount.
Reversible Scarf Tutorial

This tutorial is beginner-friendly, and you can make a nice double-sided accessory for your wardrobe.
You’ll see my versions with an animal print and solid, and the same print with a crochet knit design. Fun right?
1. Determine the size of your scarf.

I’ve sketched out two of the sizes I like to use to make my scarves. They’re basically two rectangles:
Short version: 52 inches by 11 inches (52” x 11”)
Long version: 64 inches by 10 inches (64” x 10”)
You can make yours shorter or wider than mine. A good way to decide this is to take a scarf you may already have and put it on.
Or you can try on some at a clothing store and measure them. Then you can decide the size you prefer.
Also, the seam allowance is already included, which is 1/2 inch (0.5 inch) on the long sides.
2. Cut the fabric.

You’ll need to cut 2 rectangles for the size you want. I cut along the long grain of the fabric, which is lengthwise.
If possible, I find it helpful to cut along the selvage, or finish.

My cutting mat has a grid, so I used that along with a yardstick to keep my lines straight.
If it’s easier, you can draw your rectangle on paper and use it as a template. Lay it on the fabric and cut around.
3. Lay one rectangle on the other.

Now you’ll take one of the rectangles you just cut and lay it on top of the other.
The right sides should be facing each other. That means the wrong sides of the fabric should be facing out.
4. Pin the pieces together.

With them stacked on each other, you’ll pin the right sides together. I only pinned lengthwise down my rectangular pieces.

If you’d rather use clips, that’d work too. I find the pins work better on projects involving long pieces of knit fabrics.
5. Sew the long sides.

Now I sewed the long sides together, using a slight seam allowance. (I didn’t use the full 1/2 inch (0.5 inch), but you certainly can.)
Note that I used my serger to sew the seams. For reference, I used a 3-thread wide overlock.

On my Babylock, it’s stitch selector A, with a left-sided needle. The width was 7.0, and the length was 3.
I also removed the pins as I got close to them. Never run over them on your serger.

If you’re sewing knits and using a sewing machine, I recommend using a wide, long zig-zag stitch, or even your overlocking stitch.
You can also use a straight stitch, but it might be more difficult. A walking foot greatly helps when sewing knits.
Be sure to backstitch at the end of sewing each side.
5. Turn the scarf inside out.

After stitching your sides, you’ll want to turn the scarf inside out. Now you should have the right sides facing out.

That seam we just sewed should be on the inside of the scarf now.
6. Press the scarf.

You’ll want to lay it flat and straighten out your scarf over the side seams. Then press them in place.
You can use a point turner or creaser tool to help. Using the iron will make the scarf look more polished.

Ahhh… Look at how nice that looks!
Make sure you use the suggested temperature setting for your fabric. We don’t want anything to melt.
7. Finish the ends. (optional)

Okay, you don’t have to do this part if you use knit or fleece fabrics, as they won’t unravel. You can see what it looks like with unfinished ends.
They look nice raw too, so this will be a personal preference on your part.
If you’re using the sewing machine, the overlocking stitch would work here. You’ll stitch across the ends.

However, I finish the ends by using my serger. I also adjusted the differential feed to avoid the fabric from stretching across.
Make sure you finish off the serger thread tails. I use a double-eyed needle to pull them back through the stitches.
All done! Easy right?
Notes

Note that I also dyed the scarf with crochet fabric. The crochet was actually white, and I wanted it to match better with the animal print.
If you need fabric, one idea is to cut up old T-shirts. Stitch them together to make your rectangle pieces. This is a great way to upcycle!
I wash my scarves in a delicate cycle and then hang dry. Knit fabrics tend to pill when putting them in the dryer.
Overall

Now that you know how to make this double-sided scarf, let the fun begin. It’s one of the easiest projects I like to make.
And it’s a simple way to add a touch of color to your outfit. Plus, they sure come in handy on cooler days!
Read More
- Speaking of overdyeing fabric, I can tell you more about it.
- I can show you how I wash handmade clothes so they last longer.
- This accessory goes well with my cardigan coat, which is one of my favorites.
Originally published: December 18, 2025