Disclaimer: This post may contain affiliate links. As an Amazon Associate, I earn from qualifying purchases.
Would you like to learn how to make simple fabric swatches? As a home sewist, you might use them to organize your stash.
I’ll show you my step-by-step tutorial, from choosing the size to finishing the sides. Then I store mine in a container so I can pull them out before new projects.
Oh, and a bonus for you! I’m sharing my 5 Q&A guide, with more on using them.
Materials

You’ll want to get these things before starting this project.
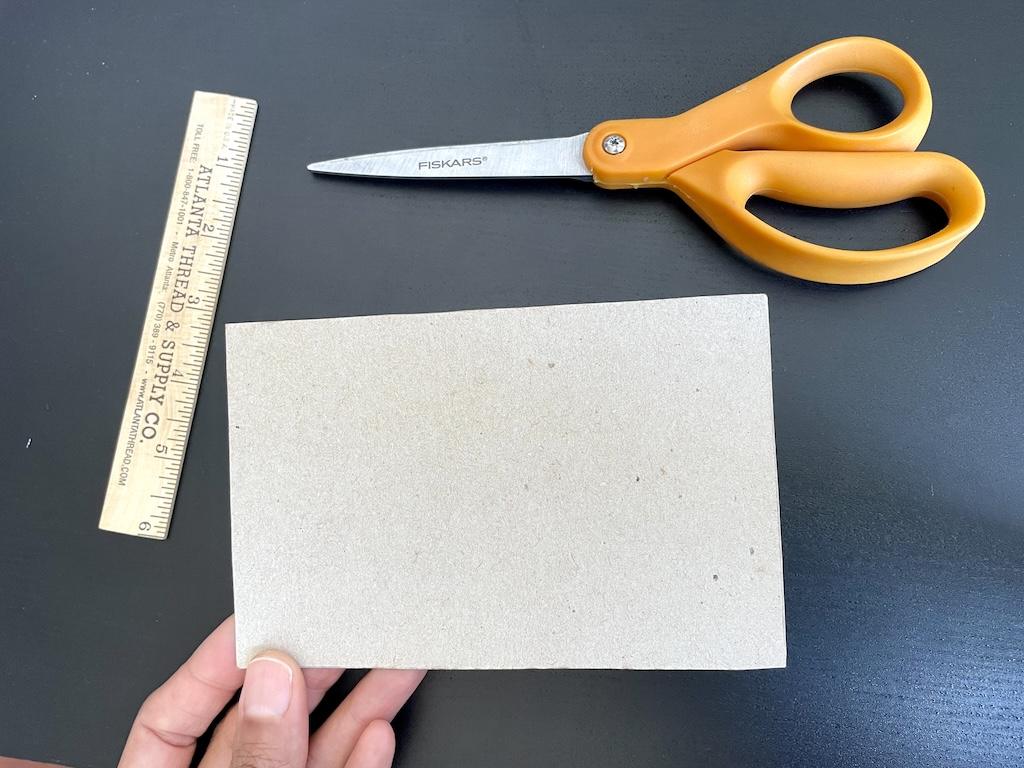
- Cardboard
- Pencil, pen or Marker
- Ruler
- Pinking shears
- Labels
- Storage box or container
- Fabric
- Basic sewing supplies: pattern weights, scissors, iron, etc.
Making Fabric Swatches Tutorial
We’ll use the fabric you already have in your stash. And if you have a big one, you might want to make them for your whole inventory.
1. Determine the size.
The first thing you must do is figure out which size you’d like your swatches. They could really be any size or shape, and there’s no standard.
Some people like them as small as 2 inches by 2 inches (2 x 2 inches). I won’t go any smaller than this.
However, I like the bigger sizes. Plus, it fits nicely in my storage container.
My preferred size is 4 inches by 6 inches (4 x 6 inches). I also like 5 inches by 5 inches (5 x 5 inches).
The one I’ll make is a rectangle, but squares are nice too. Circles might be more difficult to make, but you could make them in that shape too.
2. Make a template.
You’ll want to make a template to use over and over. That way, you don’t have to keep recreating the wheel to make each swatch.
So, I recycled an old tissue box. With a pencil, I drew a rectangle on the cardboard measuring 4 inches by 6 inches (4 x 6 inches).
Cut it out with your regular scissors, not the ones you use to cut fabric.
3. Iron the fabric.
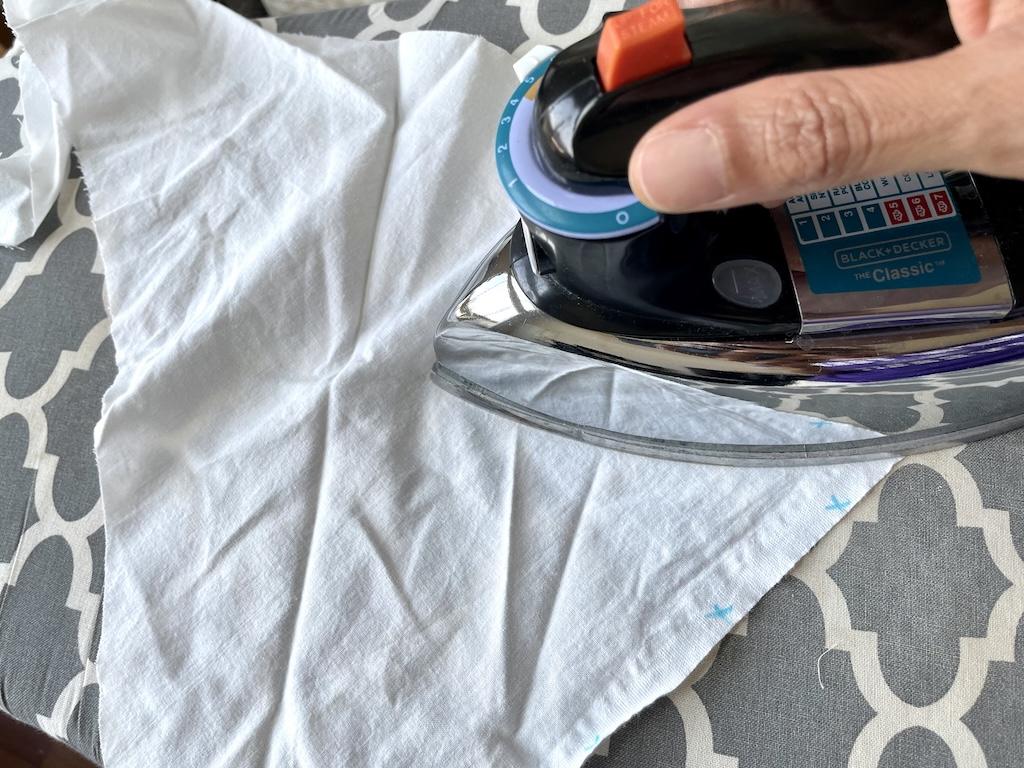
Now I pull some fabric from my stash and iron a section of it. Note that we don’t need to iron the whole thing, since we’ll cut a little piece.
Make sure it’s bigger than your temple. So I’ll iron a piece that’s bigger than 4 inches by 6 inches (4 x 6 inches).
4. Put the template on the fabric.
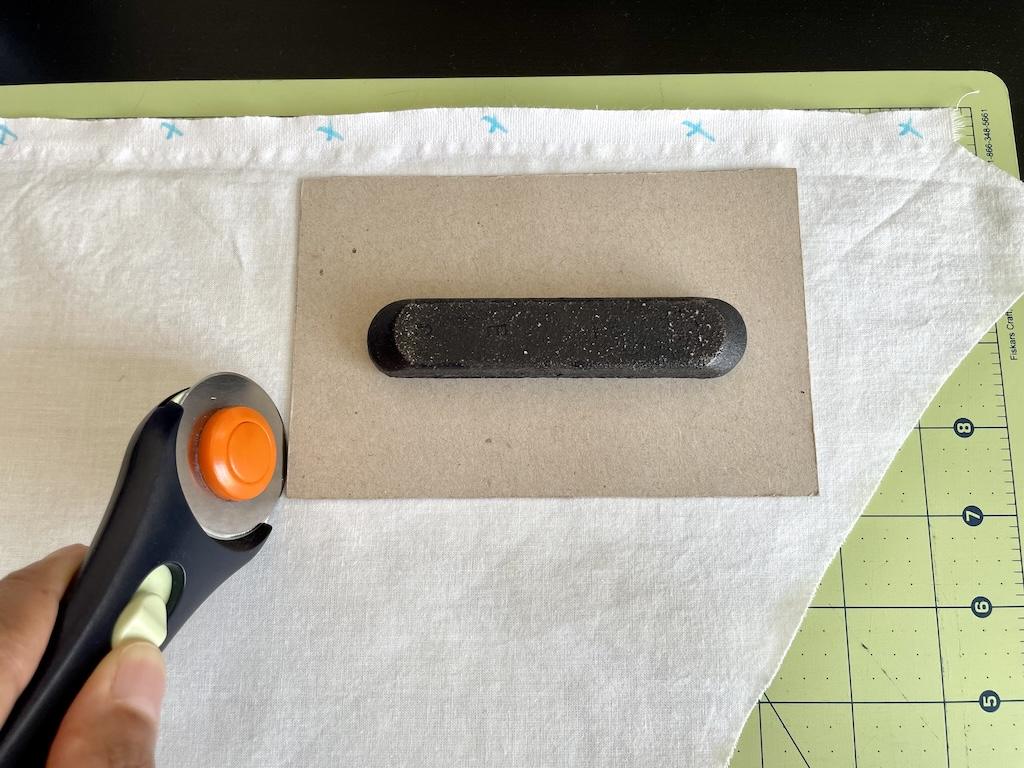
I like to use a rotary cutter and mat to cut my swatches. After placing the fabric on the mat, I like to line up my grainlines, so it’ll be neat.
You don’t have to, but I have the habit of doing this.
Then I put the template on the fabric and use the pattern weight to hold it in place.
If you don’t use a rotary cutter, you can put the fabric on the table. When doing this, I place the template on the fabric and outline it with a pencil, or I’ll cut directly around it.
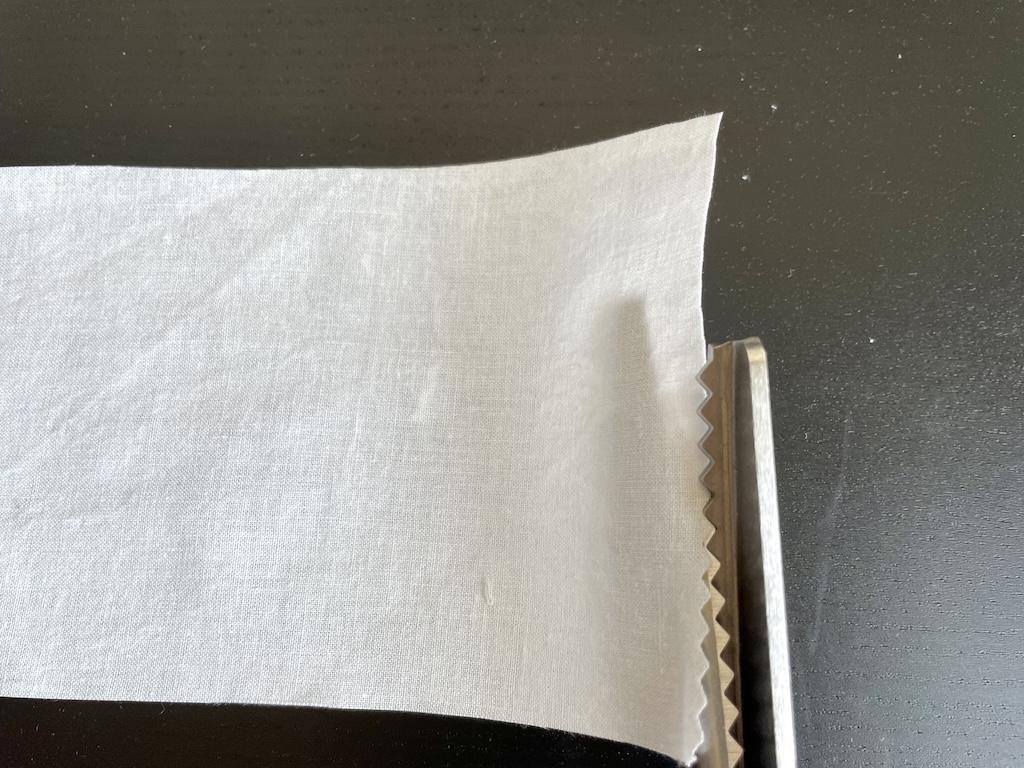
5. Cut the fabric.
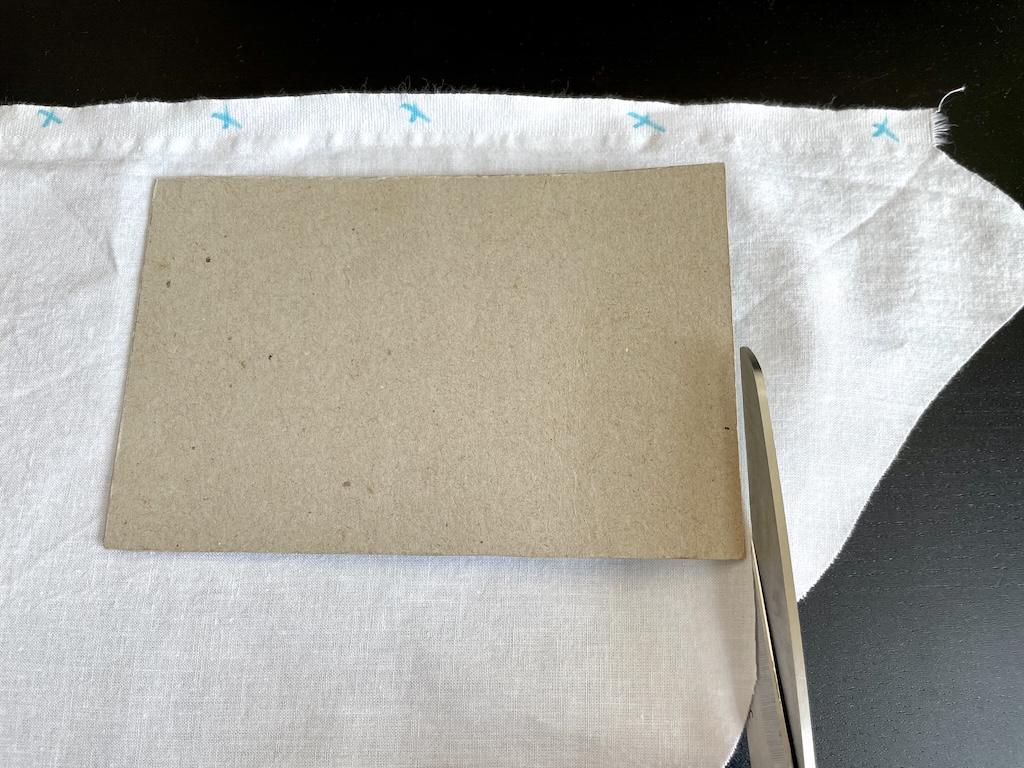
If using a rotary cutter, you’ll cut around the template. It should stay in place using the fabric weight.
In this picture, I’m using my scissors instead of the rotary cutter. I hold it in place while cutting, if needed.
In the end, I have a nice, neat rectangle.
6. Finish the edges.
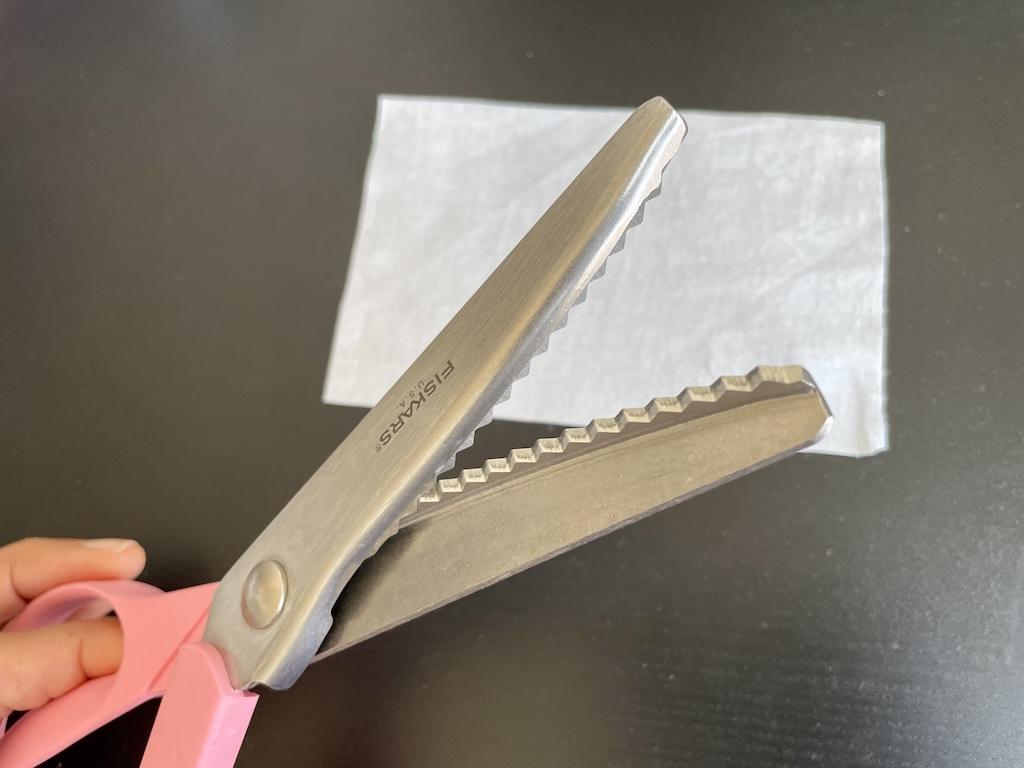
Now I use my pinking shears to finish off the edges of my rectangle. When you cut with these kinds of scissors, it makes a zig-zag pattern.
I cut really close to the edge to make this design, as there’s no need to cut off a lot of fabric. Look at that pretty edge!
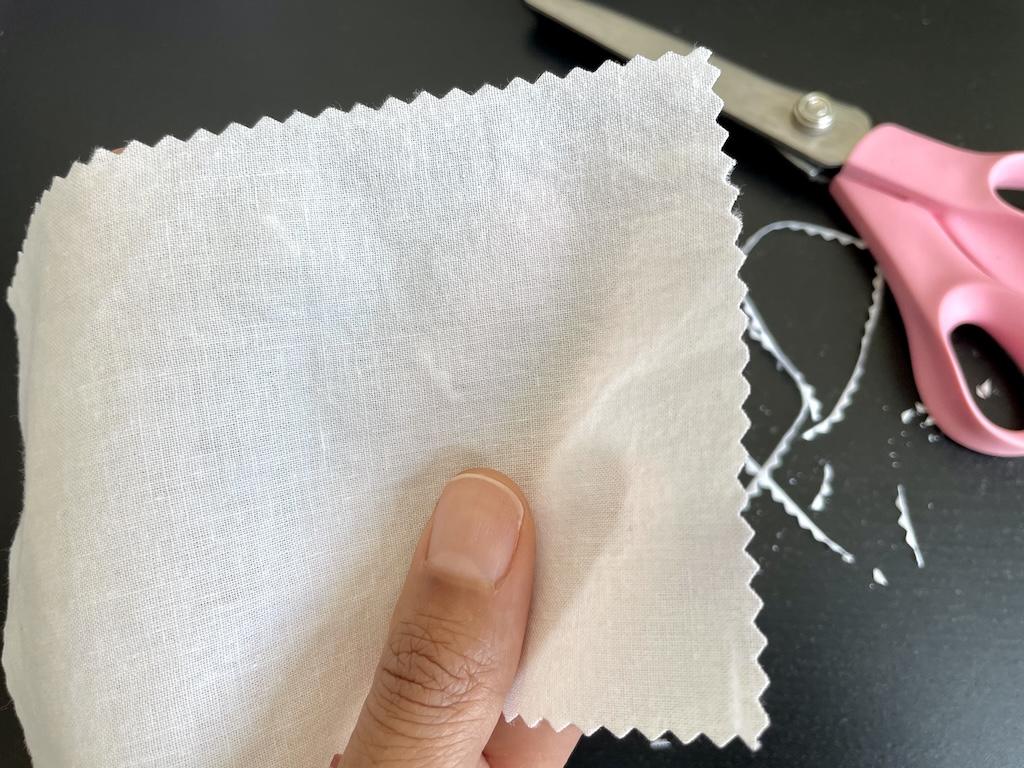
I do this for two reasons. One is so the fabric won’t fray, and two, it makes a nice design.
You can also use your sewing machine to make a zig-zag stitch around the edges to finish them.
Using fray glue is another solution. You’ll just dab it all the way around the edges. Once it dries, it might feel a little stiff.
7. Label the swatches.
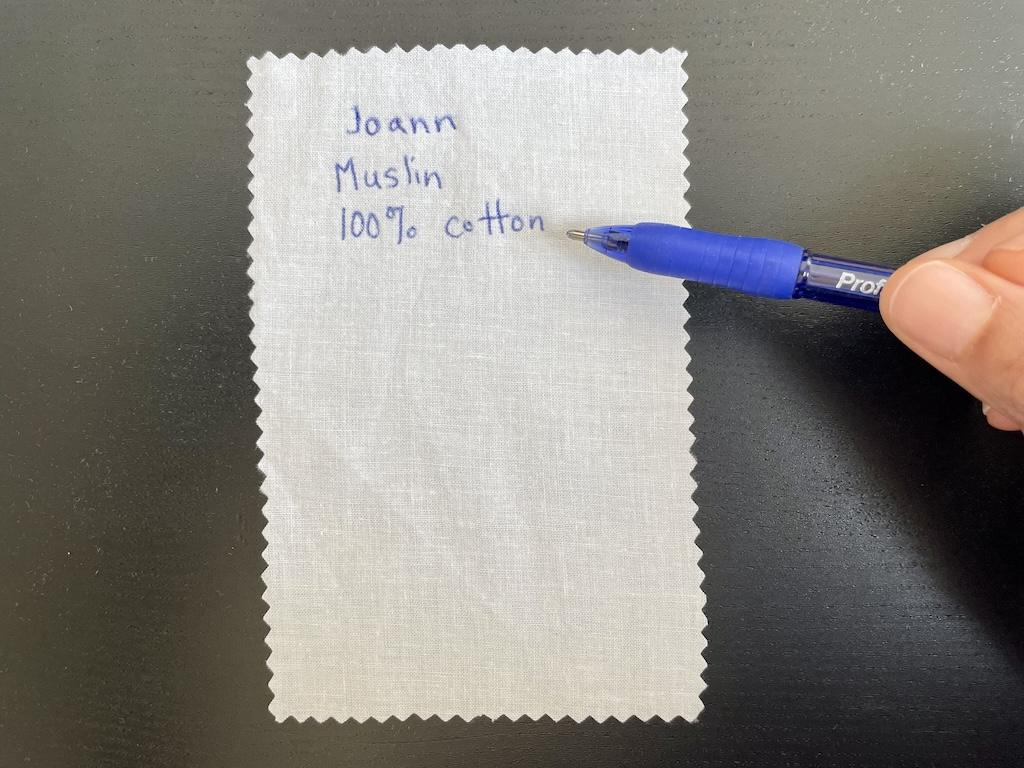
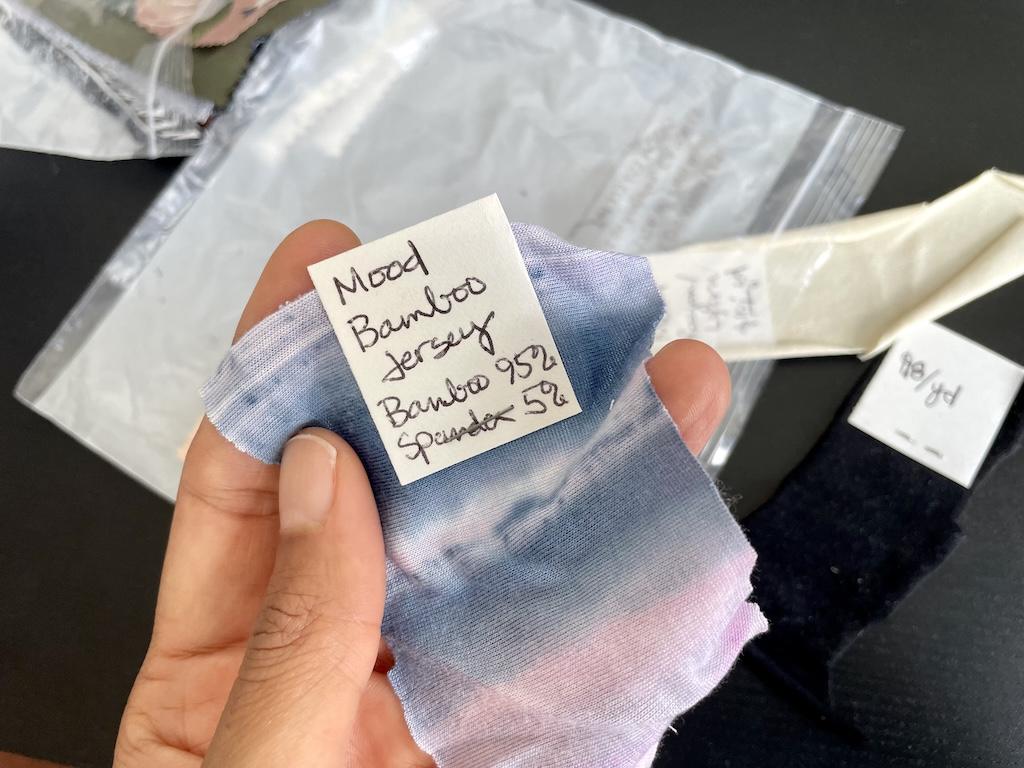
Now you can label the swatch by writing information about the fabric. I use a ballpoint pen and write on the back.
I usually like to include the store name, price, type of material, fiber contents, and care instructions. You can use this information when re-ordering fabric or figuring out how to wash it.
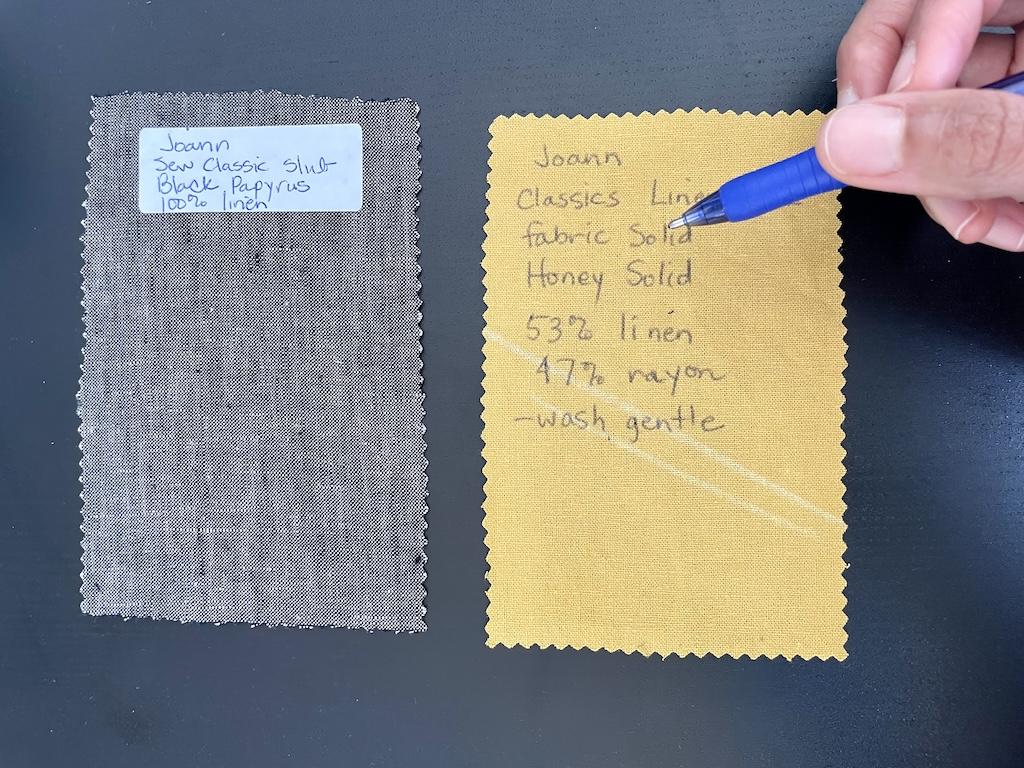
If the fabric is dark or difficult to write on, I’ll write the information on a label and then stick it on the back. Or I might write the info on a small index card and staple it near the edge of the fabric.

When shopping for fabric, I always take a picture of the bolt end or tag. This way, I have the information to use for labeling my swatches.
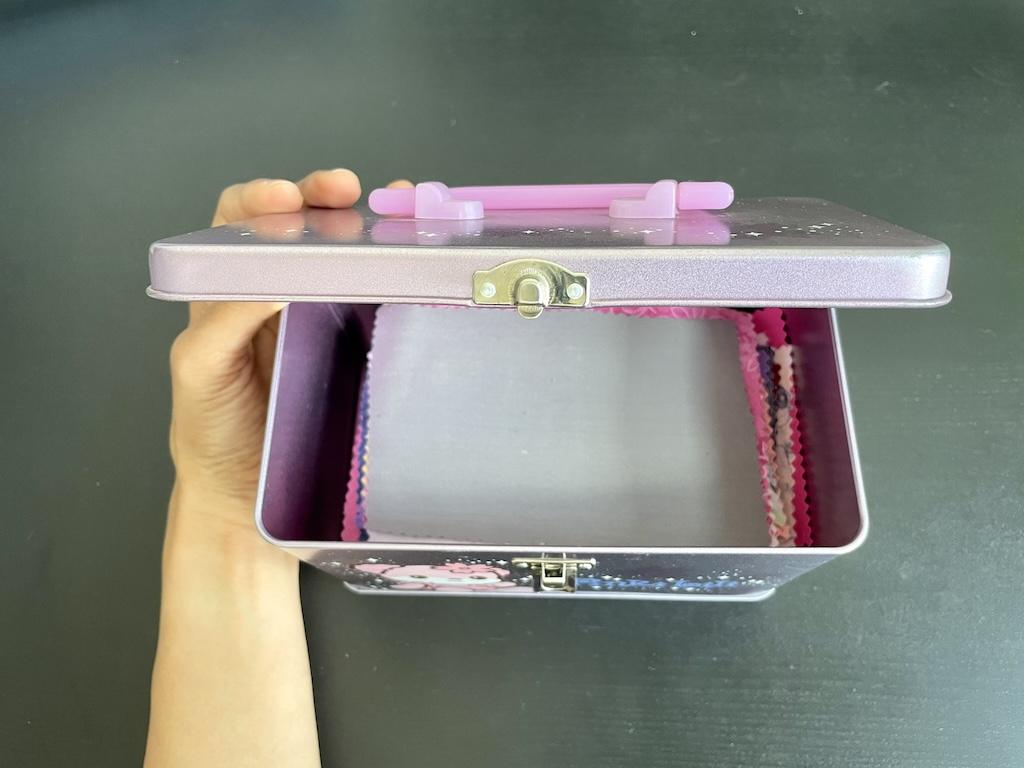
8. Store the swatches.
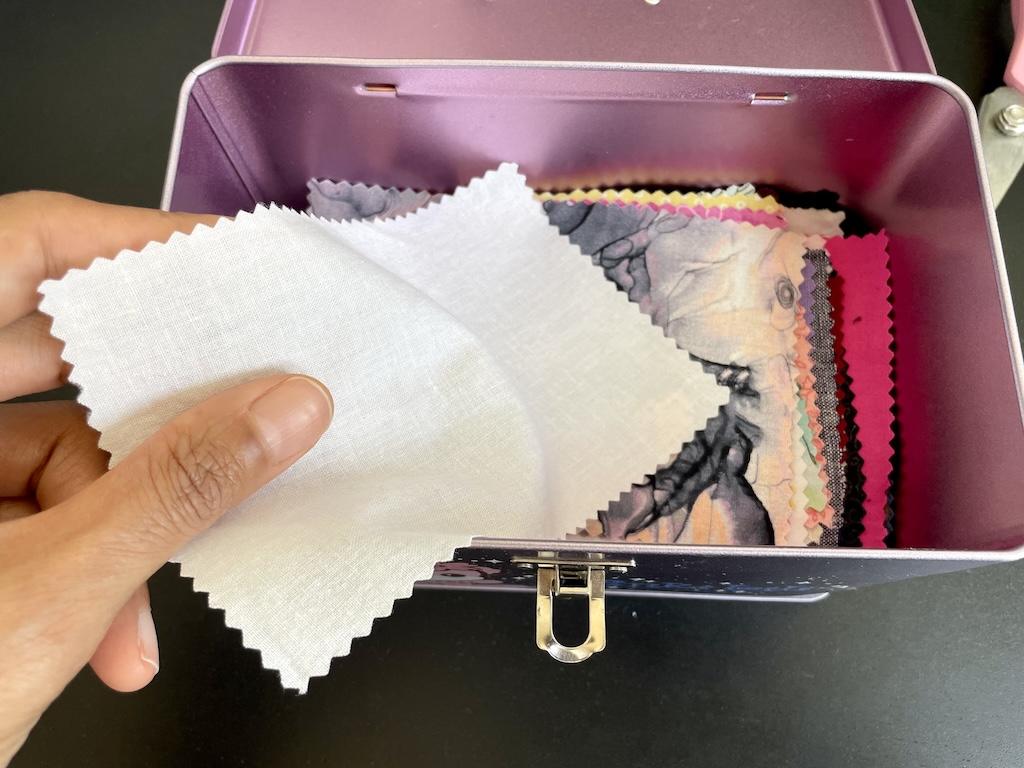
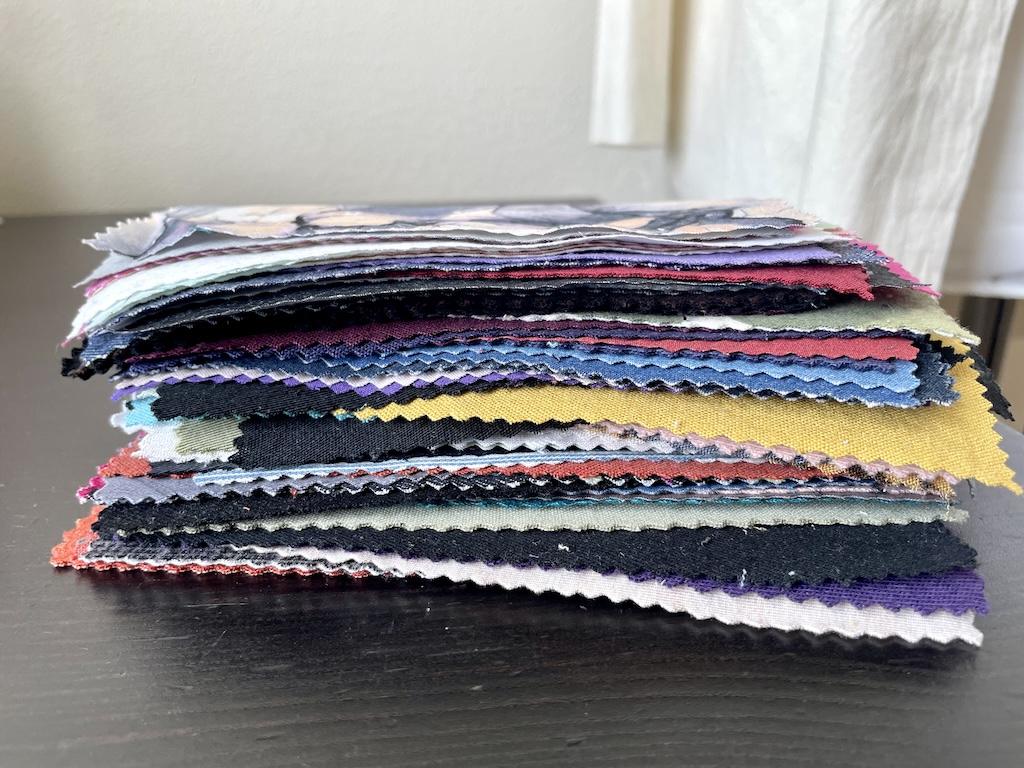
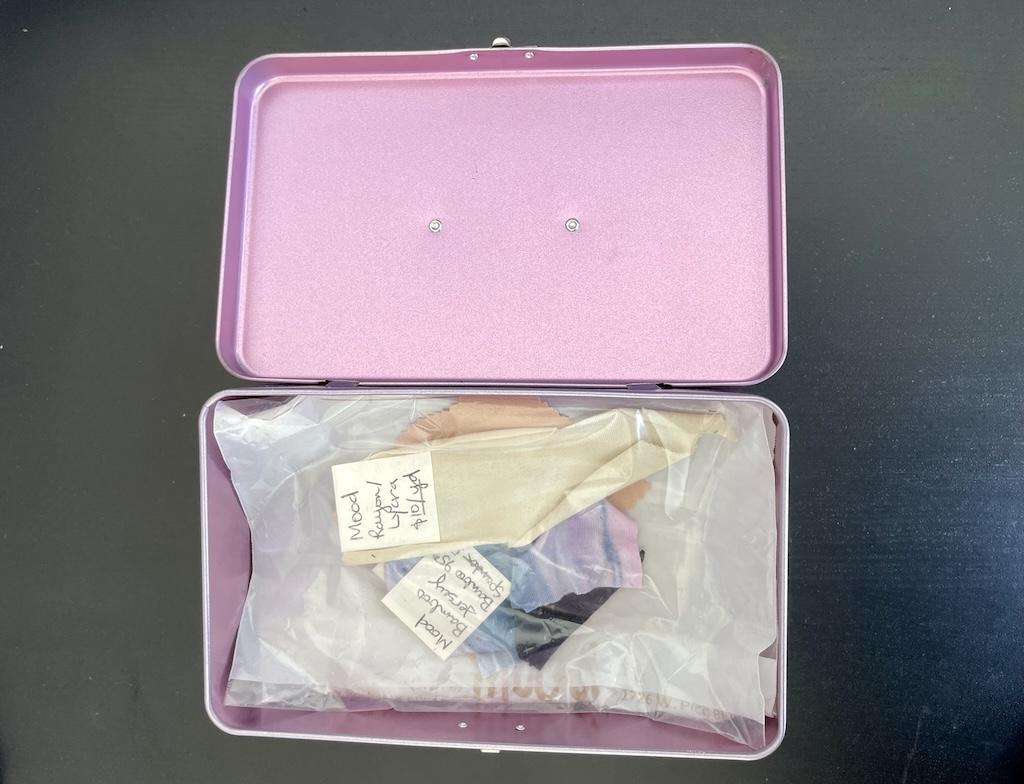
There are different ways to store swatches, and I chose the easiest way. I neatly stack mine in a metal container.
Other storage ideas include using a shoe box, basket, or plastic container.
I like to quickly shuffle through my swatches, so I don’t want them in a book or rotary card file.
People also make books by stapling their swatches to cardstock. Then they three-hole punch the pages and insert them in a binder.
If you like this method, you might want to make your swatches smaller than mine, then you can fit more of them on the page.
Fabric Swatch Guide
I brainstormed some common questions that may arise when making fabric swatches. I’ll answer them based on my experience.
1. Why would I make swatches as a home sewist?
If you have a big stash like I do, fabric swatches can help you stay organized. You can use it as a catalog for your fabric library.
If you’re a beginner, you’ll also learn about different fabrics this way. As you create your swatches, you might notice the textures of similar fabrics.
For example, you’ll notice that many cottons feel similar. However, you’ll notice differences in weights as some might feel lighter, and others softer.
I have quilting cotton, voile, twill, denim, chambray, and shirting. These are all cottons, but I can see and feel the differences right away.
So I can quickly decide if I should make my new blouse in shirting or voile.
2. Should I collect all the different fabric types?
I’m not saying you need to go out and buy all the different types of fabric to have them in your index.
But the more different types you have in your library, the better you’ll understand the hand (how it feels) and drape (how it hangs).
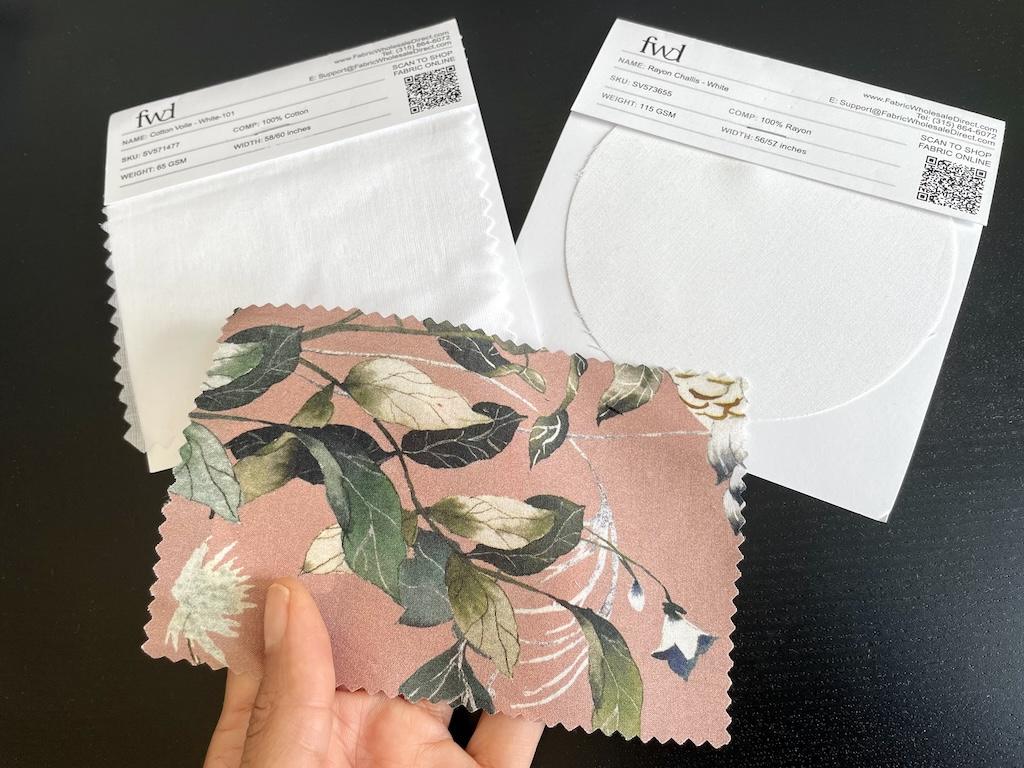
I like to order swatches of fabric I don’t have. They are generally cheap, costing around $1 to $4.
That way, I’ll know what the texture and weight are like. For example, you might sew with woven fabrics as a beginner.
If you want to get into sewing knits, you might order some fabric swatches beforehand. You could add cotton knit, polyester knit, modal, lycra, rayon, bamboo, sweater knit, double knits, scuba, and more.
Then you’ll know they feel and stretch before buying yards of it.
I tend to buy all-natural and semi-synthetic fabrics since that’s what I sew with. But I do have polyester swatches just for comparisons.
3. How would you plan projects using fabric swatches?
If you like fashion sewing, you might use commercial patterns. Before making a garment, I look at the suggested fabrics, usually listed on the envelope.
Let’s say it says you can use silky types, crepe, chambray, linen, and lightweight denim to make a garment.
You could pull those swatches out and lay them on your table. Then you could feel them, hold them up to the light, and compare them.
I like to do this because it’s easier than pulling out a whole roll of fabric from my closet.
Then I might recall making a garment with a certain fabric and think about how it worked, and would like to use it again.
I might compare a linen to silky fabric and realize the drapey one is more of what I’m looking for.
After deciding between swatches, I’ll go and grab that fabric roll out of my stash.
4. Does this work for all fabrics?
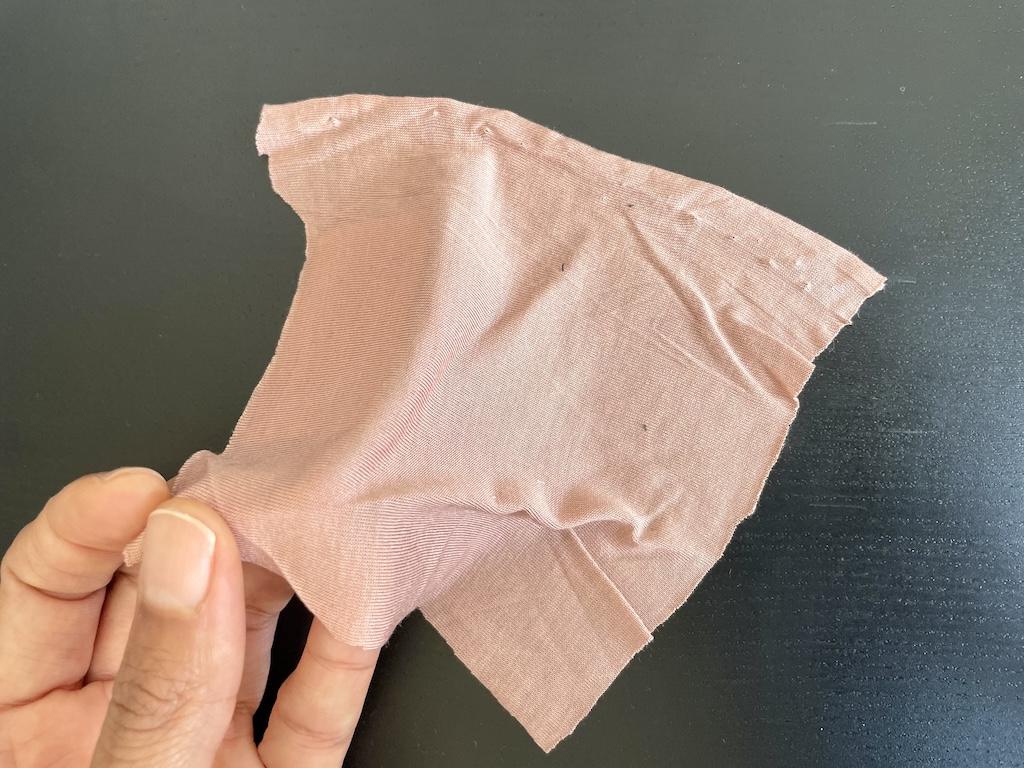
Some fabrics might not lay like those nice cotton wovens. For example, I have some knit rayon that just flops around.
It doesn’t lie straight, I can’t write on it, and it’s just very drapey.
For these kinds of fabrics, I like to keep them in a plastic bag. They might not keep their shape or may roll at the edges, unlike the fabrics with more structure.
I still keep them with my other swatches, but they tend to be separate.
5. How should I organize my swatches?
Speaking of separating them, you can organize them in a certain way. Some people love to do this by color or type.
I mostly organize by type of fabric. For example, I keep my cotton wovens together, and then polyesters in another heap.
Then, as I mentioned before, many of my drapey knits go in a little baggie.
You could also organize them by seasons, where you separate your summer, spring, winter, and fall colors.
If you’re a quilter, you might want to organize your swatches by the patterns and colors that go well together. That way, when you’re making projects, you’ll have them in coordinating sets.
Notes

Don’t forget to store your template where you can find it. I put mine in the same container as my fabric swatches, so I can find it easily.
I know I spoke about buying swatches, but did you know that some stores will give you free ones? Yes, I get them all the time!
I live by Mood Fabrics and love browsing the aisles. If you like something, just ask for a swatch, and they’ll cut you one.
By the way, I’ve seen people bring scissors and cut their own, but you don’t want to do that. Ask, and they’ll do it for you!
Overall
Fabric swatches are useful for me as a home sewist. I can see what I have without digging through mountains of materials in my closet.
Plus, it’s like a mini library at my fingertips, will all the information I need. Maybe you’ll make your own little collection too!
Read More
- Would you like to make a flat thread spool to wrap shorter strands?
- What about making a mini travel sewing kit for quick fixes on the go?
- If you’re struggling to find time for sewing, I’ll give you tips.
Originally published: November 3, 2025