Disclaimer: This post may contain affiliate links. As an Amazon Associate, I earn from qualifying purchases.
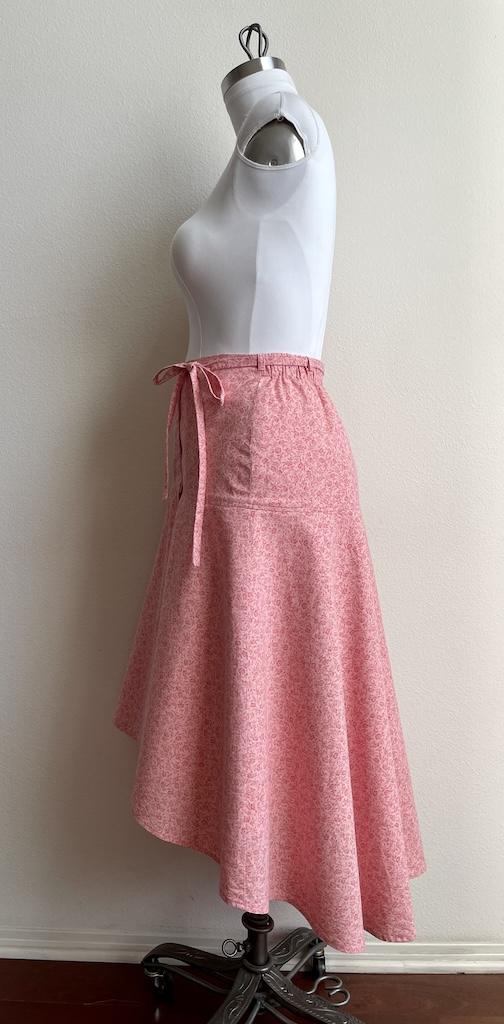
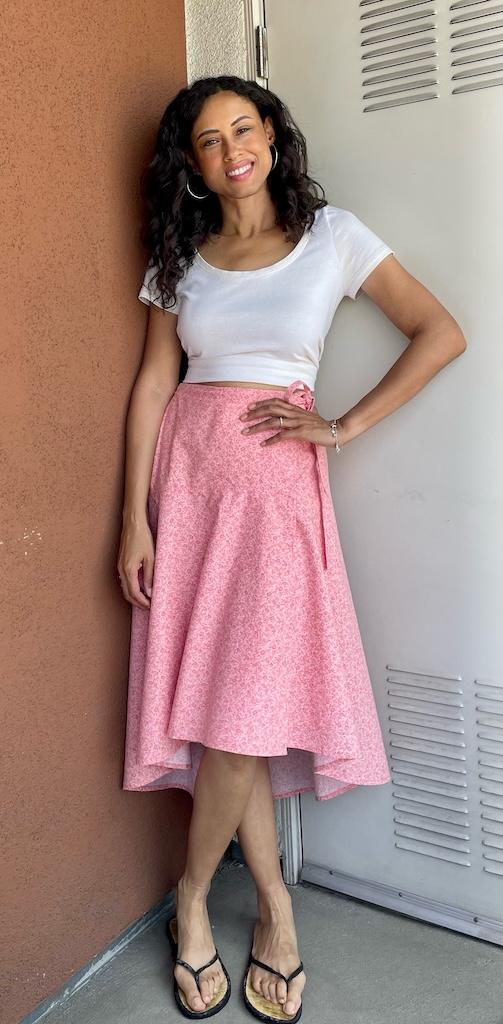
I made a DIY tie wrap skirt in midi length with a high-low hem. I have so much fun wearing it, especially walking around.
Although I’ve made many skirts, this one was a little more complicated. It still has its casual vibe, and I made my usual waistband hack.
I’ll tell you all about the pattern, materials used, my process, and photos. You might end up making one too.
Simplicity S8950 Skirt Pattern

I’ve had Simplicity S8958 for a while, and it sat around on my to-do list before I even made a mockup.
I mainly chose this pattern because the skirt looked cute on the model, and it was casual. I pictured myself wearing it with sneakers or sandals.
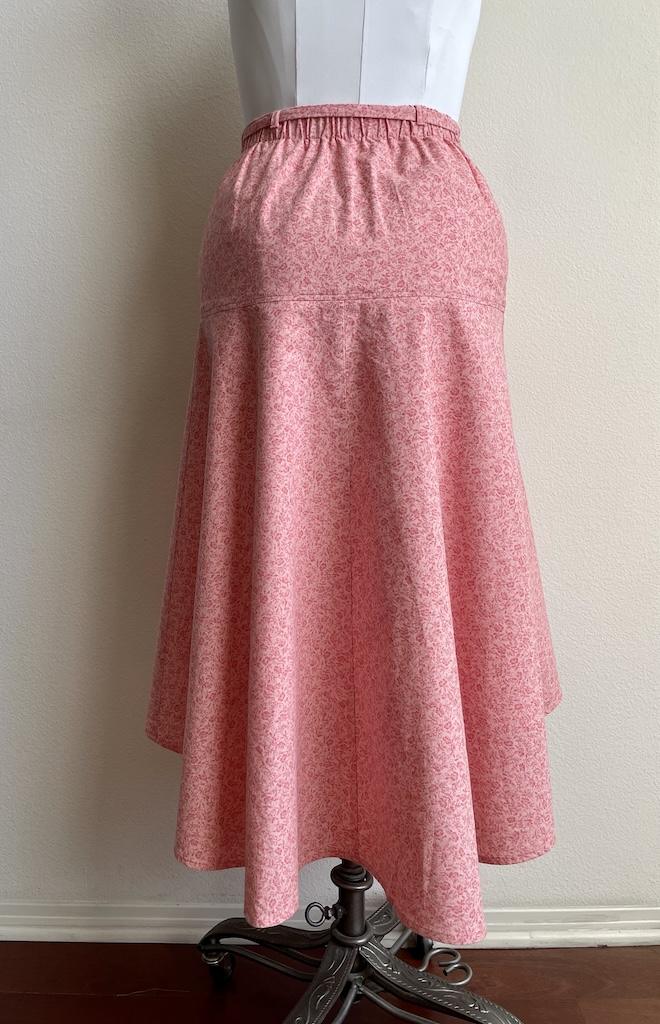
It’s a wrap skirt with yoke variations. You can make it with a tie front, like I did, or with buttons.
There’s a midi and maxi length, with a high-low skirt variation. There are darts in the back yoke, and no pockets.
I wouldn’t call this skirt easy to make, and I’ll touch on that. Someone who’s at least an intermediate level could tackle this pattern.
Materials
Here are the things I used for this project. I have many light to medium-weight fabrics already, so that wasn’t a problem.
Fabric
You’ll want to choose a woven fabric with structure or drape. I used a pink flower print in cotton from Joann.
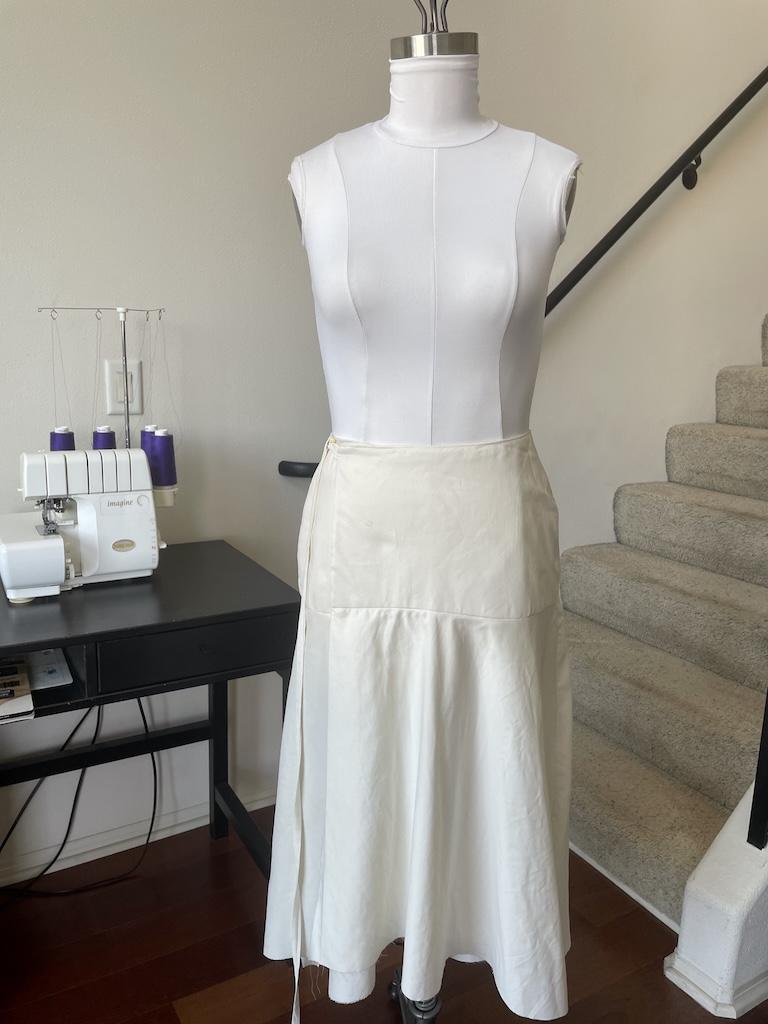
I made a mockup with an old bedsheet, and it was good enough for a draft.
For the yoke lining, I used a premium muslin because I wanted to make the whole skirt cotton. It has a nice feel and is not too stiff.
Suggested fabrics include cotton types, flannel, double gauze, gingham, linen types, poplin, seersucker, silky types, and voile.
Notions
I used four 1/4-inch (0.25-inch) snaps with the tie, but the pattern calls for fewer. For the yoke, you’ll need four 5/8-inch (0.625-inch) buttons.
I also used 1-1/4 inch (1.25-inch) wide knit elastic for the back waist. This is a notion I added because I did a waistband hack.
Needle

I used a size 80/12 universal needle for this fabric, which was heavier than shirting.
Thread
For my sewing machine, I used matching Gutermann universal thread made of 100% polyester.
For the serging, I used Maxi-Lock spun thread that’s also made of polyester.
Sewing My Skirt
Making this skirt wasn’t all easy and straightforward as I thought it’d be. I followed the directions, and there were tricky parts.
Prepping
The first thing I did was make a mockup. As I mentioned, it was out of old bedding because I just wanted to use it up.
This would give me an idea about the fit. When I first made the mockup, I didn’t make the tie front correctly.
For some reason, I thought it was an easy closure. But this one loops around the back and around the waist on the inside. I wondered why the tie was so long.
This made it a bit confusing when I tried it on. And then I wasn’t sure I liked the fit of the yoke. The seam line dragged across my butt, which I was unsure if it was flattering.
But I thought that it’d probably look better in the real fabric in the high-low variation. So, I decided to sew that one.
Construction

Like I mentioned before, the tie front made this skirt more complicated. I’m so used to ties that are basically extensions of the waistband.
And although I could have made the button front version, I preferred the tie. My second time making this went much better.
I think I switched the sides the first time I made it. When I make mockups, sometimes I don’t follow the directions step-by-step.
And that’s where I went wrong. My final version came out much better, and I made the little belt loops to hold the ties in place.

I lined the yoke, which is part of the design. However, I didn’t slip stitch it into place.
I started doing this, but it was too much for me to hand-sew, so I machine-sewed it instead. No one really sees the inside of my clothes except for me.
Then I also decided to make a lining for the rest of the skirt. I thought it’d be nicer.
Lining a wrap skirt is tricky because you’ll have to tuck the lining into the front seam allowance of the overlap so it won’t show. So, I did that, and it turned out just fine.
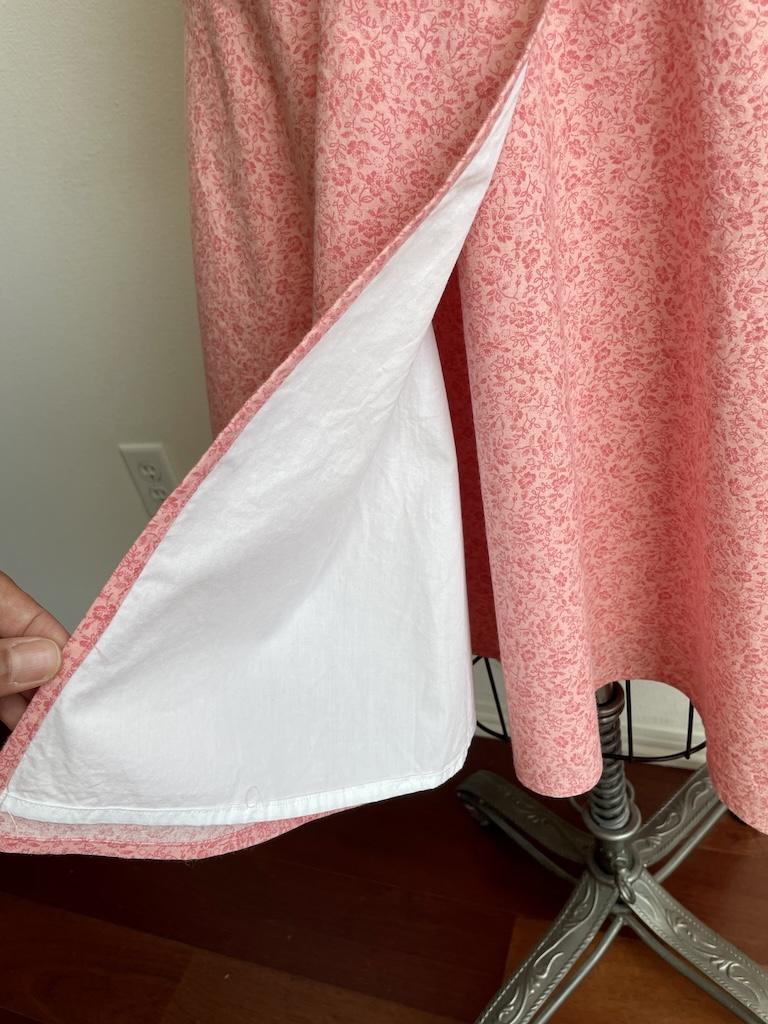
When I finished, I changed my mind and took out the skirt lining. I kept the yoke lining because that’s needed.
The skirt just didn’t have the feel I liked, plus you can’t see through the fabric anyway.
Sewing the high-low version is a little different than making a skirt that’s more straight across. It’s just more rounded in the back, so you’ll want a narrow hem so it’s easy to sew.
Adjustments
I did my elastic waistband adjustment on this skirt. The yoke had darts in the back, which contour the back hips and waist.
I didn’t like the feel of this waist on me. I’m used to thicker waistbands, as opposed to yokes.
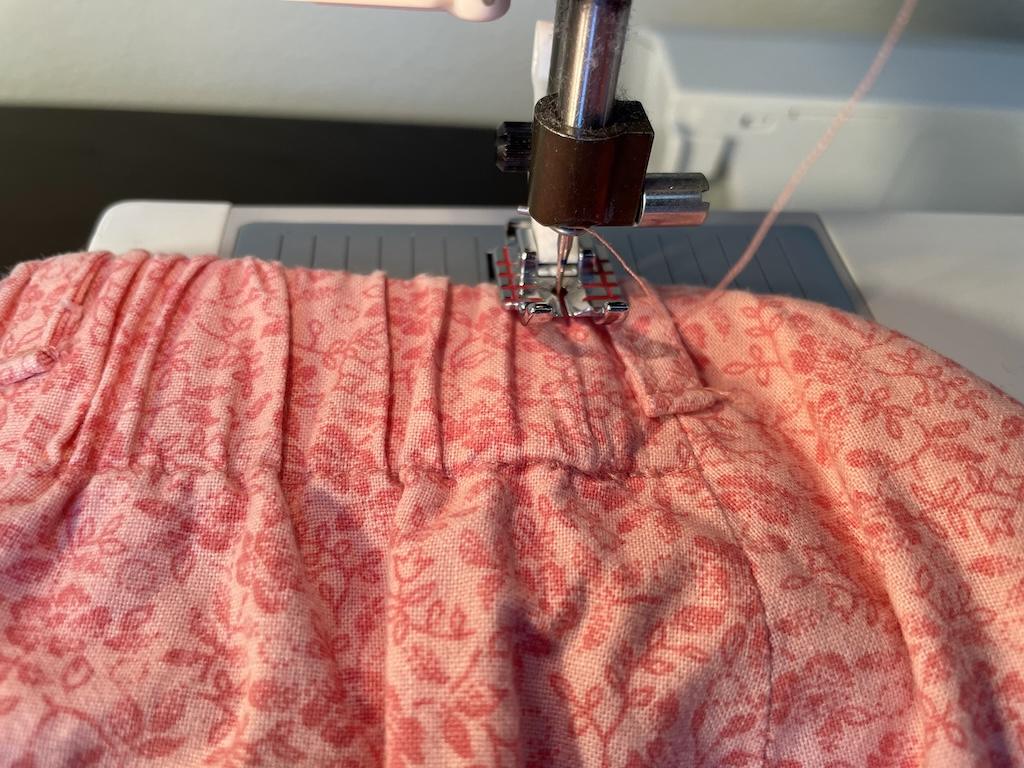
So, I removed the darts on the skirt and lining and made a casing in the back. This was pretty easy because all I had to do was sew a line between the side seams.
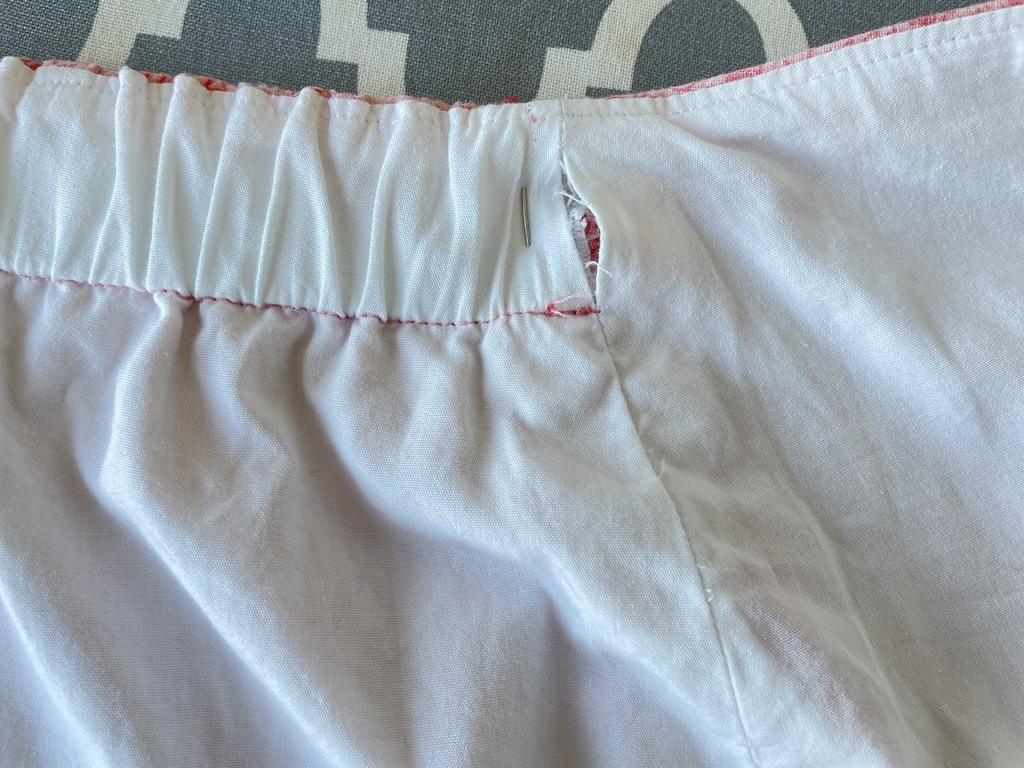
However, I’d say it was complicated too because there’s that tie belt. It goes through a hole in the skirt waist at the side seam.
So I had to sew the back elastic waistband just short of the seams so it wouldn’t interfere with the tie belt opening.
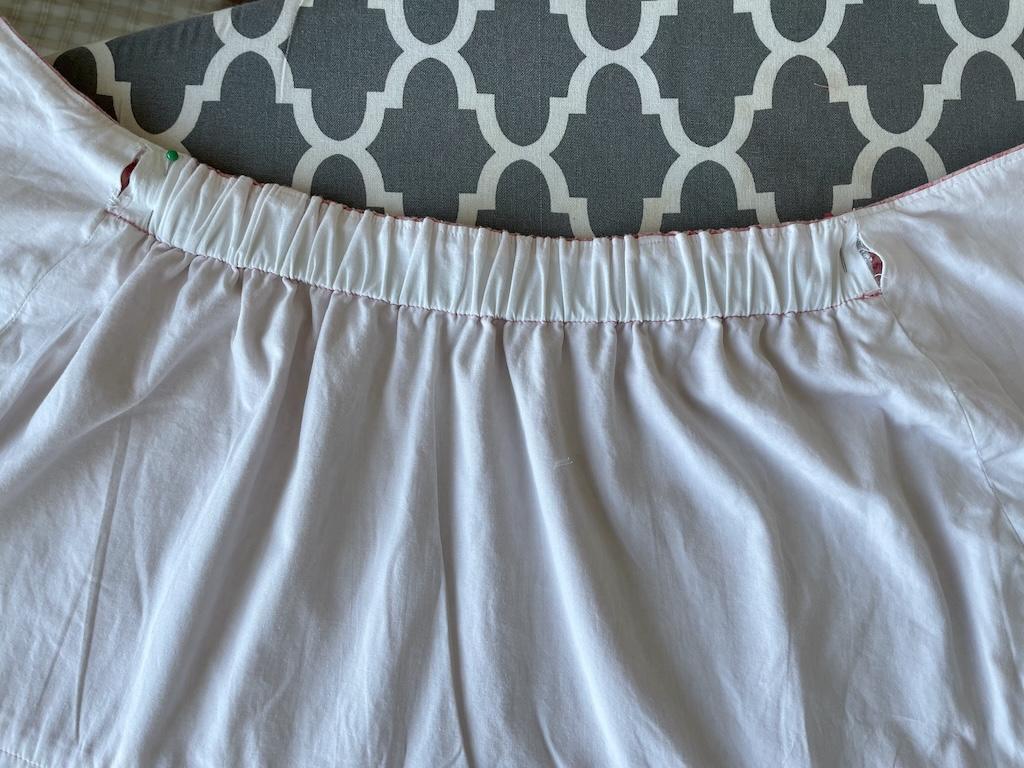
I like the width of the casing, but I could have used narrower elastic to match the belt loops. Oh well, maybe next time.
Finishing Details
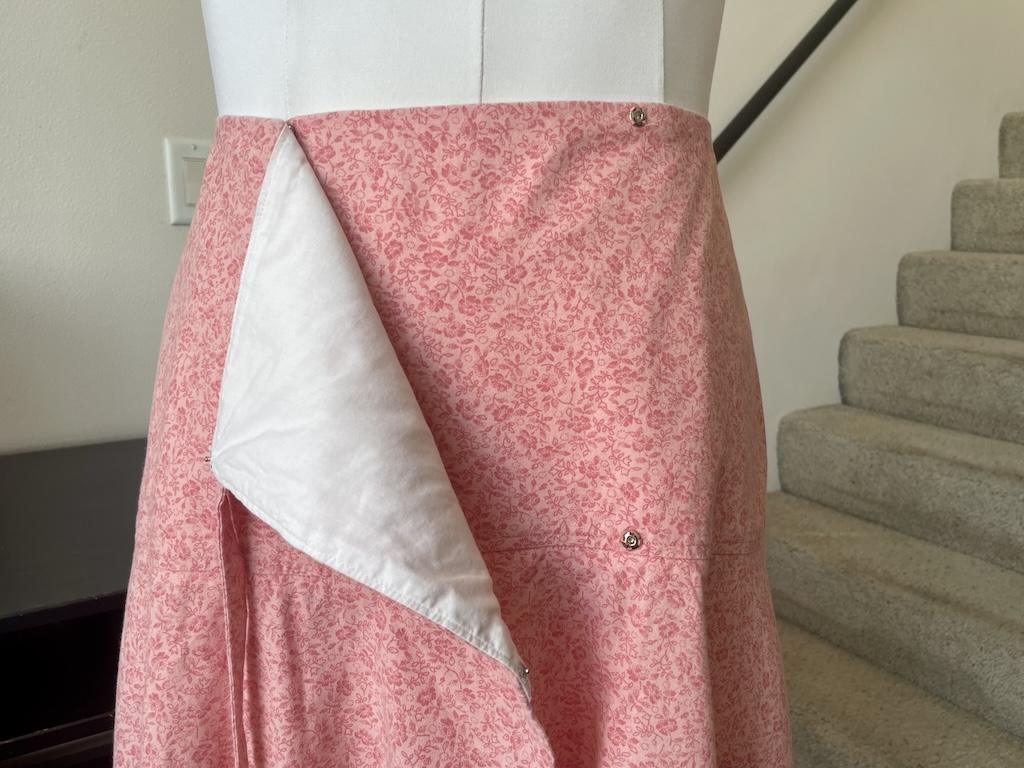
Instead of using the 1 or 2 snaps in the directions, I added 4 to the front yoke. This felt necessary.
They were placed in the corners where the skirt closes in front. I also put snaps where the skirt overlaps on the inside to keep that fabric in place.
Without them, this skirt just flies open when walking or sitting. I understand it wraps across, but I didn’t want the yoke opening up.
Project Notes
This project reminded me of an important tip for making clothes. I always read over the pattern before sewing, but I only glossed over this one.
I’ve made so many clothes, I think I already know how they’re constructed. But I still shouldn’t assume they’re all made the same way.
And while I assumed this was an easy tie front, it wasn’t. That’s one thing to be aware of.

I could have hacked it to make it the way I liked, but I wanted to follow through with this design, except for the elasticated back.
It’s not easy to get this tie around the waist on the inside.
Otherwise, I like the fit around the waist. Don’t be afraid to add elastic to make it more comfy.
Final Thoughts
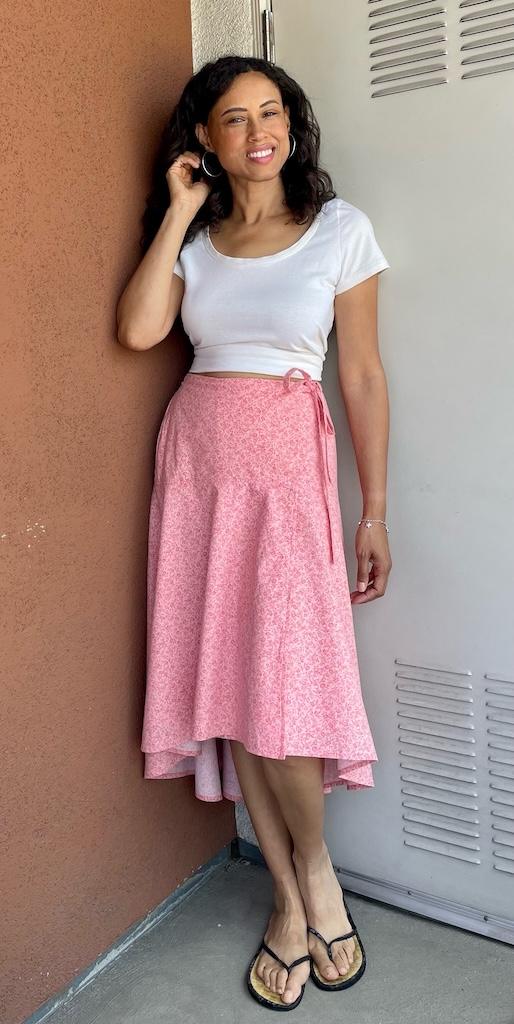
I do like how my skirt came out despite all the issues. The midi length with the high-low hem is cute.
Plus, the waistband is nice and comfy to wear when out and about. I don’t know if I’ll make this version again, but I still like the look.
More Sewing Projects
- The knit top I’m wearing is a basic t-shirt that was easy to make.
- I made a linen wrap skirt by upcycling old pants and hacking the back waistband.
- An easier one to make is my flowy tiered skirt, which is so comfy and perfect for summer.
Originally published: July 11, 2025