
Disclaimer: This post may contain affiliate links. As an Amazon Associate, I earn from qualifying purchases.
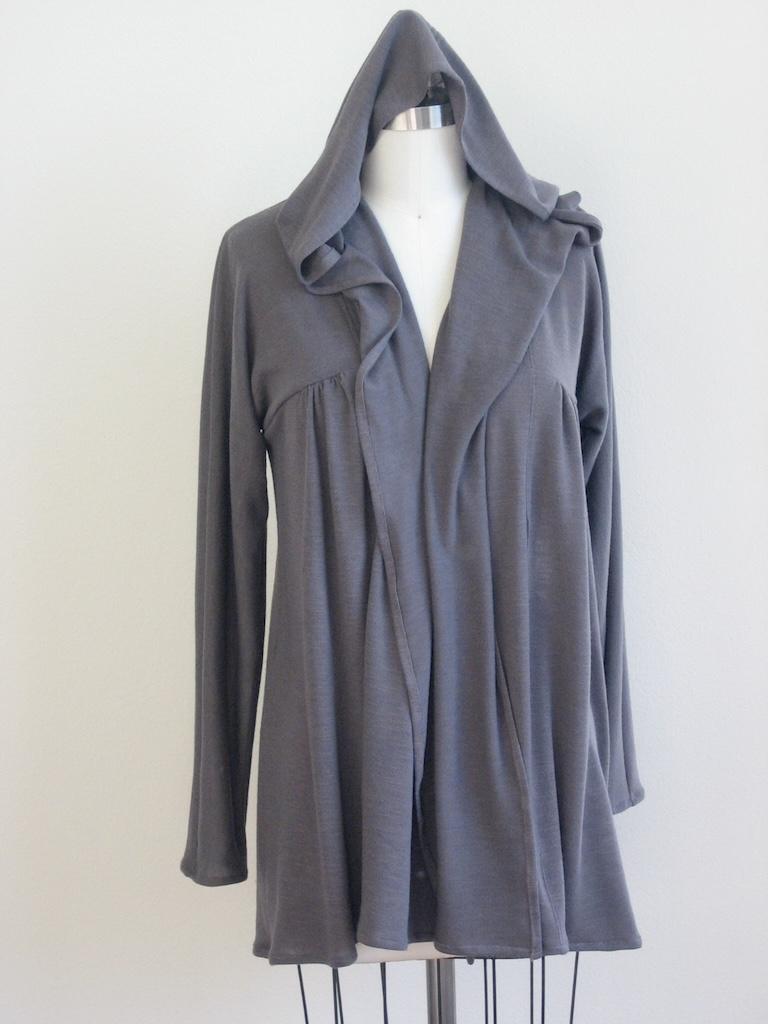
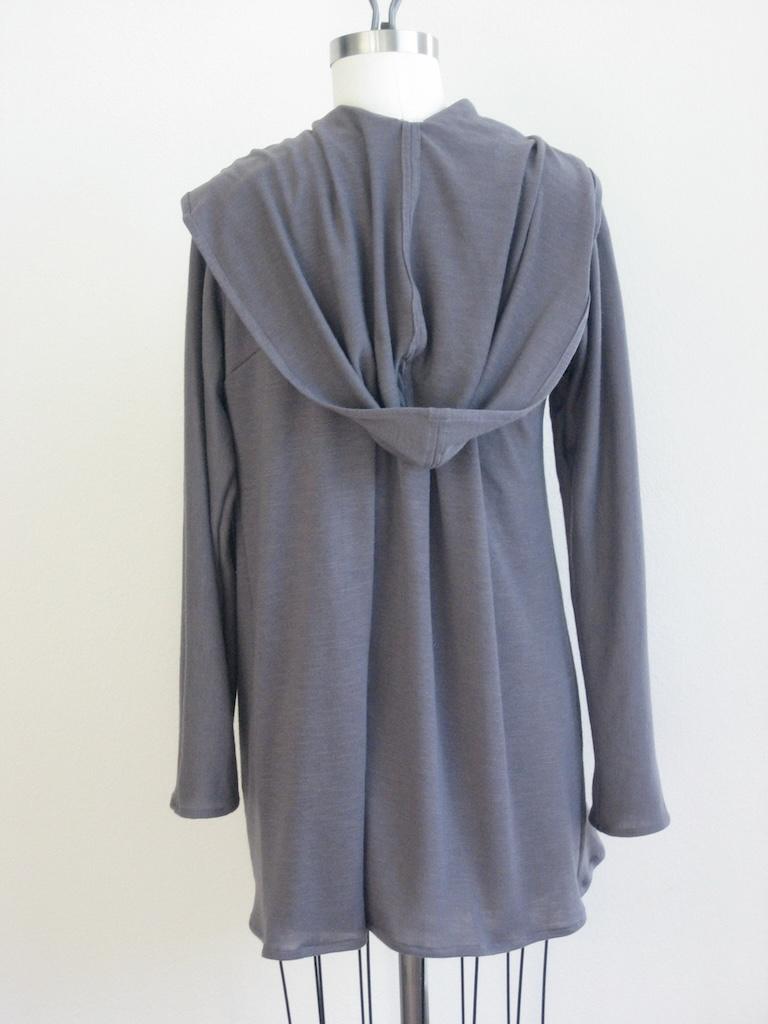
I made my DIY cardigan with a hoodie hack! What I did was actually turn the neckband into the hood, which I like much better this way.
I don’t know about you, but I love this for windy days. And it’s nice to throw this on around the house too.
So come along as I tell you about the sewing pattern, materials used, my process, and share photos.
McCall’s M5713 Cardigan Pattern
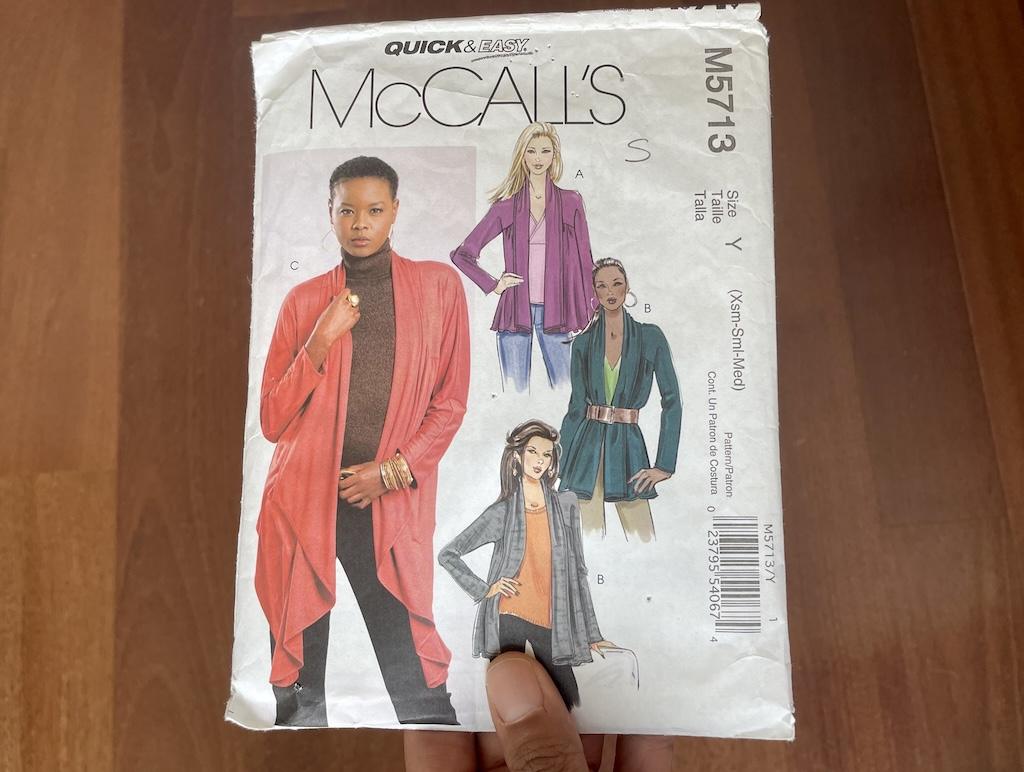
I bought McCall’s M5713 sewing pattern long ago. It’s out of print and labeled quick and easy to sew.
It’s loose-fitting, with front and back gathers. The yoke and sleeve are one piece, and the band and collar are the same piece too.
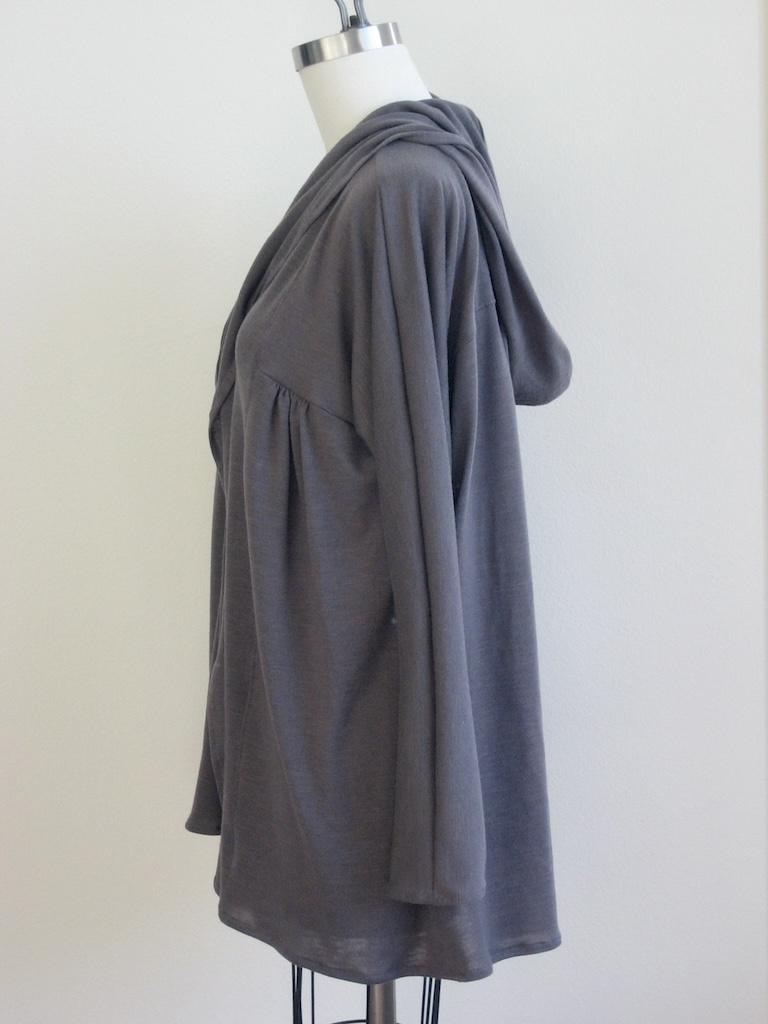
I’ve made all variations, including the one with the pointed hemline. What I like about it is the thick band because it looks like a scarf.
With only 6 pieces total, it’s not too complicated to make.
However, this would be tricky for beginners because of the knit fabric. You’ll have to know how to work with stretch fabric.
Materials
Here’s all the stuff I used for my project, which I didn’t spend a lot on.
Fabric
Speaking of the cost, I’ve made this pattern using many different fabrics. I found all of these in the garment district near me.
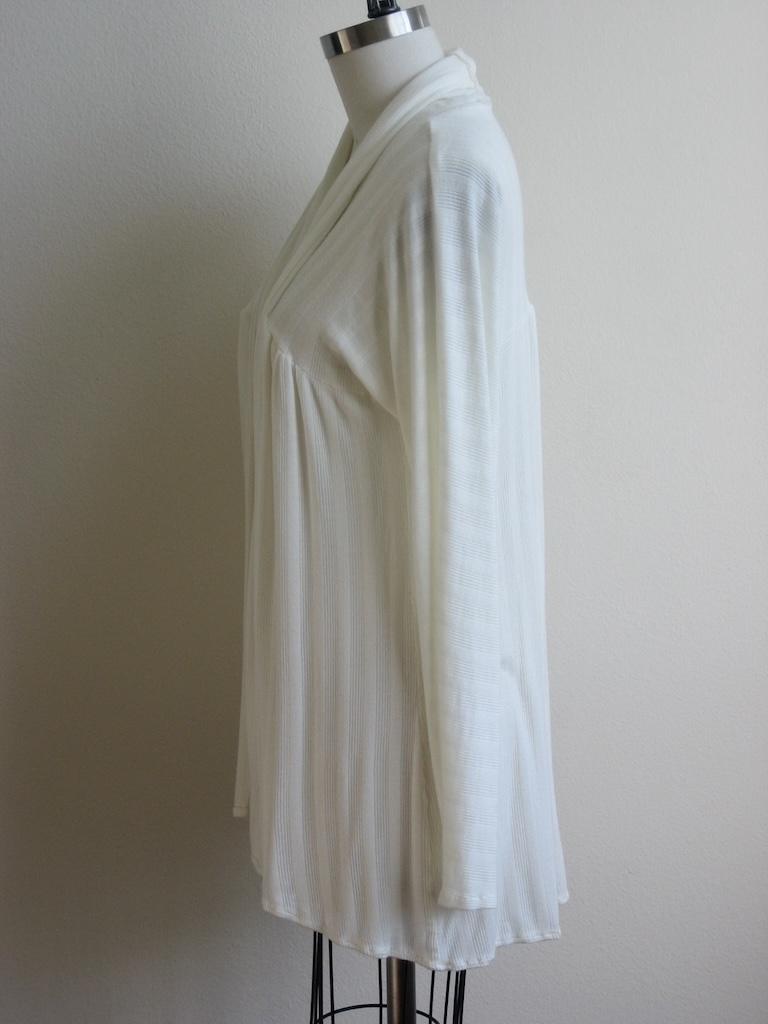
My favorite creation was made with white ribbed knit. It’s so soft and drapes well.
I wish I could find more of this in other colors. I just love it!
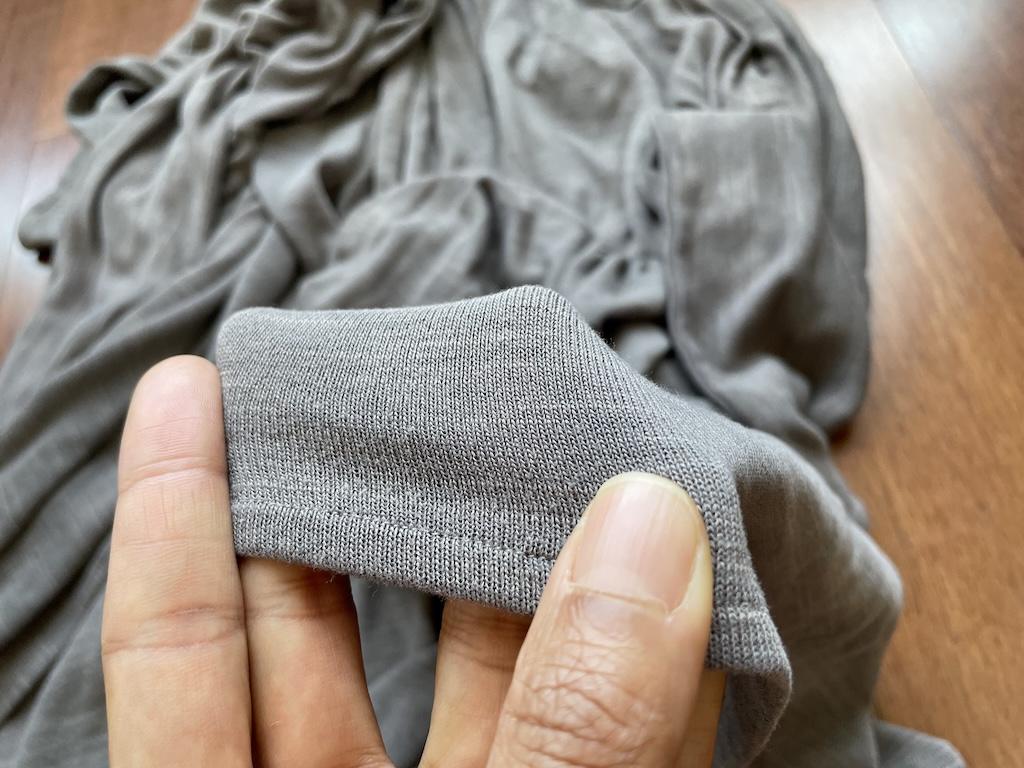
My gray cardigan with a hood is made with sweater knit fabric. This material has a loose weave and snags on things. So I have to be careful, and it’s a bit annoying.
Suggested fabrics include stretch knits such as jersey, cotton knits, novelty knits, and lightweight double knits.
Notions
I didn’t use any notions, but the directions say the belt is optional.
Needle
Remember to use the correct needle when sewing stretchy fabric. I’ll use a ballpoint needle instead of a universal one.
For all fabrics, I used a size 80/12 needle for knits.
Thread

I used matching Gutermann universal sewing thread that’s made of polyester.
For serging, I used Maxi-Lock spun thread for overlocking seams. It’s also made of polyester.
Sewing My Cardigan
Sewing this pattern was pretty straightforward. The most time-consuming part was planning the hoodie.
Prepping

I was able to size down because it had a lot of ease. However, the arms became slim-fitting.
For reference, I usually wear a size small with knits, but I went down to x-small.
Then I was ready to cut out my hood. But first I had to figure out how I was going to do it.
I got the idea to create a hoodie hack from a TV commercial. A singer wore a maxi cardigan with a hood, and I had to make it.
I knew the front band and collar were pretty wide from sewing this pattern before. That gave me fabric to play with.
To create the hood from the collar, I pulled another sewing pattern from my stash. It was a tracksuit jacket with a hood.
The other pattern gave me ideas, but I didn’t cut from it. I shaped the collar in the back by widening it into a large, rounded triangle.
Then, I smoothed it out by making a tangent from the hood to the band. I kept the band width the same in the front.
I just wanted the hood to flow into it. When the hood is down, the band will lie flat.
Construction
Since I’ve made this pattern many times, it has gotten easier to sew. Plus, it doesn’t have fasteners in the front.
They’re cut in one piece with the front and back cardigan. Then they’re sewn together, attaching the front and back at the sides.
They’re not separate sleeves to sew into an armhole. So, they’re simple to attach, like a robe style.
There’s gathering in the front bust area and back.
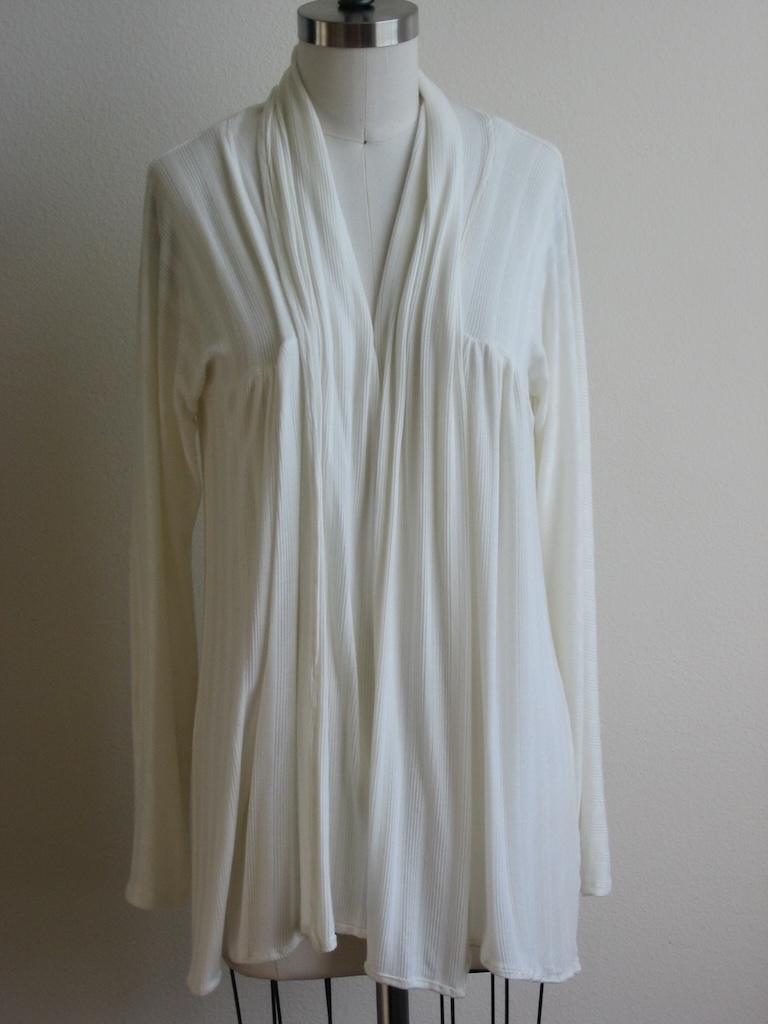
The white version is how the pattern looks without my hoodie hack. It has a drapey, thick band in the front.
I’d say the cardigan hoodie was easy to sew after all the prepping. It’s basically two rounded pieces sewn together.
Since it was attached to the band, I didn’t have to attach the hood separately. But it took a little improv.
If you don’t have a hood pattern to model after, try using a hoodie sweatshirt. I’d lay it on paper with the side view and trace it.
Then I’d round it out and make it look nice. Add the seam allowance on the back and front.
If you have some extra knit fabric, I’d make a mockup to test it. If you don’t have any, you can use muslin, but remember it doesn’t stretch.
Adjustments
I do like the small gathers in the front of the garment. The next time I make this, I’ll probably get rid of the gathers in the back, though.
I’ve played around with the length too. This cardigan can be made as long as you want, but I like the hip-length better.
Perhaps I’ll experiment with a longer one because the version I saw on TV was maxi length. And it was so nice!
Notes
If you make a cardigan with gathers, you’ll want to use a light to medium-weight knit fabric. Thicker fabric might be more difficult to gather.
Although the sewing pattern has jersey as a suggested fabric, I feel drapey fabrics work best for this one. But as I said, I made this cardigan in different fabrics, and they all looked nice.
Overall

I really like my cardigan hoodie, and I plan to make more. I’ve worn it so many times!
You can pair it with leggings, shorts, or pants. This is a classic that has not gone out of style.
Read More
- I made a cardigan coat with nice big patch pockets.
- What about a lined dress coat to wear on all occasions?
- I made a long jacket to wear on those windy days around town.
Originally published: January 17, 2025


