
Disclaimer: This post may contain affiliate links. As an Amazon Associate, I earn from qualifying purchases.
I must admit, these DIY button-up shirts with princess seams are super cute! I used an old pattern in my stash to make them, but it’s a goodie.
This is one of my favorite creations, so I had to talk about it. If you don’t like making darts, you might fancy this one.
Simplicity S2447 Shirt Pattern
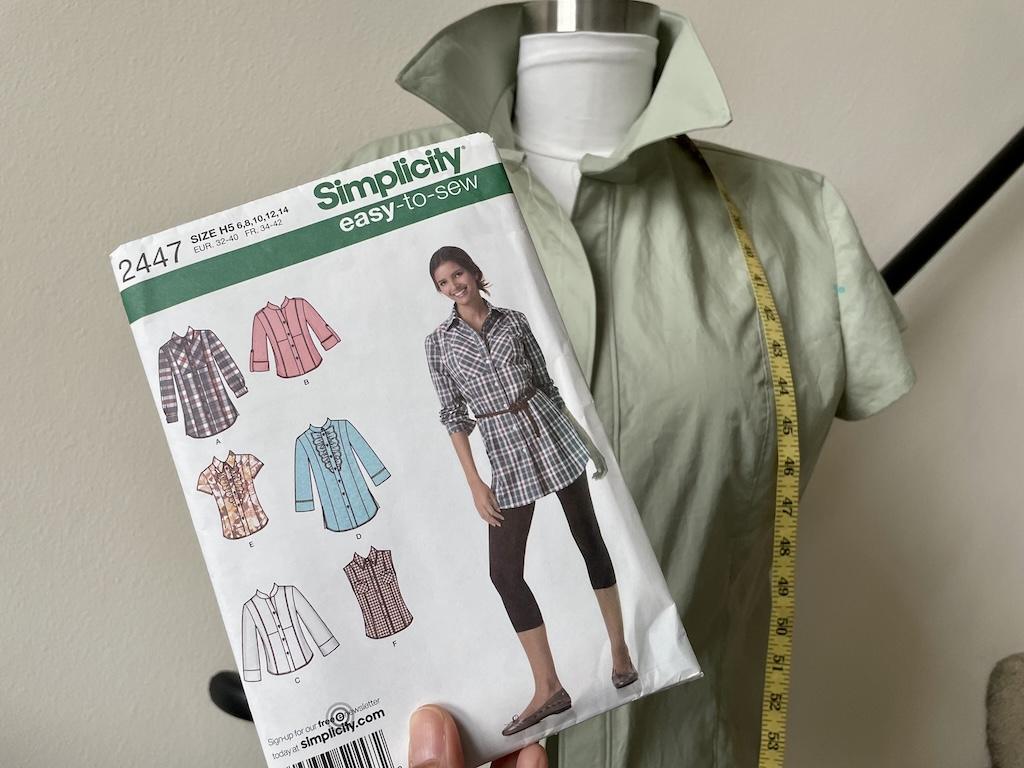
I’ve had Simplicity S2447 sewing pattern since it first came out years ago. It is an easy-to-sew top.
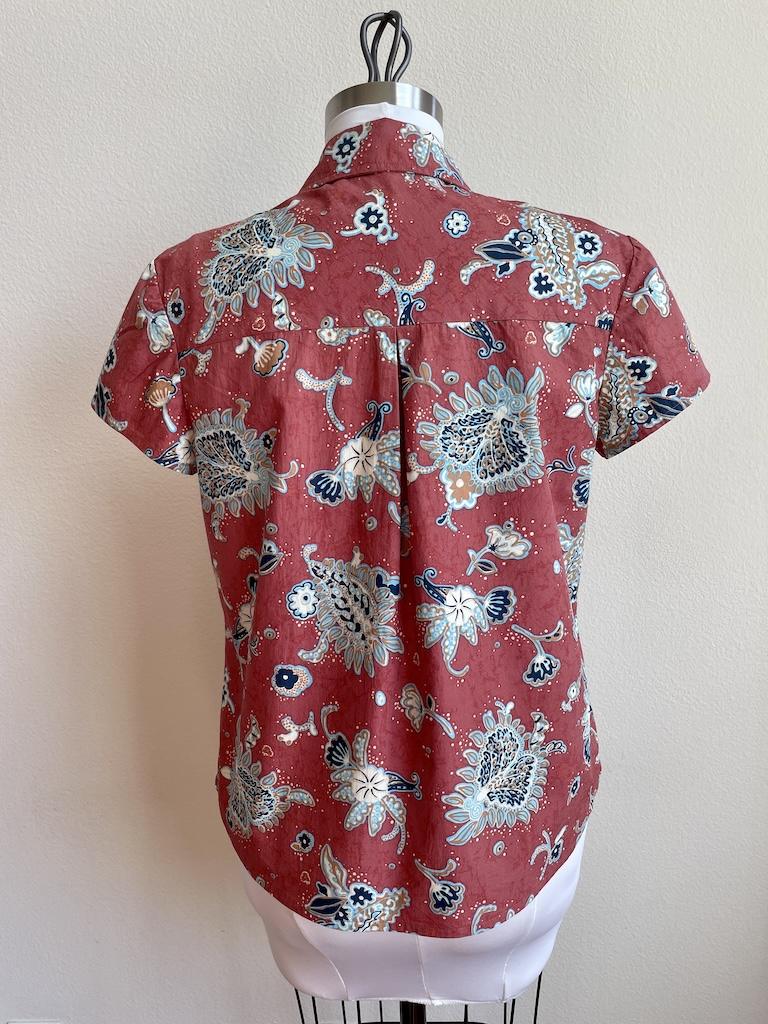
It’s semi-fitted with curved seams down the front that give it shape without darts. It’s a front button-up, with a box pleat on the back yoke and collar.
There are sleeve variations, and the one I make the most is the short-sleeve shirt.
Materials
Here are the fabric and notions I used to make this pattern. By the way, I’ve got enough buttons in my stash to open my own store!
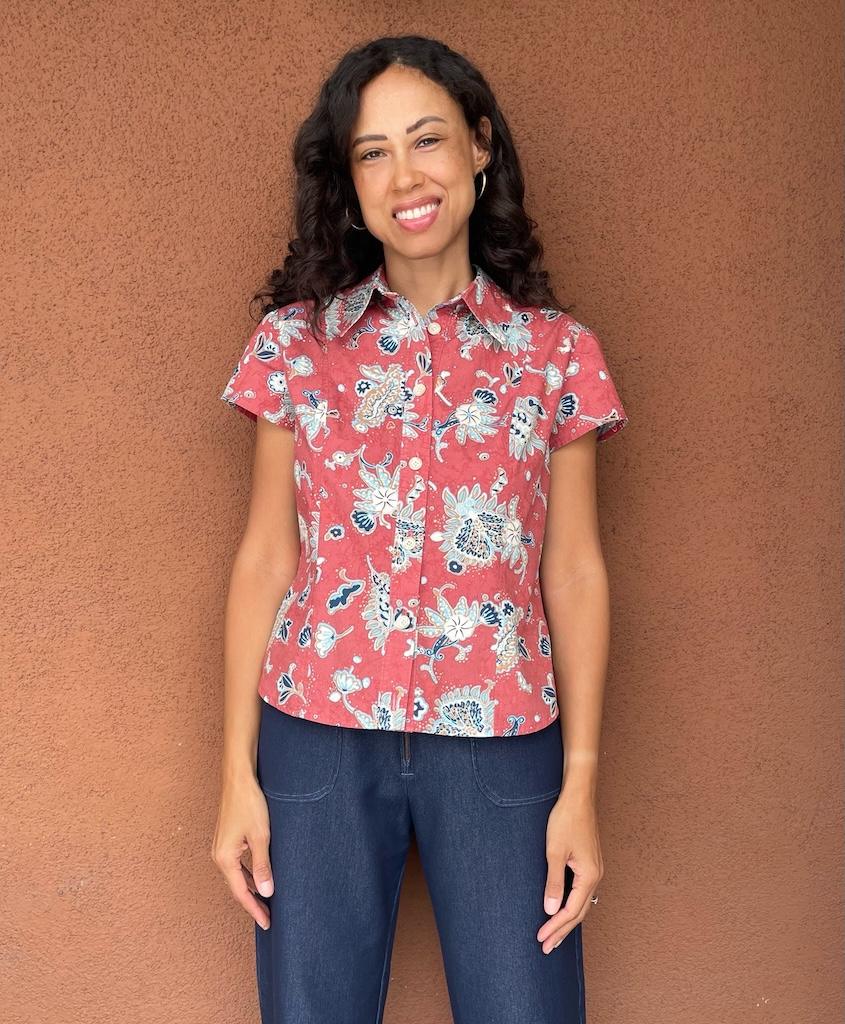
Fabric: I’ve made this shirt in many different fabrics like broadcloth, shirting cotton, and lightweight linen. My favorite is the one with the floral pattern.
I found the fabric in the fashion district, and it’s crisp and doesn’t wrinkle very much.
The other fabrics came from Joann. I do like those too, as they’re lightweight and in pretty colors.
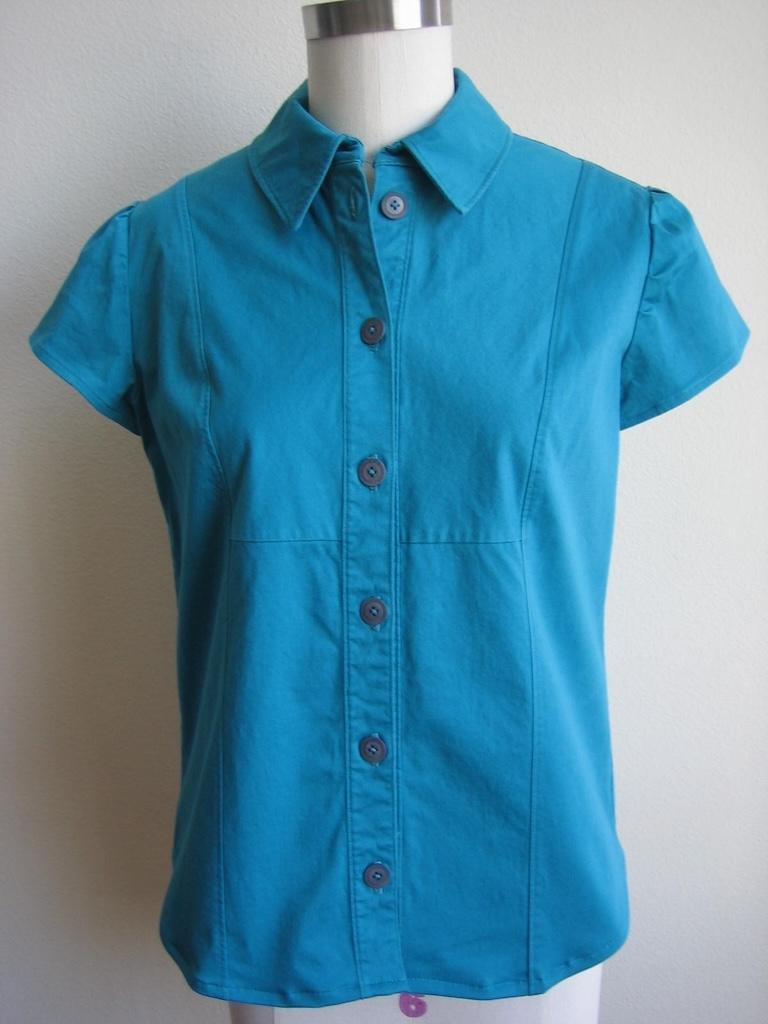
Other suggested fabrics include gingham, batiks, chambray, damask, pique, twill, sateen, eyelet, challis, silkies, and georgette.
Notions: I used 5/8-inch (0.625-inch) buttons and lightweight fusible interfacing for structure.
Sewing the Button-Up Shirt
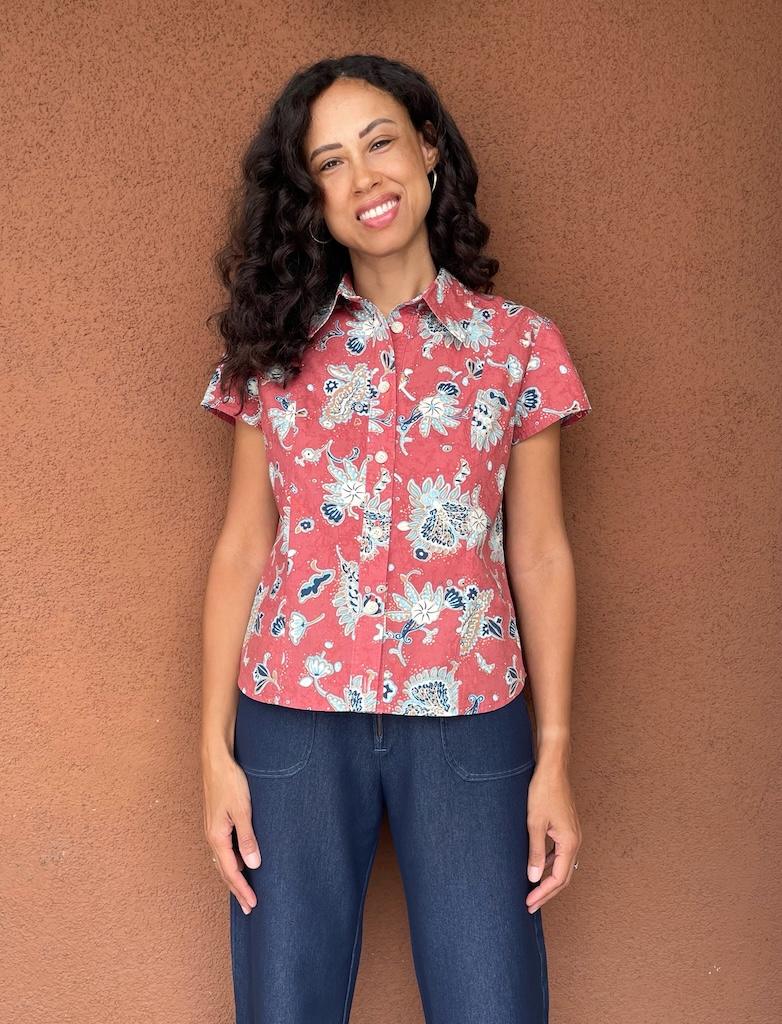
Sewing this pattern is pretty straightforward. That’s why I keep on making it over and over again!
Since buying this pattern years ago, I have gone up and down sizes. I thought I’d save money by resizing the one I had.
For the most part, I’d grade it by adding 1/2 or 3/8 inch for each size up or down. So, I’ve gone from size 10 up to size 14.
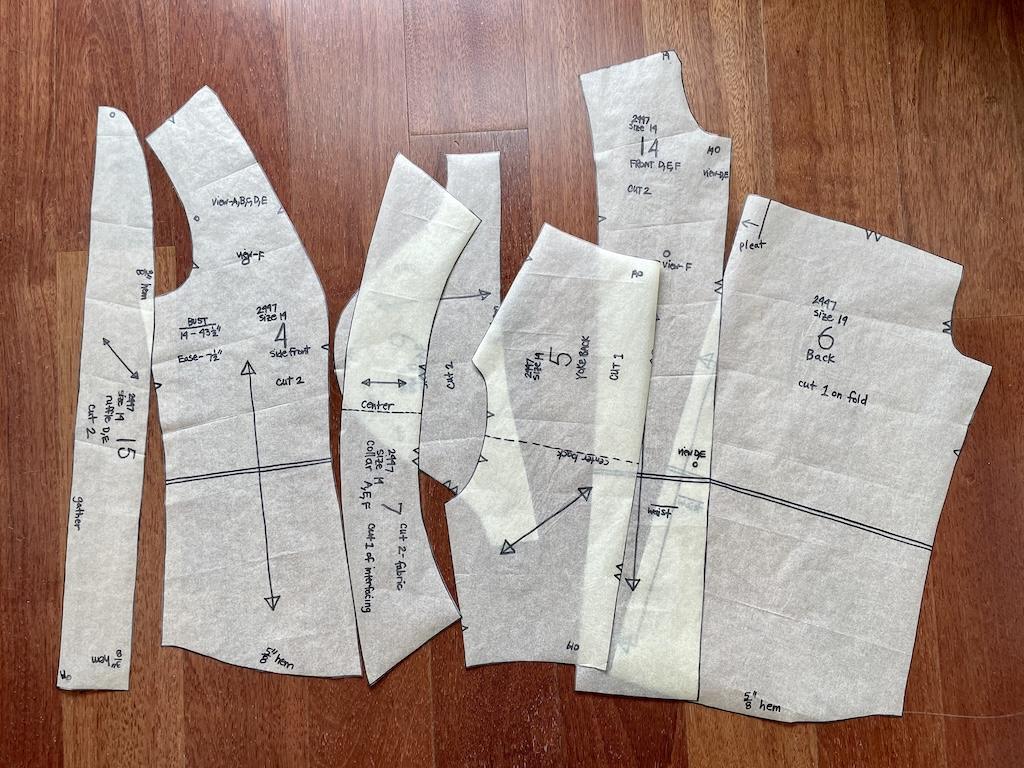
Well, I ended up buying the sewing pattern again on eBay. It wasn’t that expensive, and this saved me a little work.
And I’ve sewn this pattern so many times I’ve practically memorized the directions!
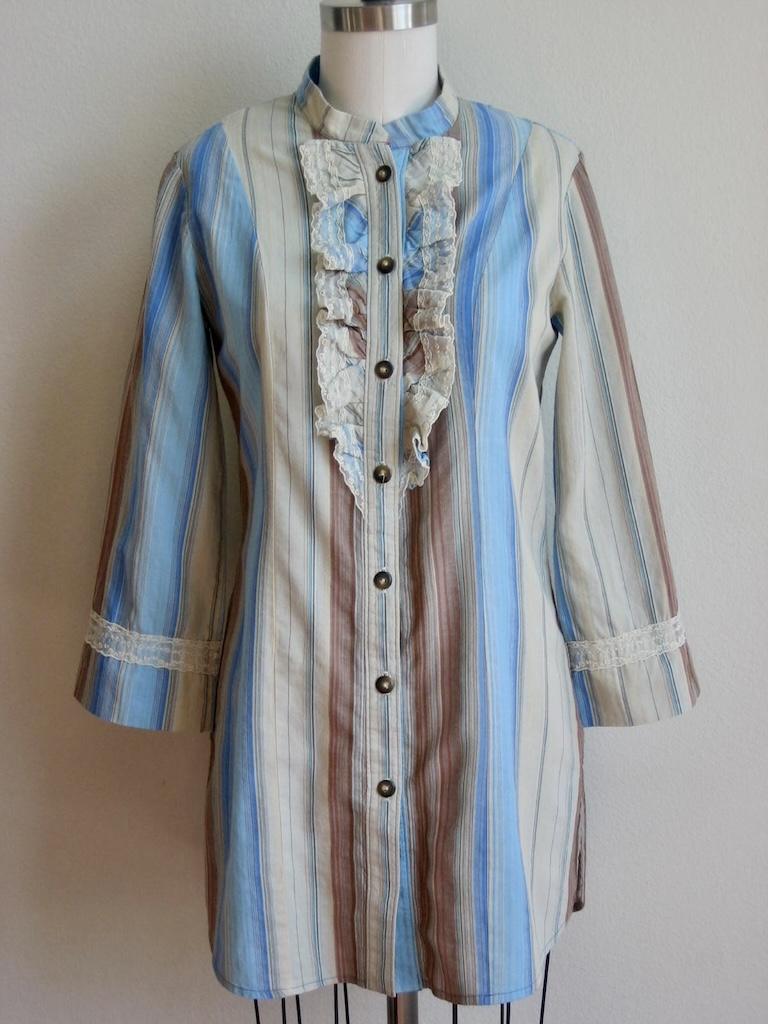
A long time ago, I made the tunic with a standing collar. After wearing it with a belt a couple of times, I shortened the length.
My shirt with the boldfloral print is a favorite.The pattern pieces didn’t throw off the design as I thought they would.
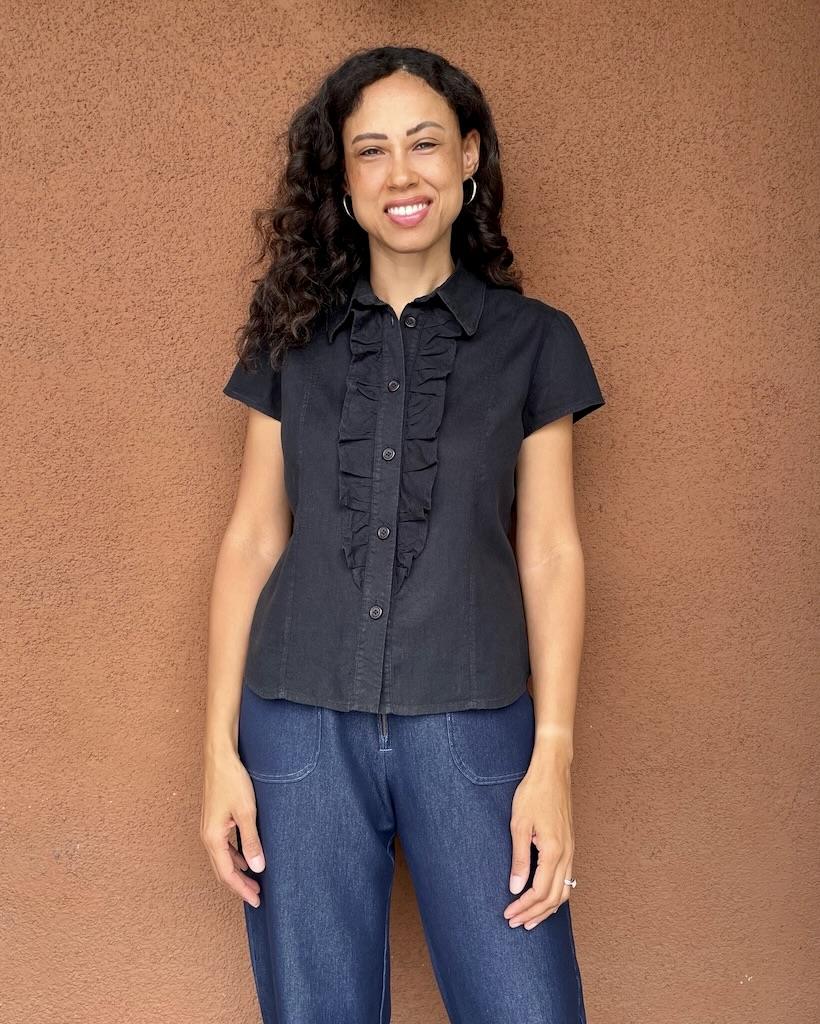
And then there’s the version with the ruffle. I actually like this one, but maybe I’ll play around with it more.
When making the short version, I end up with a buttonhole close to the end of the placket. Either the guide is off, or I’m off.
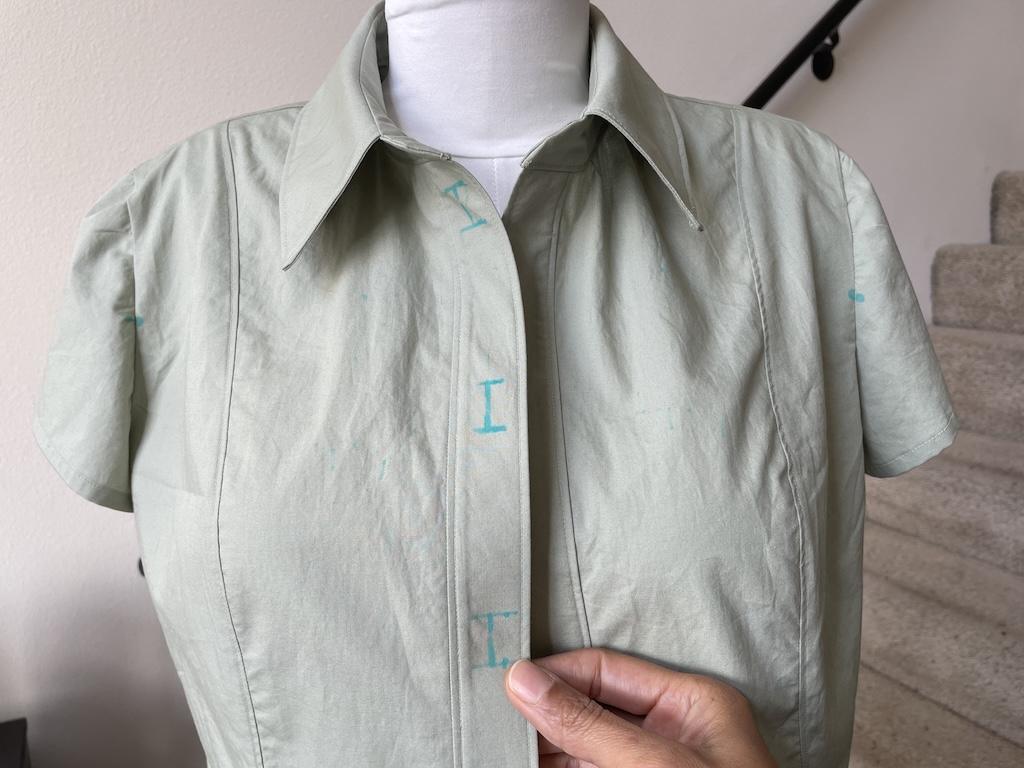
I’ll have to remember to recheck and space them out. Otherwise, I’ll tuck in the shirt where I messed up! Ha!
And another thing that happened was one side of the placket might be longer than the other! Well, that can be fixed, but why does this happen to me?
Notes
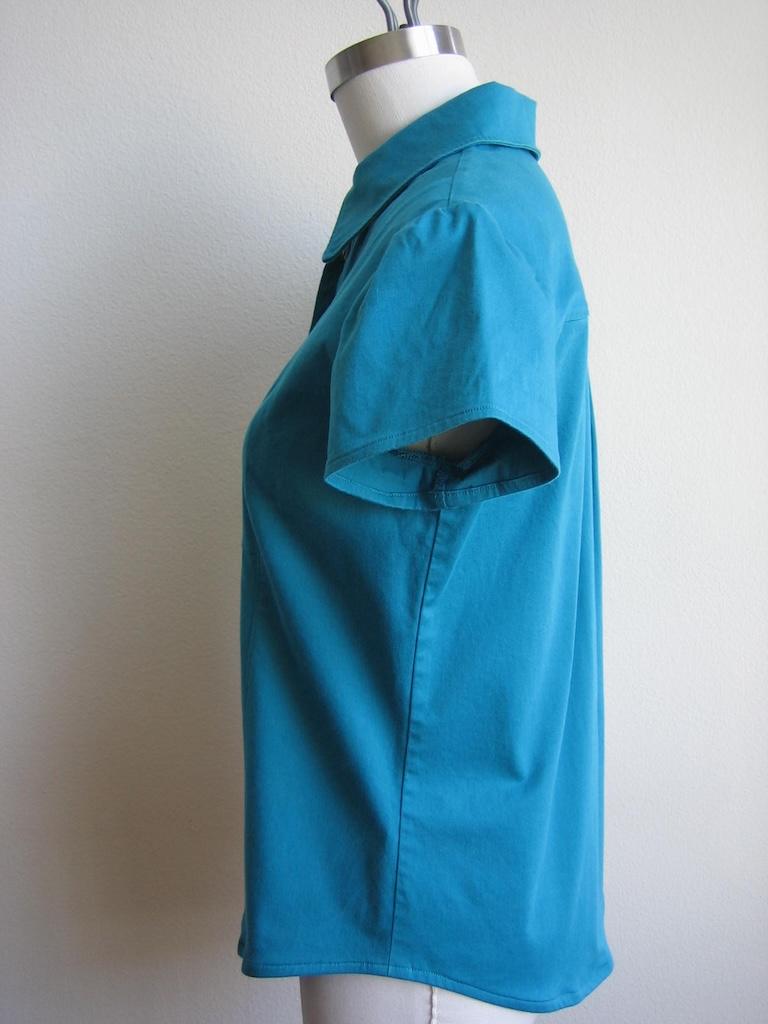
You can make this top in many different fabrics. Sometimes I like a crisp shirt, and other times I like a drapey one.
My black shirt is a rayon/linen blend, so it’s more drapey. It was more challenging to work with than the cotton fabric.
Cotton shirting is my choice for making this shirt because it’s nice and stable and breathable. Plus, I can find a lot of shirting fabric.
I love how this shirt is so versatile. I even wore it on a trip to Hawaii while exploring Oahu!
Read More
