Disclaimer: This post may contain affiliate links. As an Amazon Associate, I earn from qualifying purchases.
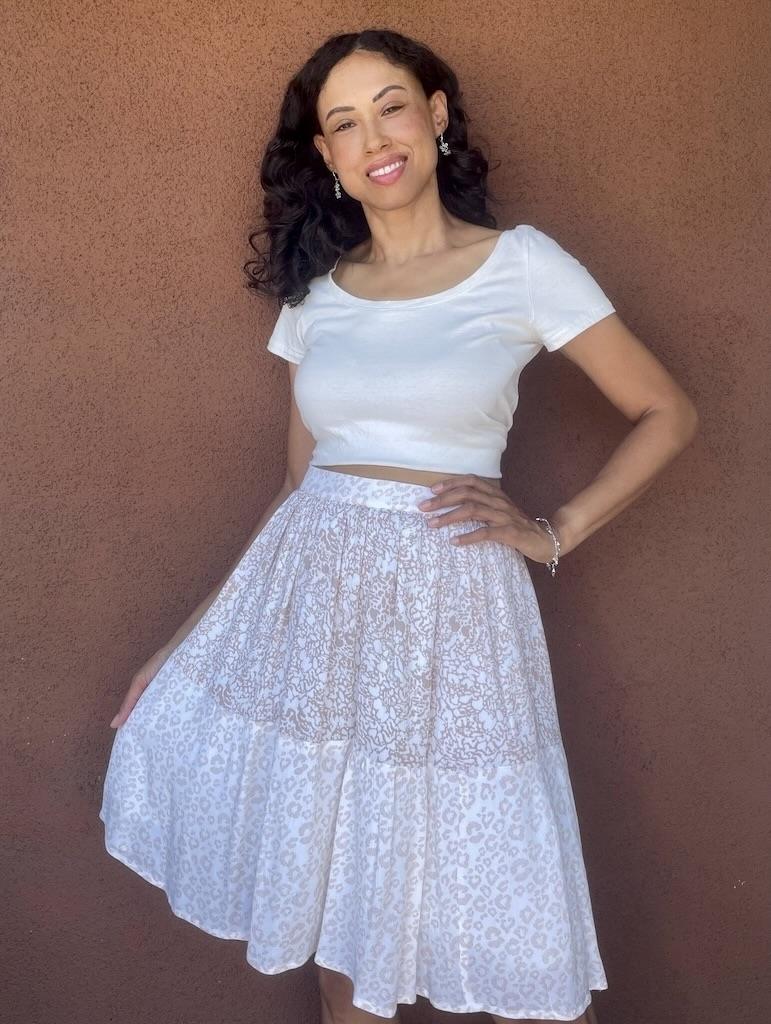
I made a DIY denim mini skirt from an old sewing pattern. And I ended up hacking the waistband and adding elastic to the back for a nice, comfy fit.
And this one took a bit of trial and error to get it just right. Oh yeah, and don’t let me forget there’s a zipper in the back too!
So, come along with me to find out more about the pattern, materials, my process, and see my photos.
Simplicity S2758 Skirt Pattern
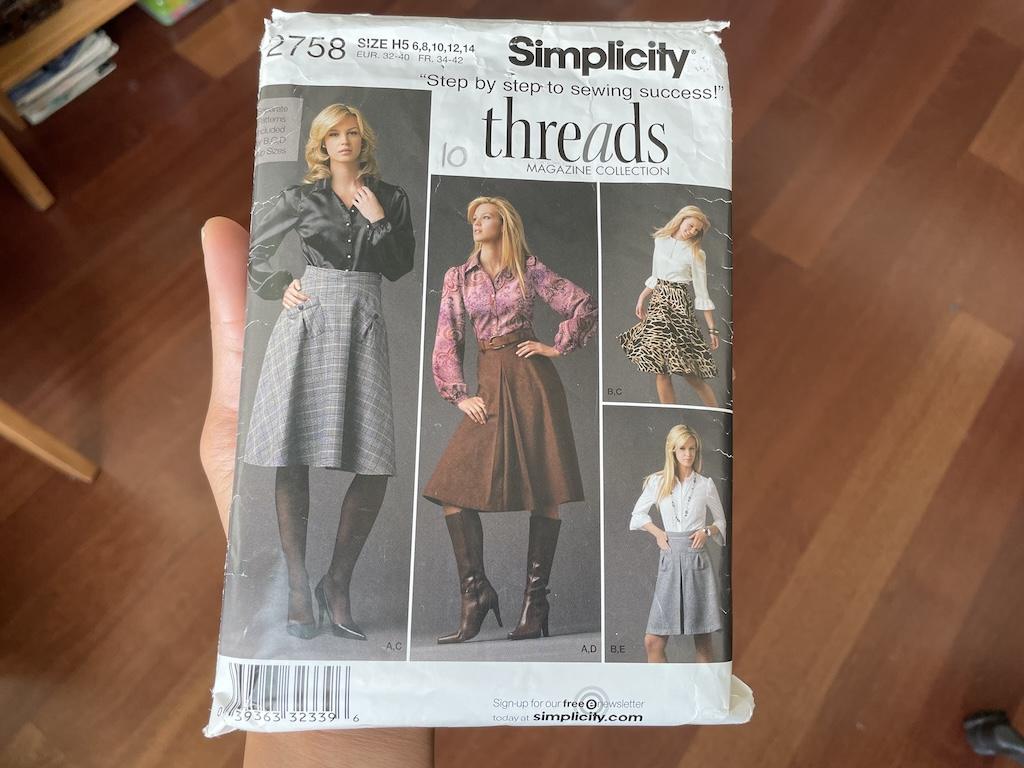
I dug through my stash and found Simplicity S2758 sewing pattern. It has a blouse and skirt with the option to add front patch pockets.
This pattern is out of print and was part of the Threads Magazine collection. By the way, I had a subscription back in the day.
There are variations to sew a circle skirt and an A-line one. For my project, I used variation E without the inverted pleat down the middle.
From looking at the model, you might wonder how I ever made my denim skirt out of the pattern.
Well, I’ve made this skirt a few times. So knew I could use it as a template for the overall outline or shape.
Materials

Here are all the things I used for this project. It wasn’t too costly, so I’m happy about that.
Fabric
I got stretch denim from the fashion district near me. It was some cheap stuff and slightly off grain.
I planned to use it for a mockup—to do some experimenting.
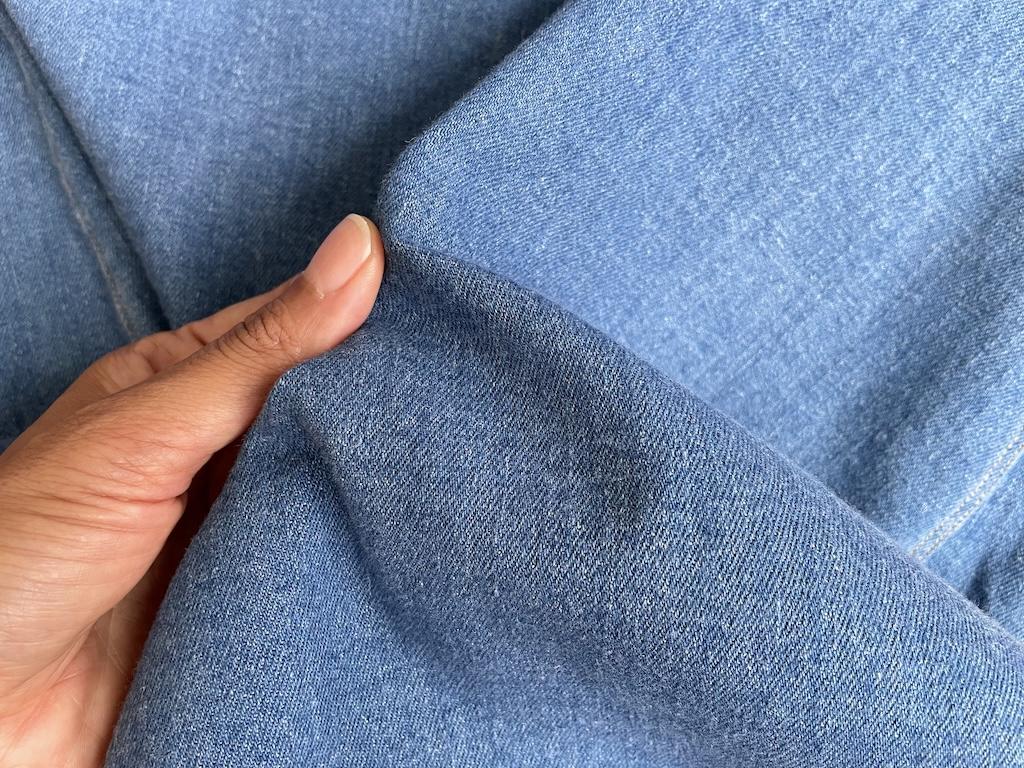
It was a little stiff, but washing it softened it up. Fabric choices can really alter your results.
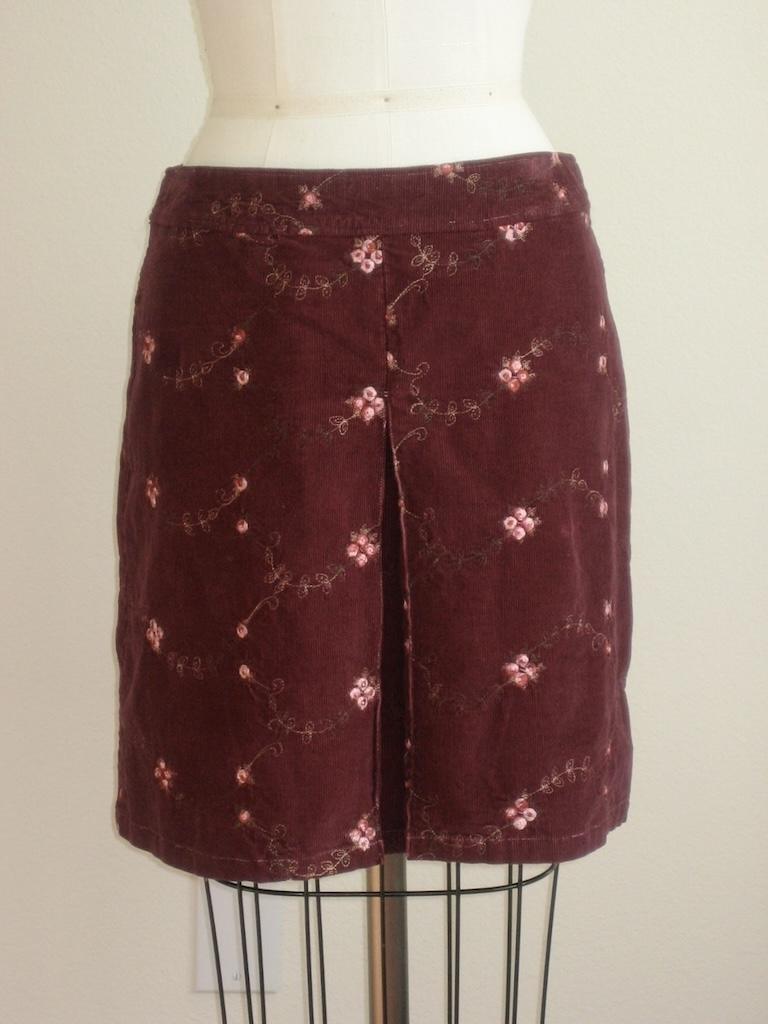
I’ve also made this A-line skirt in maroon baby cord and twill. Both came out nice.
The suggested fabrics for this pattern are denim, poplin, wool, crepe, sandwashed silk, linen, satin, lightweight double knits, and suede cloth.
Notions
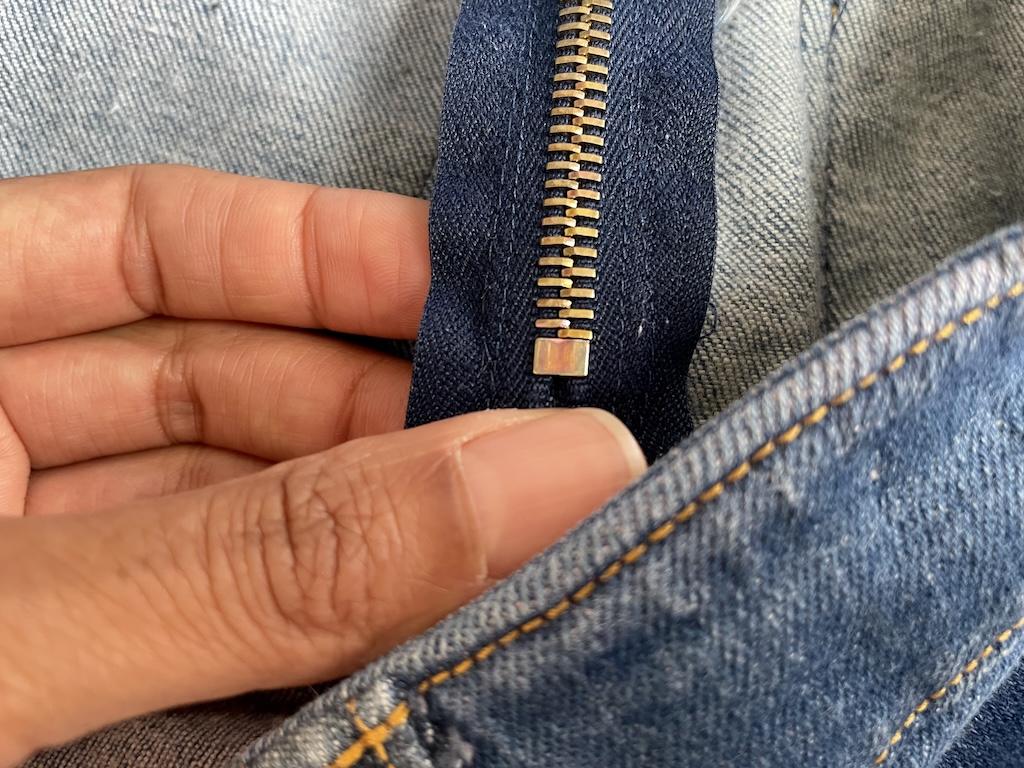
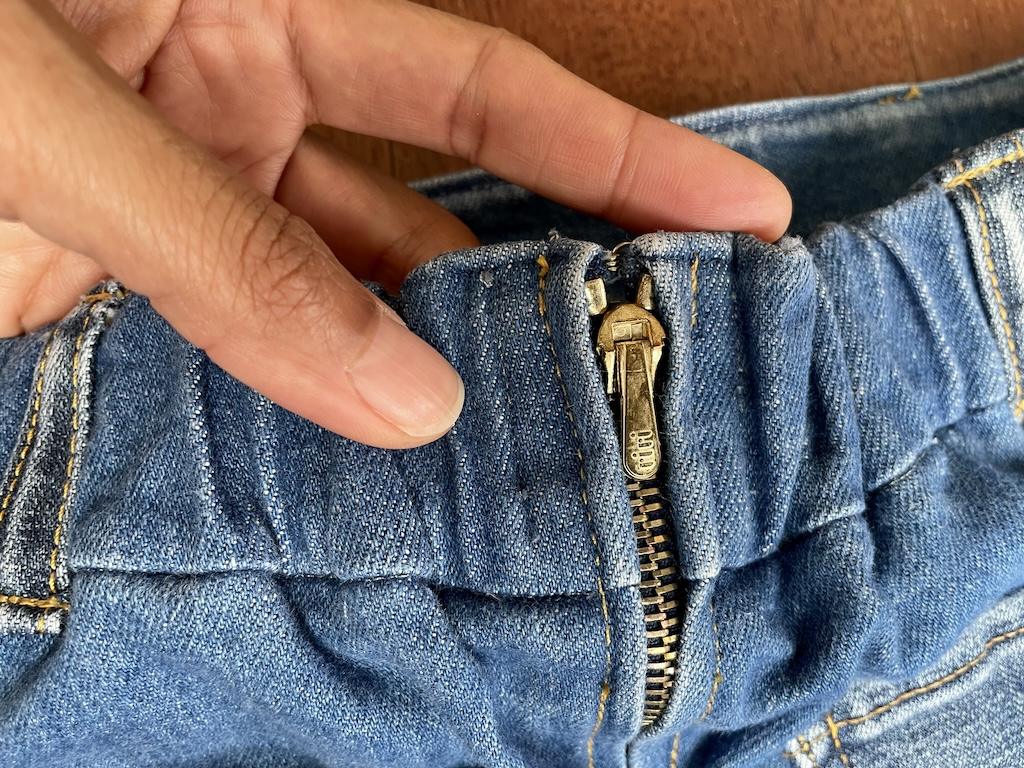
The 7-inch denim zipper also came from the fashion district. I really like it, and should have grabbed more. Otherwise, I like to use Coats and Clark metal zippers too.
I used an extra-large hook and eye closure with the zipper. This zipper doesn’t have a good lock and cannot be trusted to hold up by itself.
I used 1-1/14 inch (1.25-inch) woven non-roll elastic for the waistband. This has a nice sturdy hold, especially for denim.
For the front waistband, I used medium-weight fusible interfacing. Yes, the fabric is already heavy, but I still like to have structure.
Needle

To sew denim, I used a size 100/16 jeans needle for the skirt and topstitching. This fabric was heavier, and the layers were thick.
Thread
I used Gutermann jeans thread for the denim. It’s made of 70% polyester and 30% cotton.
I topstitched the skirt using Gutermann heavy-duty thread in gold. It’s made of polyester.
I serged the seams using blue Maxi-Lock serger spun thread. It’s for overlocking and made of polyester.
Sewing My Skirt
Although this skirt was easy to sew, the finishing touches took time. I spent a lot of time thinking about how to make it work.
Prepping
Since I’ve made this pattern a few times, I already knew the sewing directions. My favorite creation was made a long time ago in baby cord.
And I mean, a long, long time ago. I made a mini skirt with an inverted pleat, and it hung low on my waist.
I don’t wear my skirts that low anymore. But, I used it as my mockup and knew how much ease the pattern would give me.
Since I’ve sized up since then, I knew I’d cut a larger size for my denim skirt. I also considered the elastine in the fabric.
So, I cut the basic A-line shape for starters. Again, I planned to experiment with this process.
Construction

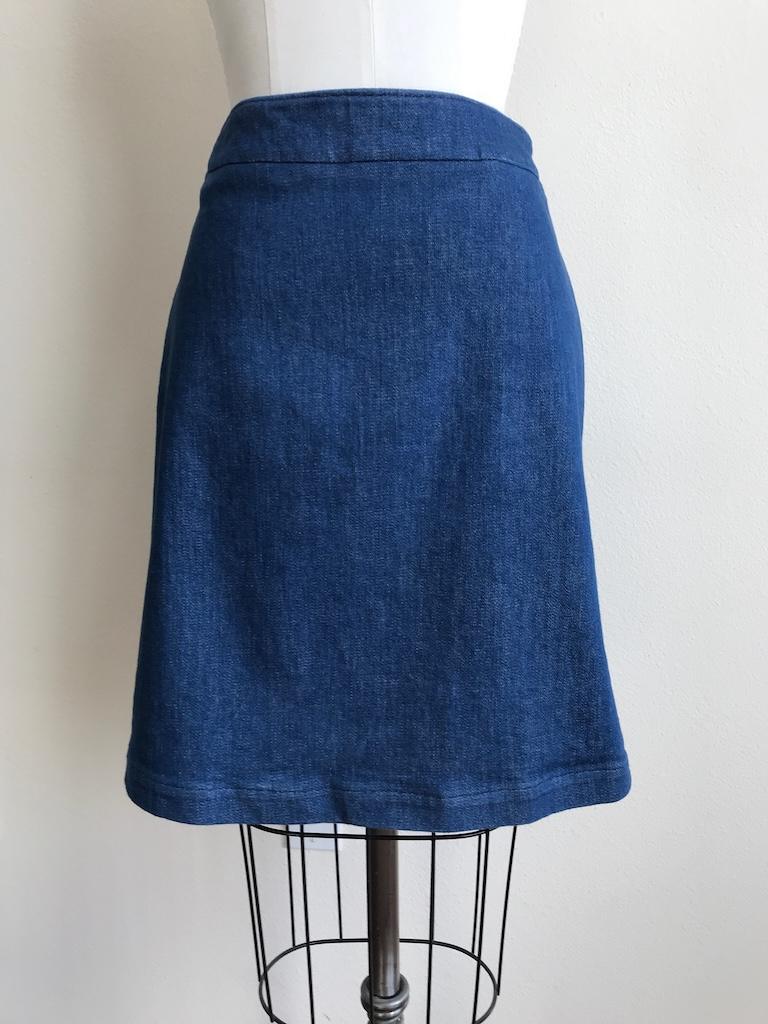
I began by sewing the front and back pieces. Then I added the waistband and zipper.
It came out a little big around the waist. It looks like it fits on the dress form, but I used pins to hold it where I wanted it to fit.
Plus, this skirt looked very plain, and it was not something I’d want to wear. So, I thought about giving it details and sprucing it up.
I deconstructed the waistband. Then I decreased the width, because I planned to add elastic to the back of it.
So I had to make it fit with the elastic I’d use for the waistband. I made a casing out of the back waist by ripping out the interfacing.
Then I secured the elastic on the waistband sides and back near the zipper. Finally, I added a hook and eye closure.
I added carriers around the waist. And I also topstitched the seams and hem with gold thread.
Finishing Touches
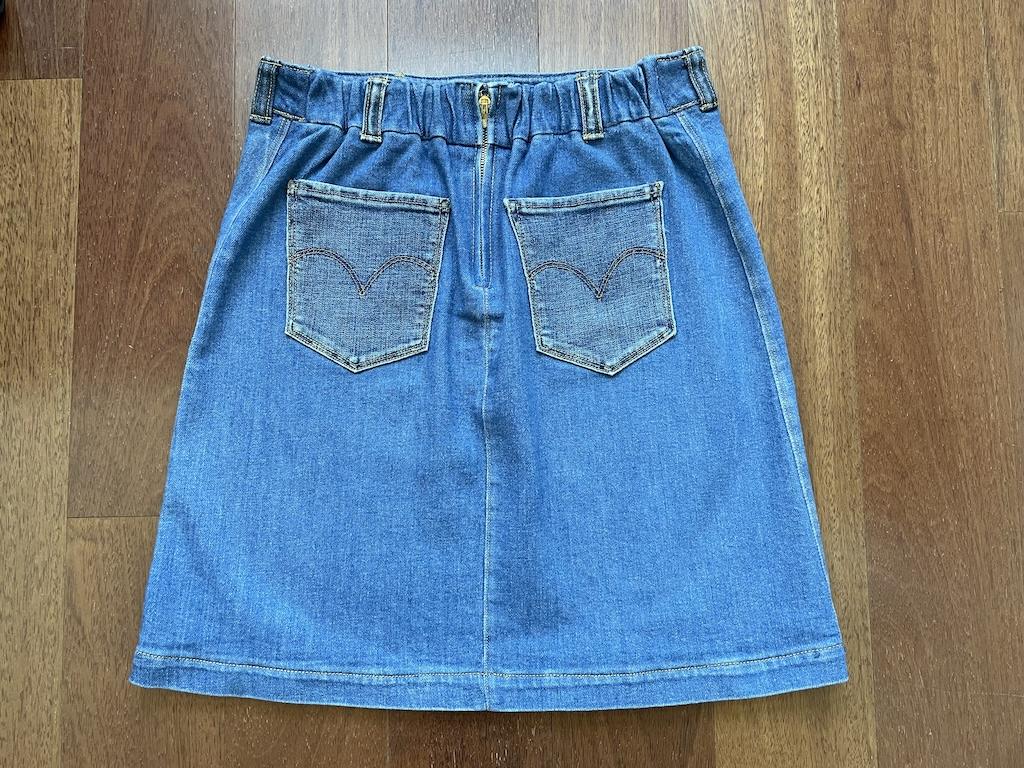
This skirt felt so incomplete without pockets. I wished I had made side pockets, but I didn’t feel like going back and doing that at this point.
So, I ripped off the back pockets from some old jeans in my closet. Then I topstitched them on my skirt.
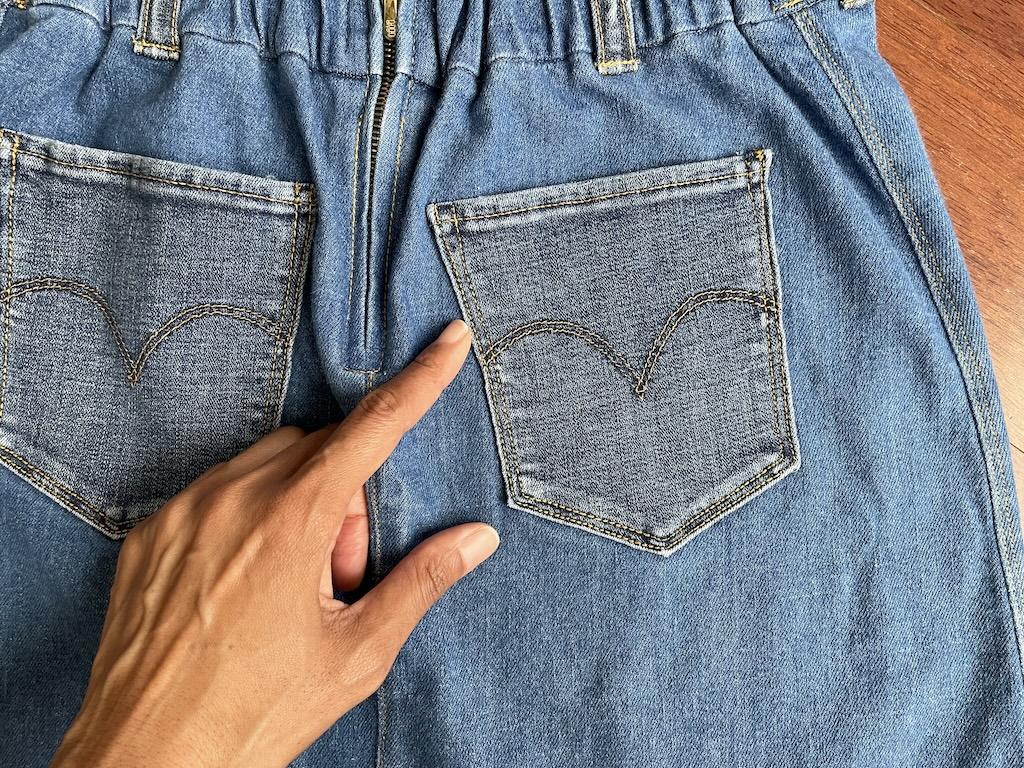
The colors don’t quite match, but it’s close enough.
Lastly, I took my skirt through a couple of washes with vinegar to soften it up more. I also used baking soda and a washing booster to help fade the color.
Notes
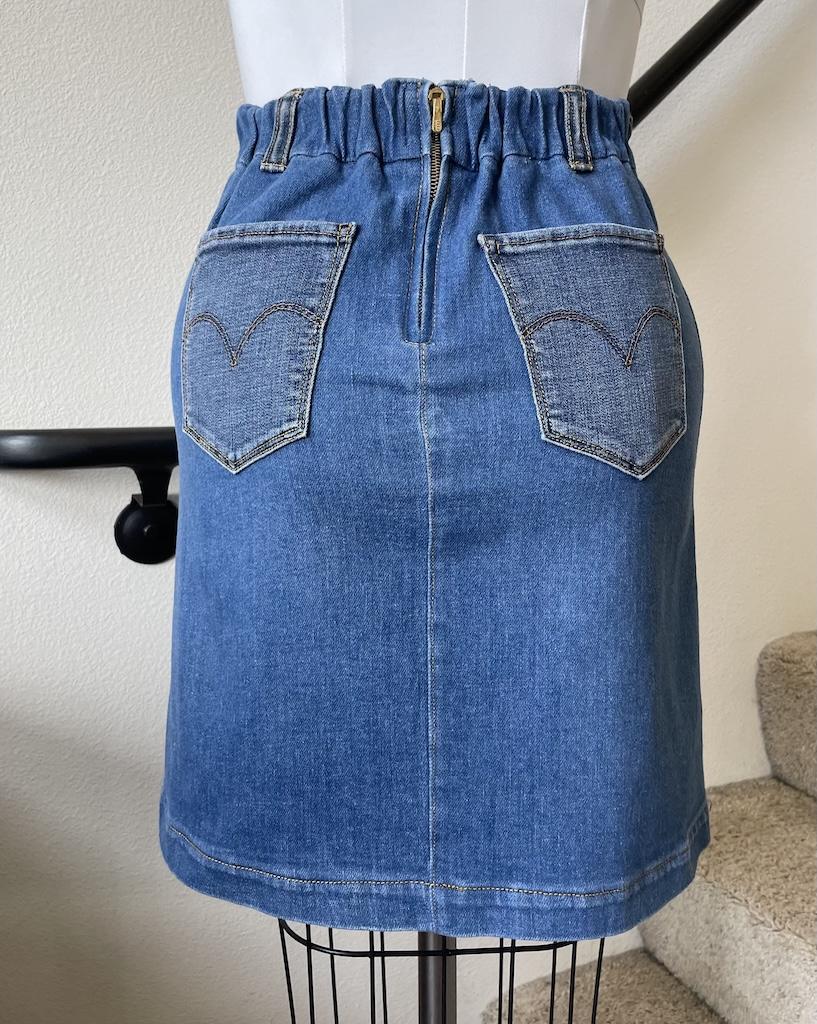
As you can see, my final version looks so different from the initial one. Don’t be afraid to play around with sewing patterns. It’s all a part of the creative process.
Maybe I should plan to finish my mockups in case they turn out wearable. Most times, they come out pretty decent!
Don’t forget to adjust the stitch length and tension on your sewing machine. My machine auto-adjusts stitch length, but I forgot to tweak it for topstitching.
Overall

In the end, my skirt came out A-Okay. What I like the most is this new, upgraded, comfy waistband.
I’ll keep on using this pattern with a few more tweaks. Who knows what I’ll come up with next!
Read More
- My button-up shirt pairs well with my skirt, and you can see how I made it.
- Would you like to learn how to do a flat front elastic back skirt pattern hack with zipper?
- Since we’re on the topic, I made a denim jacket from some old jeans!
Originally published: October 11, 2024