Disclaimer: This post may contain affiliate links. As an Amazon Associate, I earn from qualifying purchases.
I just finished another jacket to add to my wardrobe. But it got me thinking about all the little things I do when sewing outerwear.
Some might be small, but all of them add up to getting that professional look in the end. I love the feeling of finishing with a nice, clean garment!
I’m sharing my firsthand tips for making those cozy pieces you throw on before going outside. These may help you with your next project.
- Tips for Sewing Outerwear
- 1. Choose the right sewing pattern.
- 2. Going lined or unlined.
- 3. Check your size.
- 4. Make a mockup.
- 5. Choose the right fabric.
- 6. Prep your fabric.
- 7. Use interfacing.
- 8. Choose the correct needle.
- 9. Choose the best thread.
- 10. Choose the right notions.
- 11. Follow the directions.
- 12. Extra fabric comes in handy.
- 13. Try out the lining.
- 14. Take your time.
- Final Thoughts
Tips for Sewing Outerwear

I’m going to refer to outerwear as anything we put on over other clothes. This includes hoodies, cardigans, jackets, and coats.
Although sweaters are included, I won’t discuss them because they’re usually knitted. But cardigans are sewn with knit fabric.
1. Choose the right sewing pattern.

You’ll want to choose a sewing pattern at your level. Okay, this will go beyond making outerwear. This applies to everything you will sew.
You’ll get frustrated if the pattern is too difficult. And if the pattern is too hard, you might give up on sewing.
I don’t want you to give up!
I’d start with a basic pattern that’s not too detailed. A fleece throw-on jacket with no closures sounds nice.
For many outerwear garments, you’ll need intermediate sewing skills to make a collar, pockets, sleeves, and sew a closure such as a zipper or buttons.
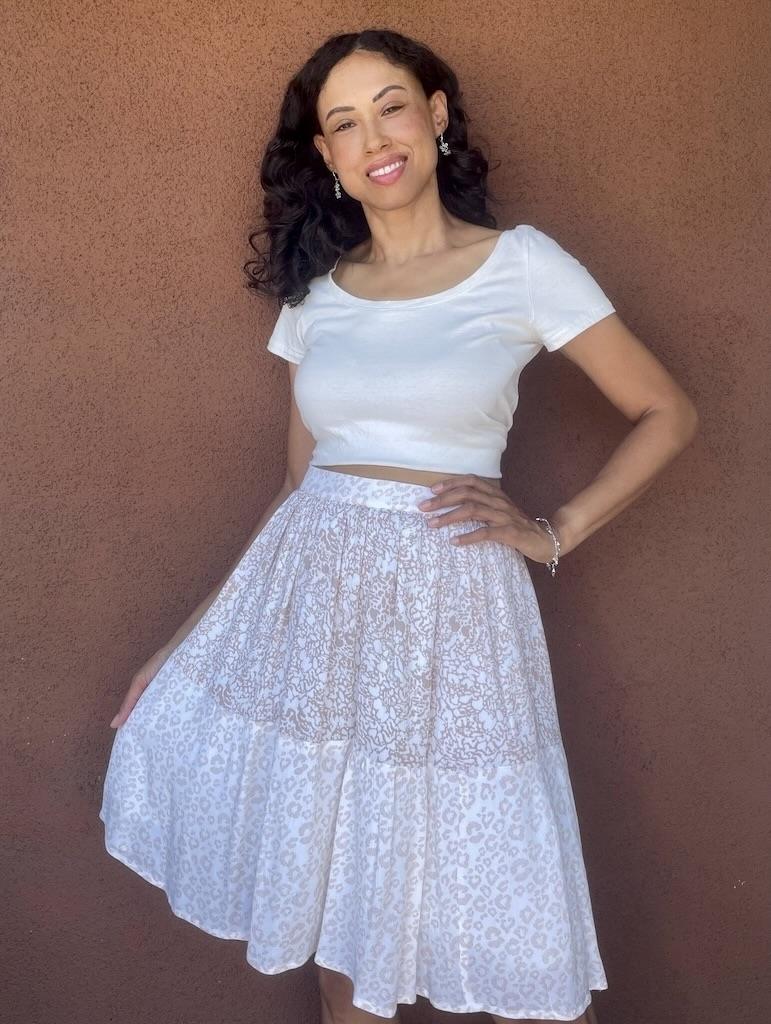
This cardigan coat I made was easy. Simplicity S8742 only has a few pieces and is unlined. I also made it in woven fabric.
Of course, if you are more advanced, you can try a lined coat with more structure, like the one I made with Simplicity S2311.
2. Going lined or unlined.

Along with choosing the right sewing pattern, you’ll have to decide if you want to make your outerwear with a lining or not. You can put a lining on any garment.
And it’s used for many reasons, including to help the outer fabric stay in place and add a layer of warmth. The great thing about adding a lining is that it covers up the construction on the inside.
I knew a sewist who lined everything because she didn’t want any seams to show, including her pants.
Well, it must have made it easier to slip those pants on and off, which is the same benefit as adding one to your outerwear.

I usually don’t line my jackets, especially denim jackets. Many people like to do this though. But I like that raw construction look on the inside.
Choosing a nice print fabric as your lining will make your garment pop on the inside.
3. Check your size.

Before making the mockup, check the finished size on the pattern envelope. Ask yourself if your coat will give you enough ease.
If you plan to wear your outerwear over sweaters and hoodies, you may want to size up. If you’d like to make your garment more fitted, you might not be able to wear bulky clothes underneath.
Is the sewing pattern made to be more slim-fitting, or unstructured? I like to make oversized jackets to wear bulky clothes under.
And I also make slimmer-fitting jackets to wear with a blouse or T-shirt. These can be the signature statement of your outfit, like a sports coat.
4. Make a mockup.

You’ll want to make a mockup, or especially if it’s the first time sewing the pattern. People will make a prototype to check the fit.
Ideally, for your mockup, you’ll want to choose fabric that’s similar to the outerwear fabric you’ll use. For example, if you’re making a denim jacket, you want to use denim.
This isn’t always feasible though. I’m able to find cheap fabrics to use for mockups in the fashion district near me.
Otherwise, I use muslin, which is a common lightweight cotton fabric people use in fashion sewing. You can also use other woven fabrics like broadcloth too.

After making the mockup, you can check the sizing. Make sure you can fasten the front and bend your elbows comfortably.
Check the arm length and coat length. Do they need to be longer or shorter?
Do you like the length of the garment? You can shorten the length and see how it looks on the mockup.
Make all your adjustments to the mockup first. Then transfer them to the sewing pattern before cutting your outerwear fabric.
5. Choose the right fabric.

When you choose a sewing pattern, the suggested fabrics should be listed on the envelope. You should use these fabrics or similar ones.
For example, for sewing a jean jacket pattern, you’ll want to use denim and other medium-heavy-weight fabrics. If you use knit or silky fabrics, it won’t work.
And if you sew a cardigan, you’ll want to use medium-heavy weight knit fabrics. But… again, check the sewing pattern.

I made a long cardigan coat using woven fabric, and it worked just fine. The fabric was cotton and similar to wool in texture.
Make sure you choose fabrics at your sewing level. Sewing outerwear requires using heavier-weight fabrics.
In addition, sewing with suede and leather will take advanced sewing skills.
If starting to sew jackets, non-stretchy cotton twill and lighter-weight denim are good fabrics to start with.
6. Prep your fabric.

Be sure to wash your fabric if it’s supposed to be washed. If you’re using dry-clean only materials, like suede and leather, don’t wash them.
Do the same with your lining fabric. Once I wash the fabric, I either hang it or put it in the dryer. Then I press it.
Pressing it will make it shrink plus get the wrinkles out.
When working with denim, I’ll wash it at least twice. That way, I get rid of the residual dye and shrink it as much as possible. I throw it in the dryer on high heat.
7. Use interfacing.

Make sure you use interfacing according to the pattern directions. Don’t skip this on jackets and coats!
But you can skip it on your mockups.
You’ll need to cut it and add it to the outwear where it needs to go. There’s a good reason to use it.
Interfacing provides structure for collars, cuffs, pockets, and closures like zippers and buttons.
You can get different weights of interfacing. If you use a heavier fabric, you’ll want interfacing that will go with the fabric.
I prefer to use fusible interfacing over the sew-in type. All you have to do is mist it and press it with an iron and pressing cloth.
8. Choose the correct needle.

When sewing heavier fabrics, you’ll need to use the correct needle. Use a sharp needle that suits the weight of the fabric.
With outerwear, I use either a size 90/14 or 100/16 universal needle, depending on the weight of the fabric. When sewing a lining, I may use a size 75/11 needle.
When sewing the lining to the coat, I used a size 90/14 to 100/16 needle. I also used these sizes for topstitching.
Of course, if you’re making a cardigan or hoodie, you’ll want to use a ballpoint needle with knit fabrics.
You’ll want extra needles when sewing outerwear. I can’t tell you how many I break when sewing heavy fabric. Maybe it’s just me though.
9. Choose the best thread.

Thread does make a difference, and that’s why I don’t go with cheap thread. Choose the best quality that you can afford.
For all-purpose sewing, I usually use Gutermann sew-all thread. It’s a universal sewing thread made of polyester, which is good for medium-weight fabrics.
However, I use it for outerwear too. It’s a TEX 30 thread, which means it’s a medium-weight thread.
You can get a TEX 40 thread for heavy denims, leather, and canvas.
For serging, I use Maxi-Lock serger spun thread. It’s for overlocking and made of polyester.

When I’m sewing denim jackets and coats, I like to use jeans thread. It’s a polyester-cotton blend thread and comes in different shades of blue.
For topstitching, I use a topstitching thread, which is much thicker than regular thread. I also have a setting on my sewing machine that’ll sew a topstitch by doubling up on the stitches.
For that setting, I use all-purpose thread, and it’s great if you want to match your thread to your garment. Because who really wants to run out and buy more thread?

If I’m handsewing buttons on a coat, I’ll use button thread. It’s a heavy-duty thread with a coating, and much thicker than all-purpose thread.
10. Choose the right notions.

Because you’ll be dealing with heavier fabrics, you need to make sure your notions go with the materials.
For example, if you’re using a zipper as your closure, make sure it goes with the fabric for the outerwear. For a denim jacket, you’ll want to choose a separating metal zipper, rather than a nylon zipper.
It’s common for denim jackets to have dungaree buttons, which are hammered in. I also like to use metal shank buttons, which are heavy-duty too.

You don’t want to use buttons or notions made for lightweight fabric. They won’t hold up. Also, using notions that are too heavyweight will make your fabric pull and distort.
Adding a metal zipper to a jacket made of lighter fabric would make it droop, as it’d be too heavy.
I prefer to hand-sew buttons instead of using the sewing machine. Sometimes it’s just easier that way for me.
11. Follow the directions.

Be sure to follow the directions that come with the sewing pattern. If there are sew-along videos, you may want to watch those beforehand.
I’ve found the sew-along videos helpful. However, they’re usually going way too fast to actually “sew-along.” So, be prepared to pause them throughout.
I can honestly say I’ve only watched one sew-along video while making outerwear. That was for making welt pockets, because they just stump me.
The videos make the directions clearer. I’m usually good with the diagrams and directions in the sewing patterns.
And yes, always press when they tell you to press. Iron as you go for a neat look.
12. Extra fabric comes in handy.

I like to have at least 1/4 yard (0.25 yard) of surplus fabric for most projects. If you change your mind or make mistakes like I do, having extra is good.
I made a coat and didn’t have enough fabric. I also had to match up the one-way design.
With limited fabric, this was like playing a stressful version of Tetris.
I ended up piecing together the inside panels and the belt. This took up extra time. Then I realized I could have shortened the coat length to make it work better.
After finishing the coat, I probably had a small rectangle of fabric left. That’s not much surplus!
So, try to get a little extra fabric if you can. You can save yourself some headaches if you need it.
13. Try out the lining.

If you’re adding a lining, feel the fabric to make sure you like it. Pin the lining fabric to the coat fabric to see how it looks.
Do you like the way it feels? Does the color look good against the coat fabric?
If you’re on the fence about the lining in the beginning, you might end up ripping it out later. I did this, and it was such a pain.
This will take up more time and effort. And who wants to redo a lining? Ugh!
It would’ve been better if I had hung my coat on my dress form for a while and made sure I liked the lining fabric from the get-go.
14. Take your time.

Don’t rush your project. I’d consider sewing outerwear more advanced because of the fabrics and notions you’ll use.
You might not want to sit down and try to finish this in one day. When I sew outerwear, it’ll take me several days. I’ll take my time.
If you need it for an event, plan well ahead of time. Of course, if you’re like me, you just want to get it done so you can wear it!
Believe me, I’ve gotten frustrated making some of my coats and jackets and had to take breaks. Sometimes these were long breaks!
You don’t want to stress yourself out!
Final Thoughts

Sewing outerwear has been some of the most rewarding projects I’ve done. Seeing the garment come alive after so much work is so exciting.
They can serve more than the function of being a garment to keep you warm. They can be ultimate creative statement pieces!
More About Sewing
I have many other related posts on my blog. You might want to check them out.
- I have more fashion sewing tips based on my years of experience.
- Want to see my nice military jacket with front flap pockets?
- I upcycled a mattress cover to make a tracksuit jacket.
- You might want to see my workwear jacket in an oversized style.
I’d love to hear all about your sewing journey!
Originally published: July 31, 2025