Disclaimer: This post may contain affiliate links. As an Amazon Associate, I earn from qualifying purchases.
One of my most fun projects is making DIY reversible cloth napkins. These are double-sided and pretty easy to sew.
They make great gifts and are washable and reusable. Plus, you can mix and match fabrics, get creative, and make them cute.
So I’ll show you which materials to use and how to do it in my step-by-step tutorial with photos.
Materials
These are the things you’ll need.
- Fabric
- Scissors
- Chopstick
- Iron & Ironing board
- Basic sewing supplies: needles, thread, pins, sewing machine, etc.
Notes on Choosing Fabric
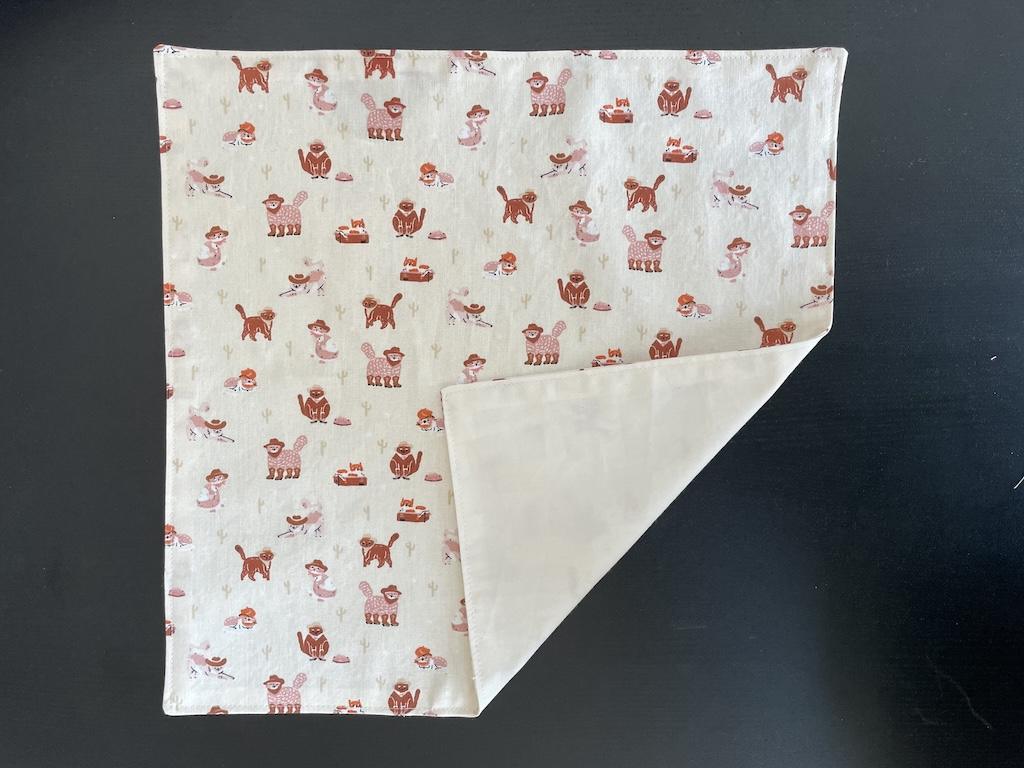
I like to make these using woven fabric. Quilting cotton and linen are great ones to use for this project.
They’re stable and come in different designs. You can use one design on the front and a different one on the back.
I actually like to use premium muslin for the backside.
I’ve also made these napkins in stable knit fabric too. But if you’re a beginner, wovens are so much easier to work with.
Make Reversible Cloth Napkins
In a nutshell, we’ll make a fabric napkin. Since we’re dealing with two sides, we’ll be sewing it together and flipping it inside out.
1. Determine the size.
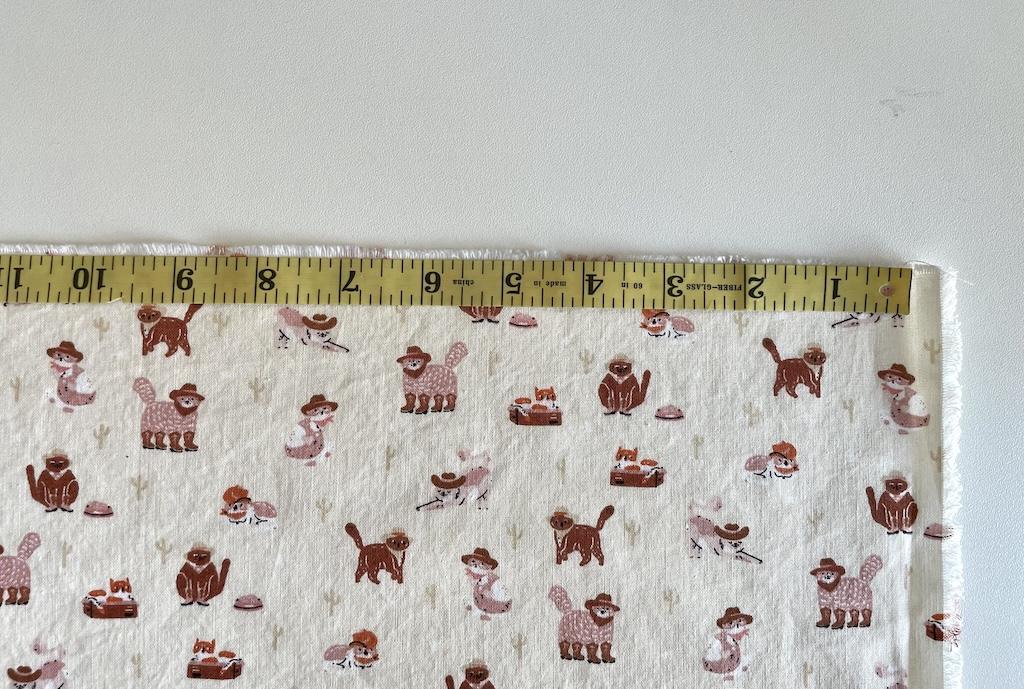
The first thing you must do is figure out which size you’d like your napkins to be. Some common sizes are:
20 x 20 inches
19 x 19 inches
18 x 18 inches
14 x 14 inches
13 x 13 inches
12 x 12 inches
10 x 10 inches
My preferred size to make is 13 x 13 inches. You’ll have to decide if you want your napkins to be bigger or smaller.
2. Cut your fabric.
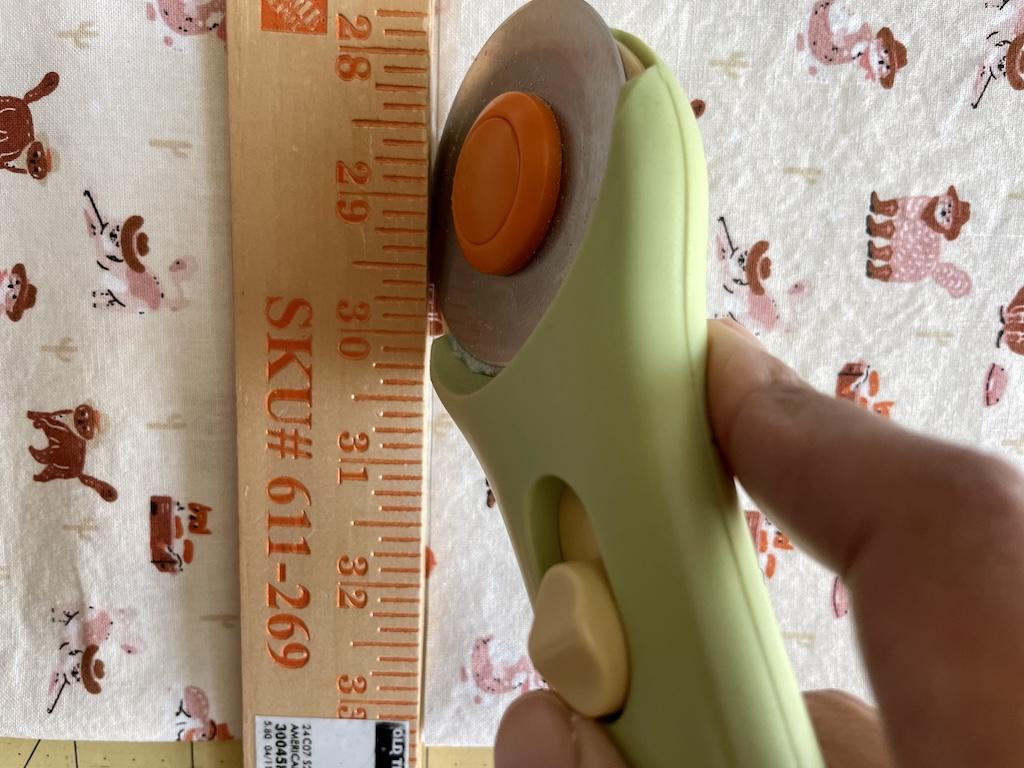
Now you’ll cut your fabric using scissors or a rotary cutter and mat. For each napkin, you’ll need to cut two pieces.
Now, note that since I like to make 13 x 13 inch napkins, I have to cut 14 x 14 inch napkins. This is to account for the 1/2 inch (0.5 inch) seam allowance.
3. Pin the pieces together.
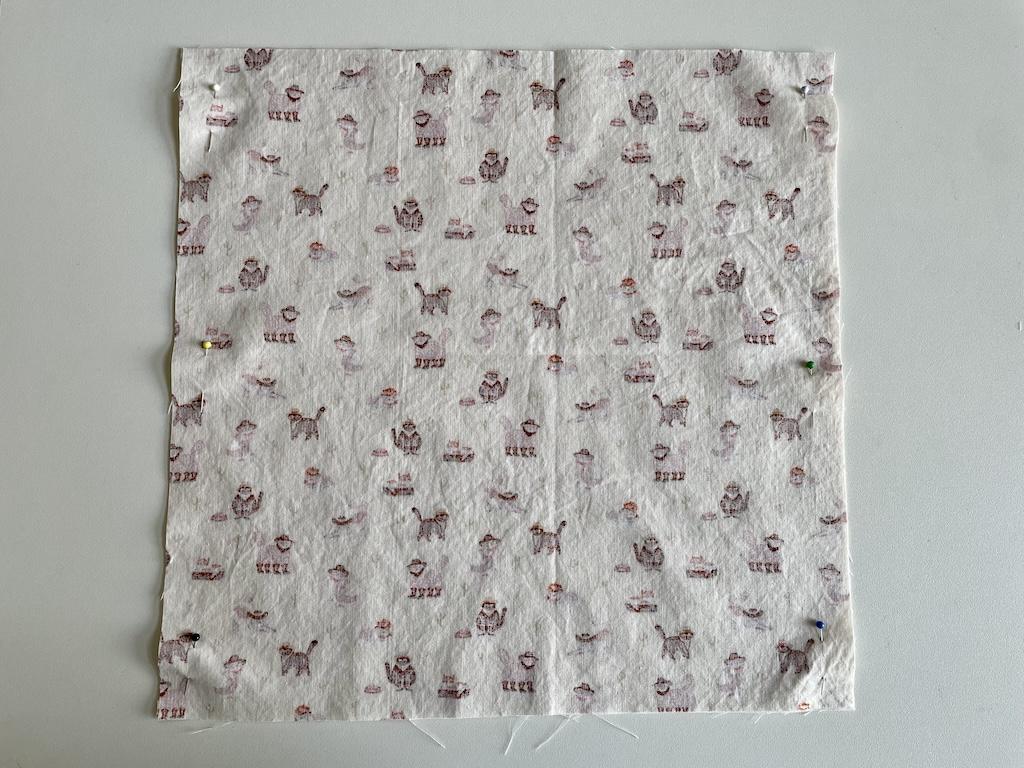
You’ll take the two pieces for the napkins with the right sides facing each other.
If you’re using two different designs for each side, make sure it’s laid the way you want it. See how mine is a one-way fabric.
Now you’ll pin or clip your sides together.
4. Sew the sides.
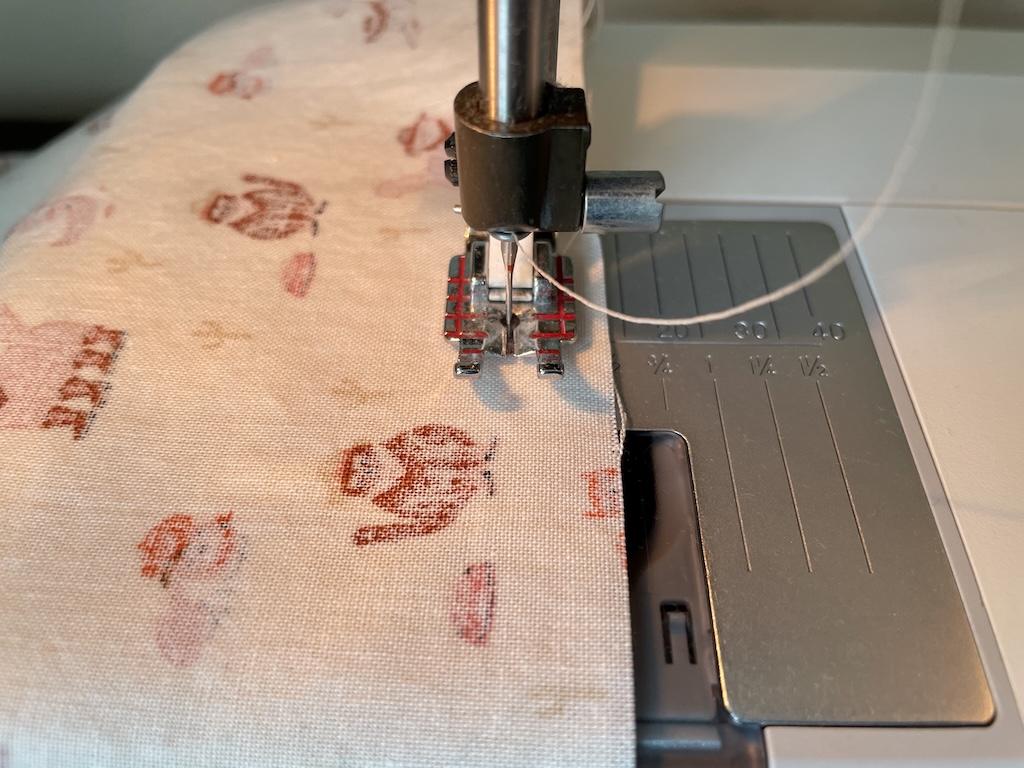
Now it’s time to sew all the sides together. I used a straight stitch and 1/2 inch (0.5 inch) seam allowance.
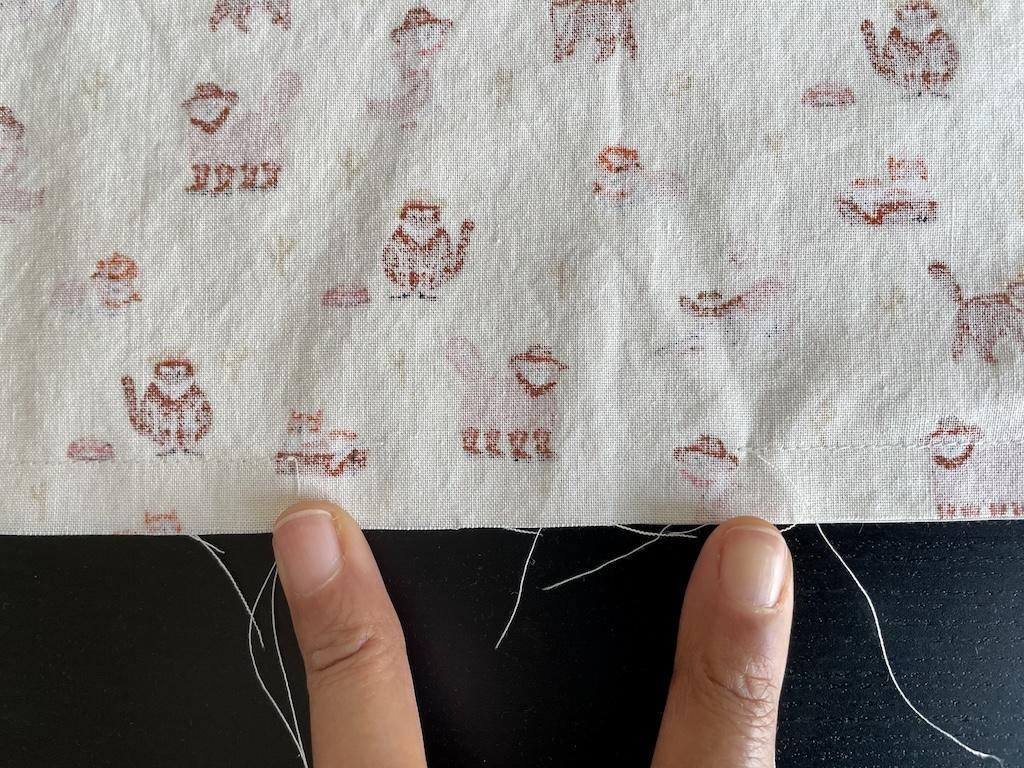
Note that you’ll sew all sides. But when you come to your final side, be sure to leave an opening so we can turn this napkin inside out.
My opening is about 3 inches wide.
5. Clip the corners.
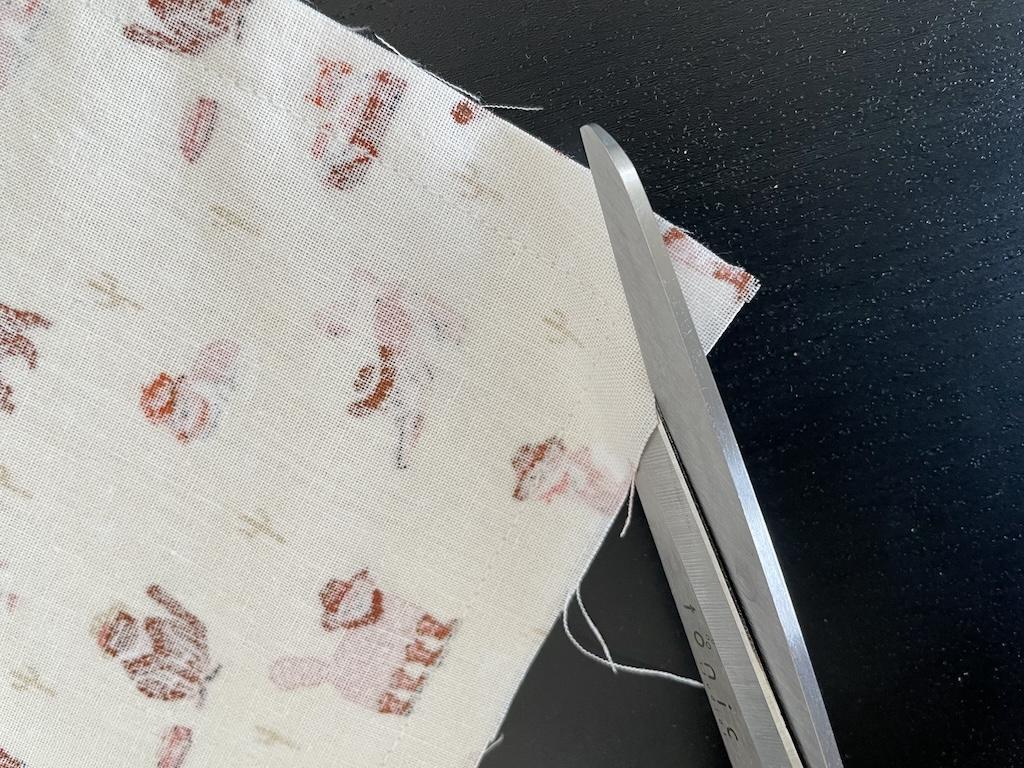
Now you’ll want to clip the corners. Cut a diagonal line across each corner.
This is to reduce the bulk in the corners. Be sure to not cut through your stitching.
6. Turn the napkin inside out.
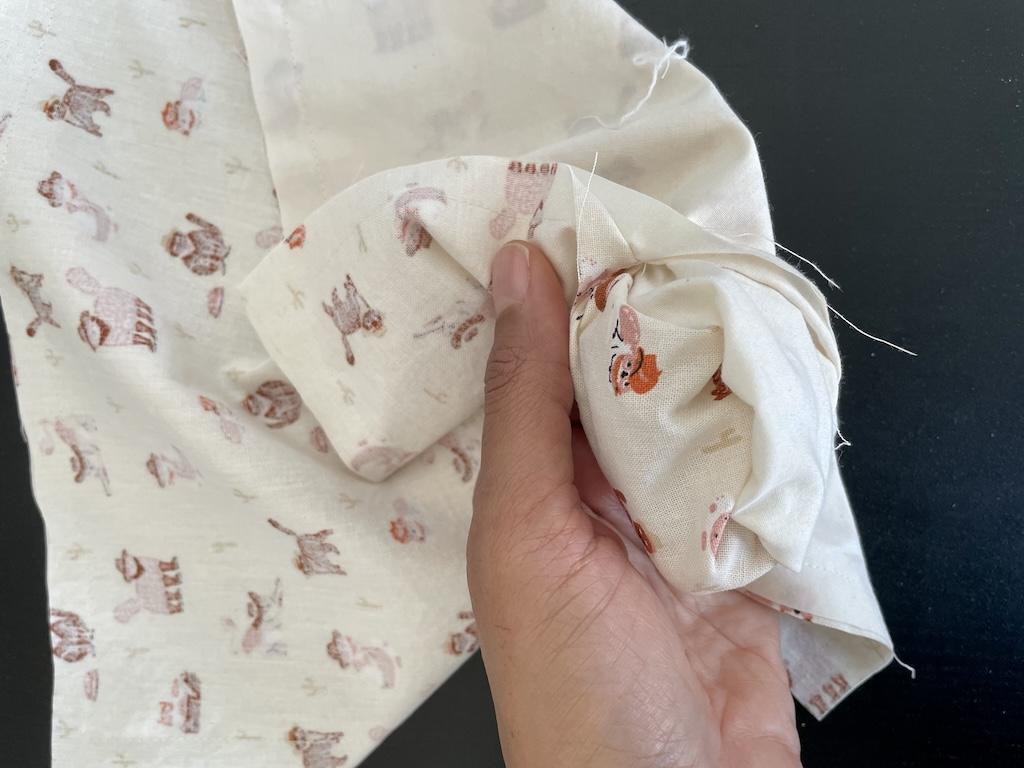
After clipping corners, you’ll turn the napkin inside out by working it through that opening that you made.
7. Straighten out the corners and sides.
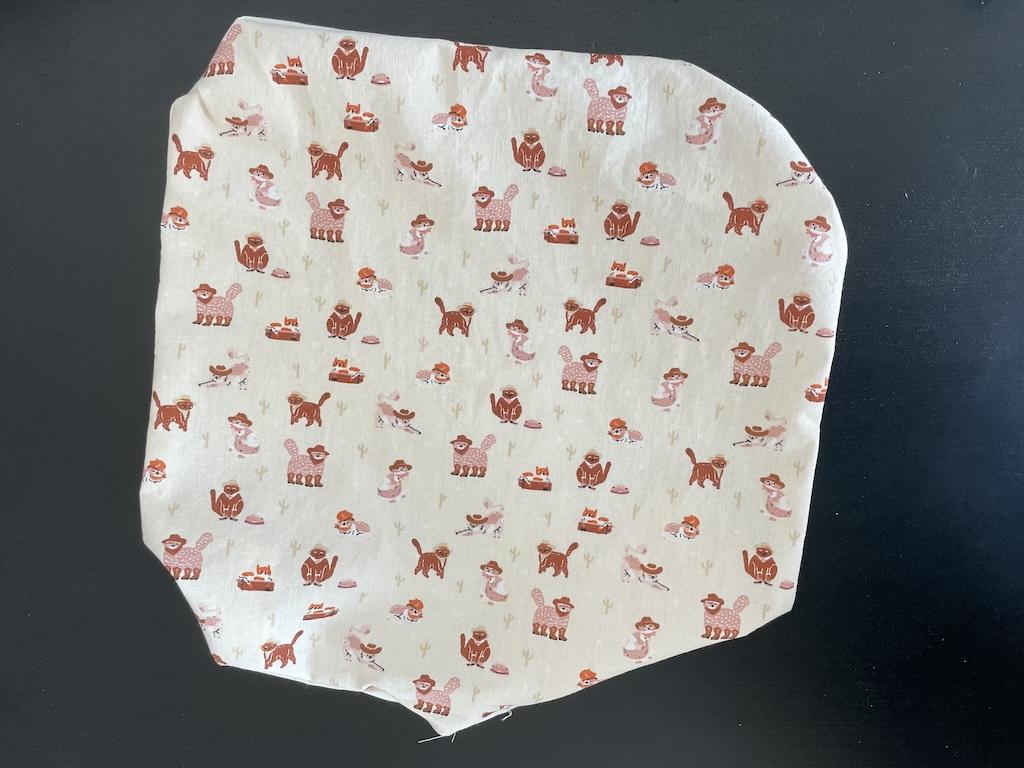
Now, my napkin doesn’t look much like a nice napkin, but wait. We’ll fix that.
To make it look nice, we have to get in those hard-to-reach places. Here you’ll use the chopstick or point turner to push out the corners and sides.
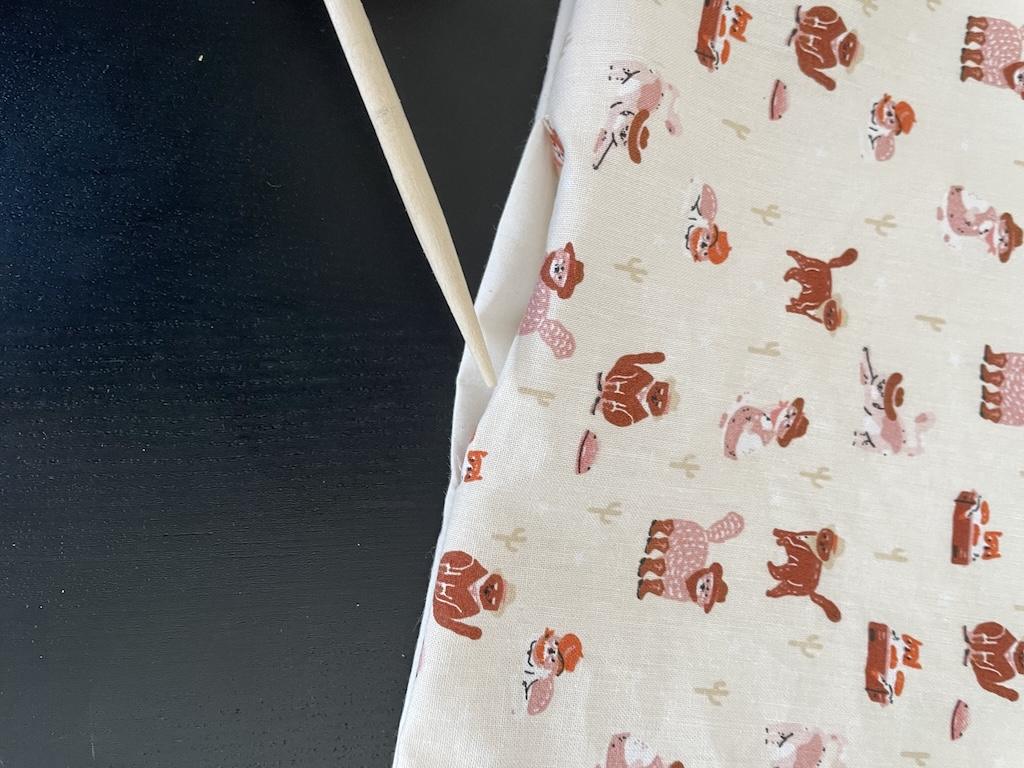
Slide it across the seams, and work it in the corners to get the fabric nice and straight. Be careful not to puncture through your fabric.
8. Press with the iron.
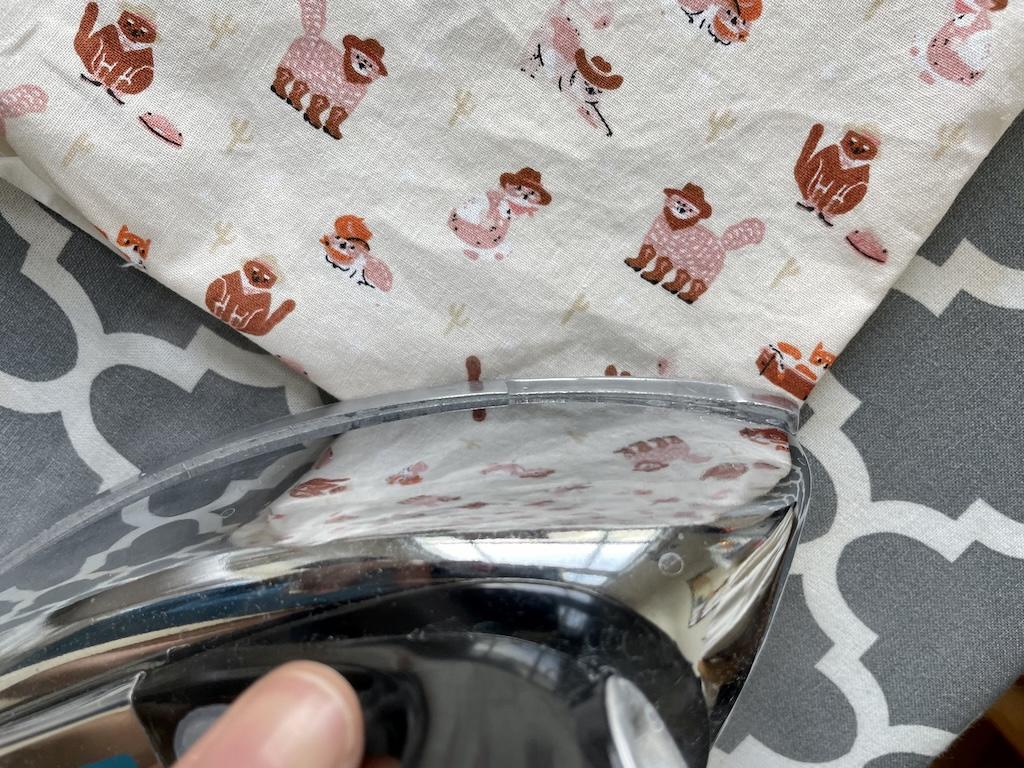
Once the napkin is all straightened out, I pressed with my iron. You might still need to work with the chopstick or point turner to get all the seams and edges nice.
Be sure the seams where the opening is are pressed under too.
9. Topstitch the napkin.
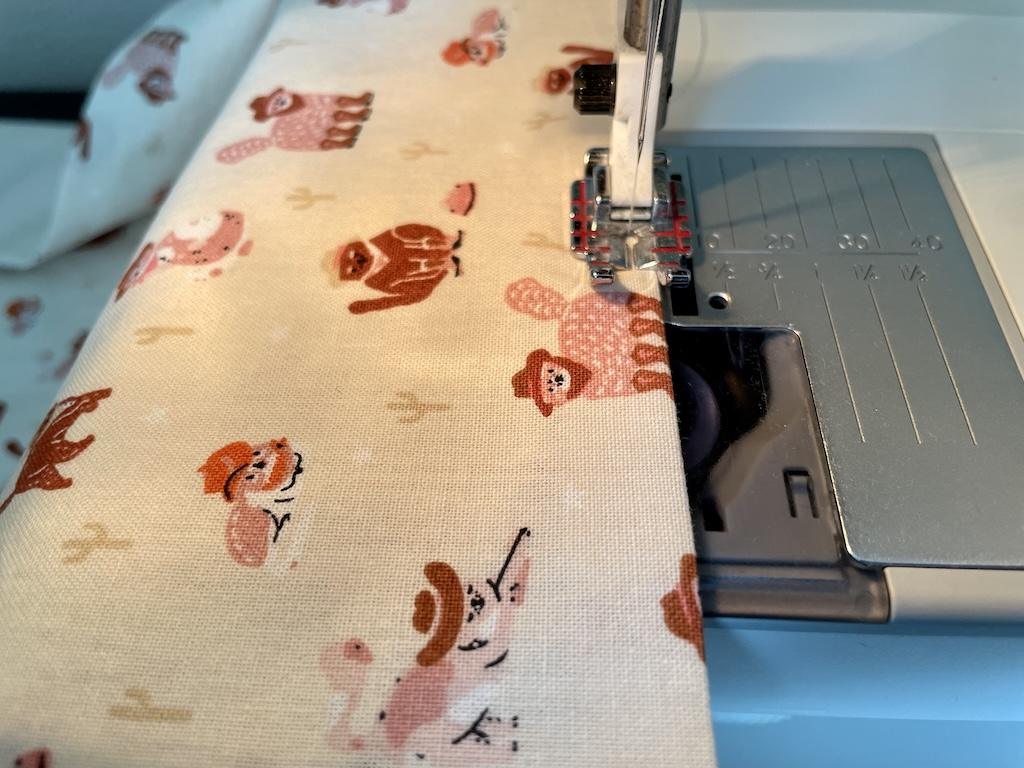
Now I’ll close that opening and add a nice detail to this napkin, at the same time!
You’ll topstitch close to the sides of the napkin. I sewed about 1/4 inch (0.25 inch) from the end.
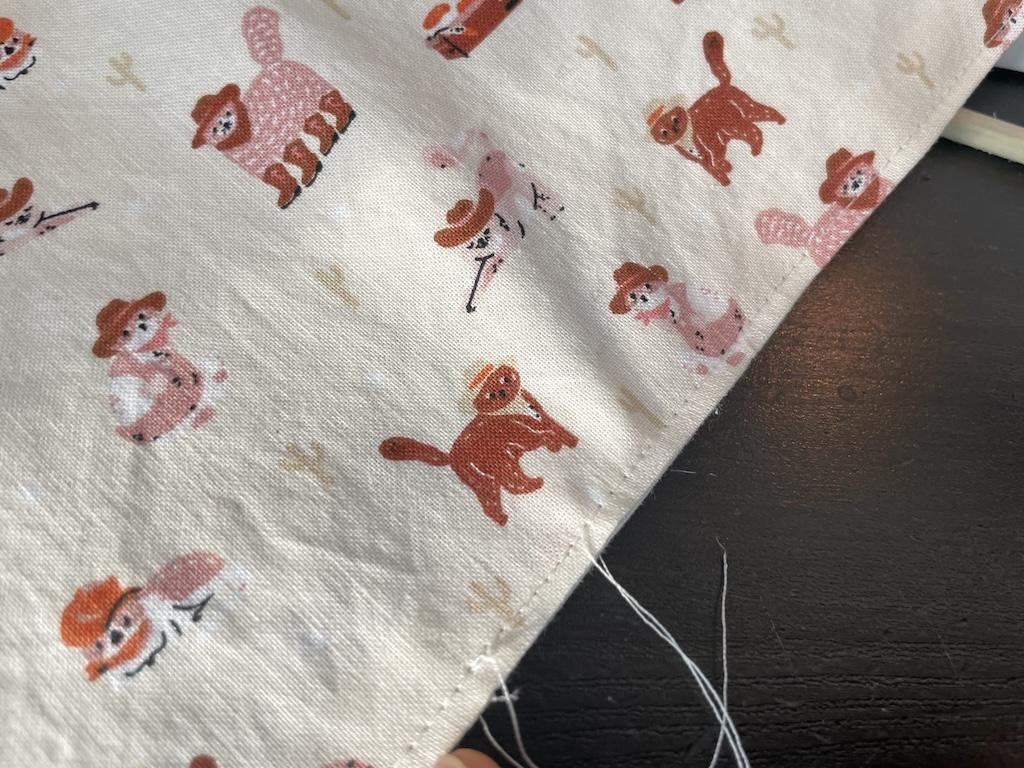
Work all the way around the napkin. Now the opening is closed, and you’re finally all done.
Yeah! Now it’s time to repeat these steps and make more!
Notes
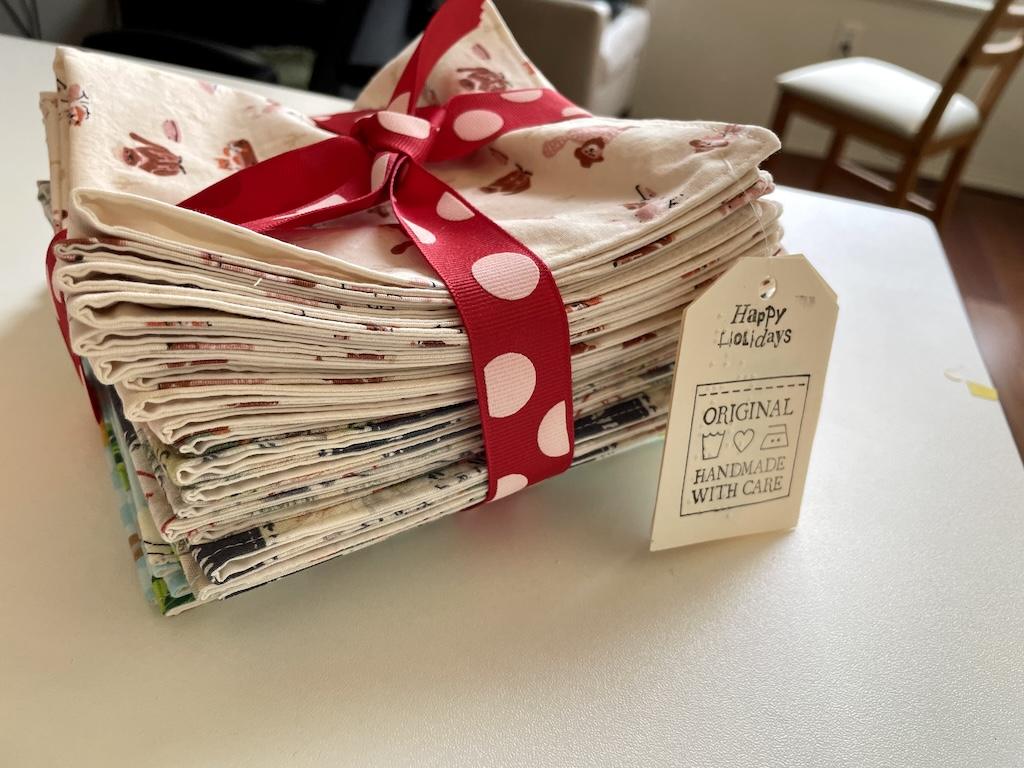
If you’re on the fence about which size to make, you can use some scrap fabric and experiment.
For a finishing touch, I like to embroider my name in the corner of the napkin. If it’s a gift, you could embroider the name of the person you’re giving it to.
You could also sew a small button in the corner, beads, or a tiny decorative flower for a cute touch.
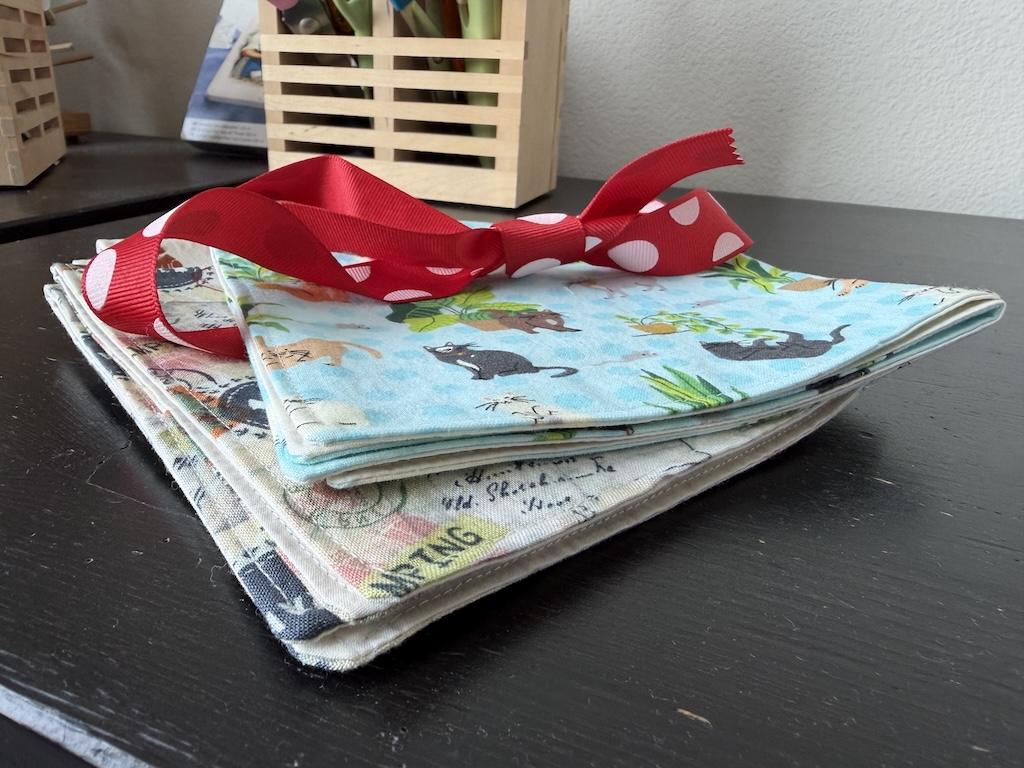
Bundle them and wrap a ribbon for a cute touch. You can also make your own tags and attach them.
Overall
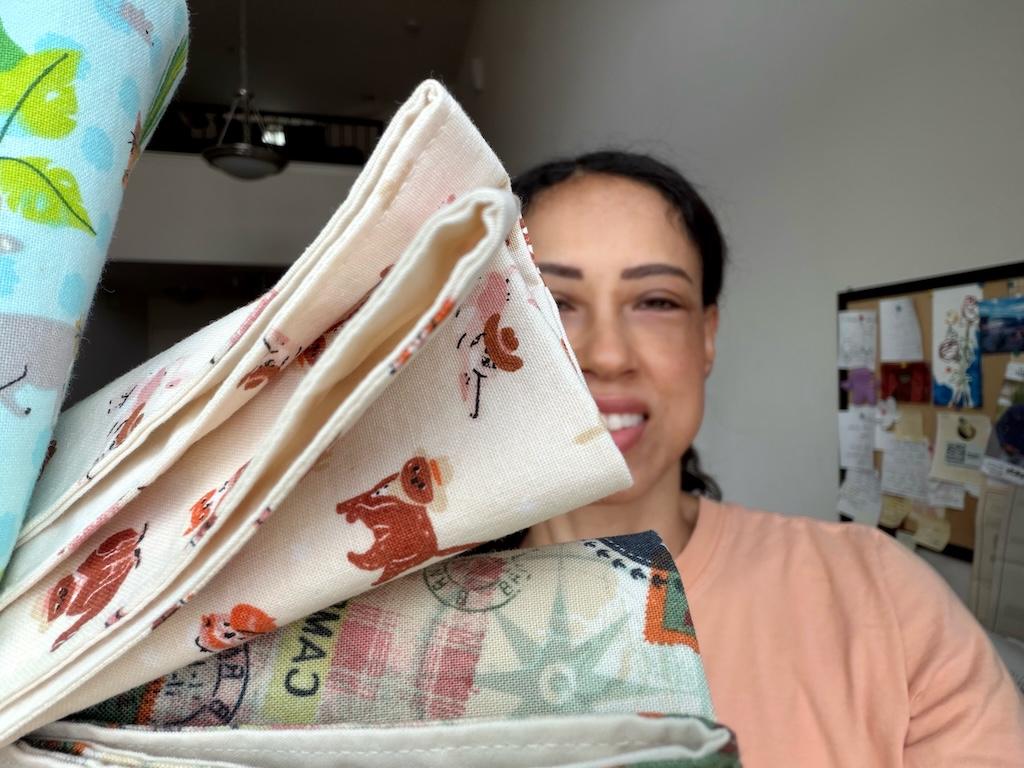
I love making these napkins as gifts. They are easy to sew, and you can choose fun fabrics to match a theme or someone’s personality.
Plus, I feel good about having something reusable instead of throwing away so much paper. I’m saving money, and every little bit counts, right?
Read More
- Want to learn how to sew a button by hand? I’ll show you.
- You can also get creative and overdye your napkins.
- Maybe you’ll make some fabric napkins in some pretty Hawaiian prints.
Originally published: July 7, 2026